This is the tutorial for making the jacket for the PanAm inspired latex stewardess outfit. The jacket is unusual in that it uses real buttons – seldom seen on latex clothing (due I think to the point stresses involved – issues that hopefully I’ve solved here).
The basic steps are the same as for the other tutorials:
- adjust the pattern for size and print out
- cut out the paper pattern pieces and trace onto latex
- cut out the latex pieces
- prepare all the pieces
- assemble.
Due to the novelty of using real buttons, the front panels should be assembled in the entirety first. This avoids wastage if multiple attempts are required.
Items required: eyelets; buttons large; buttons small; thread to match buttons.
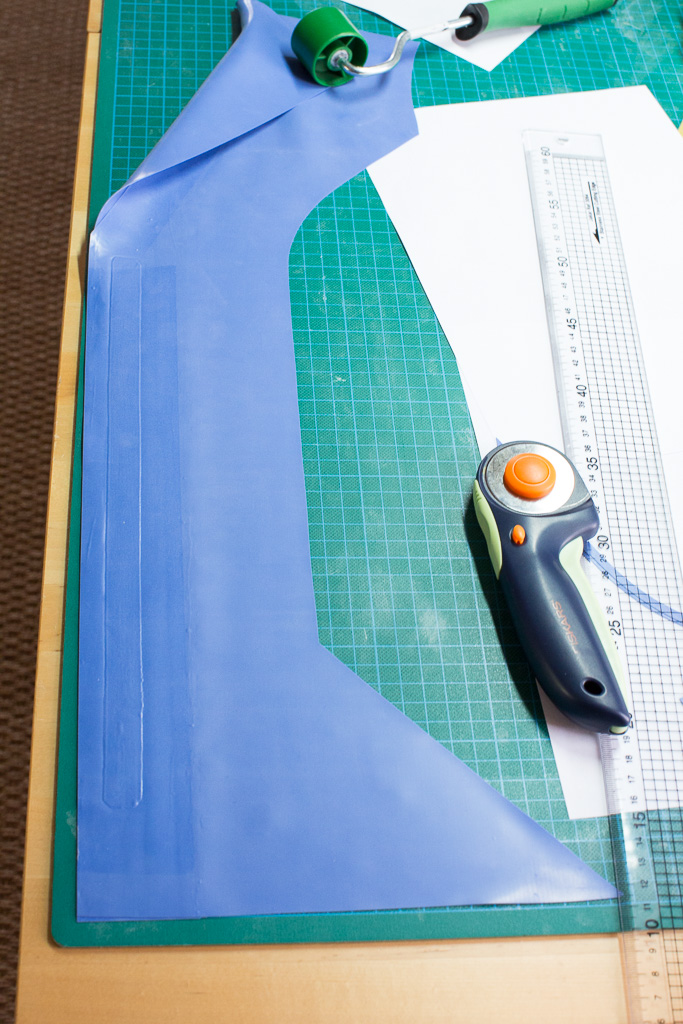
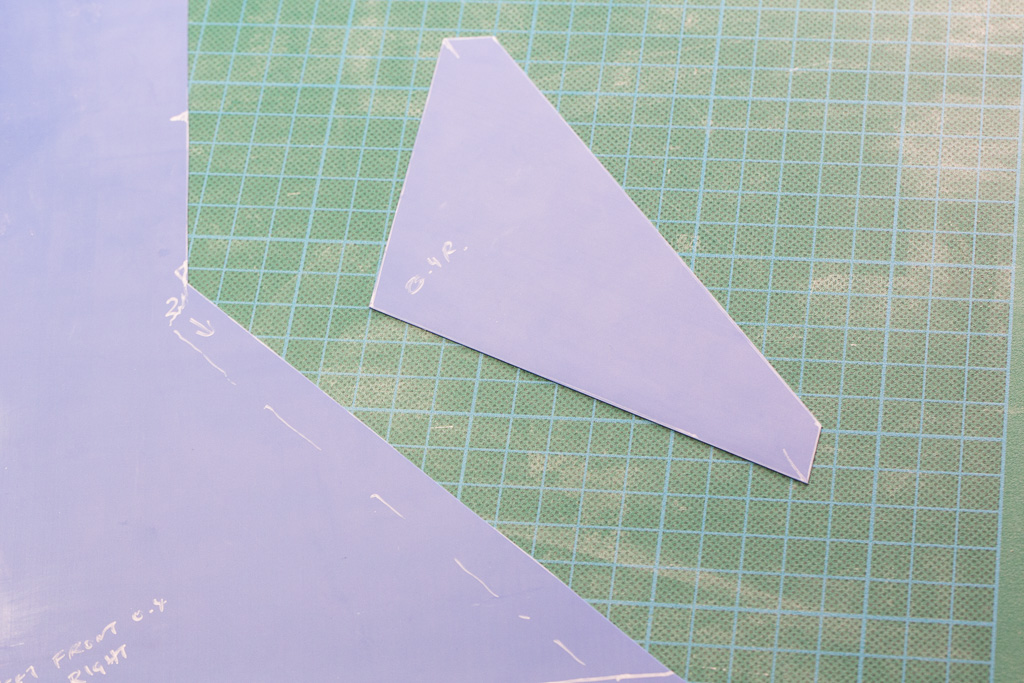
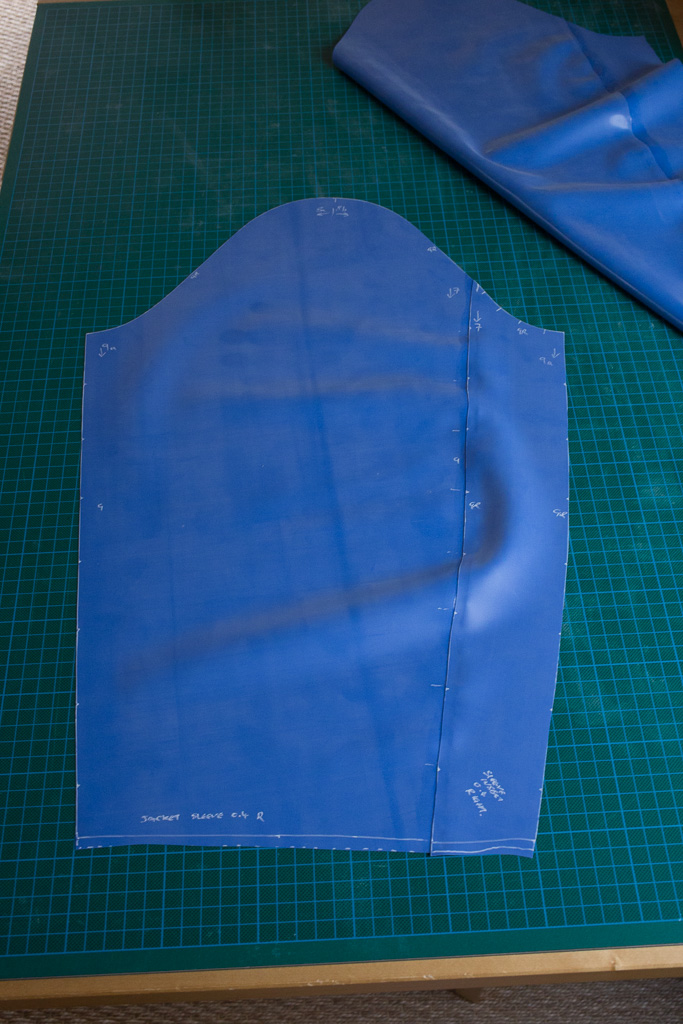
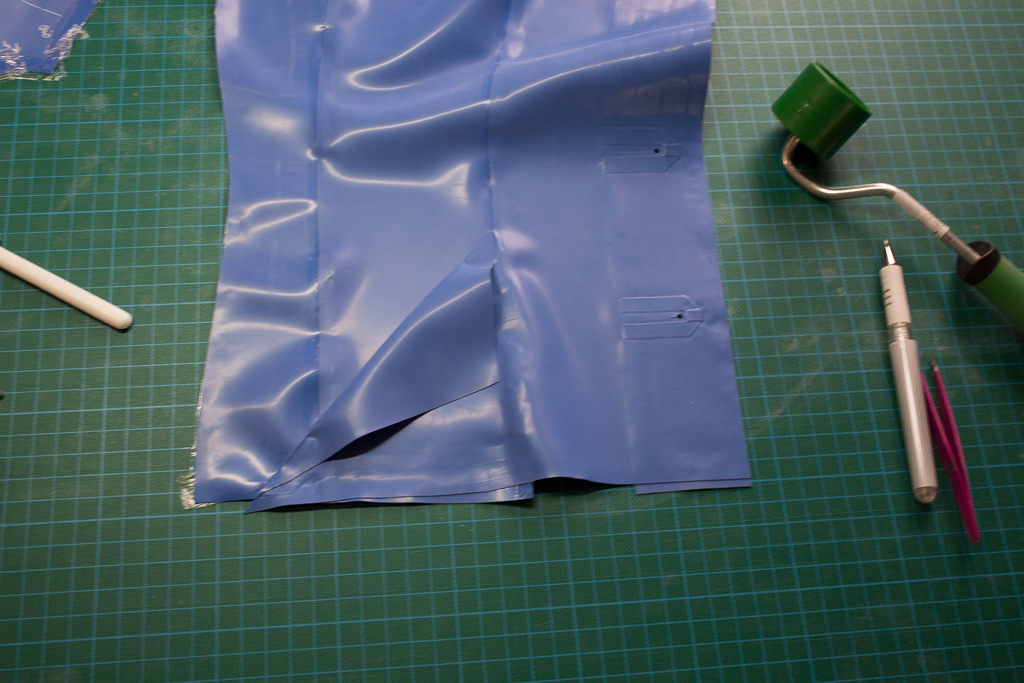
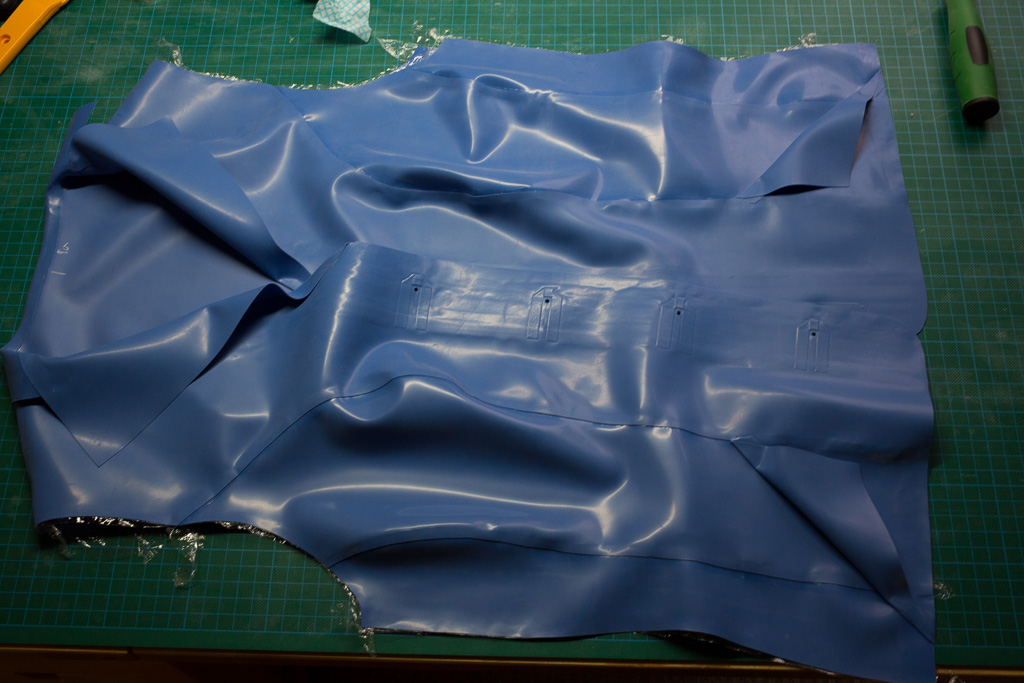
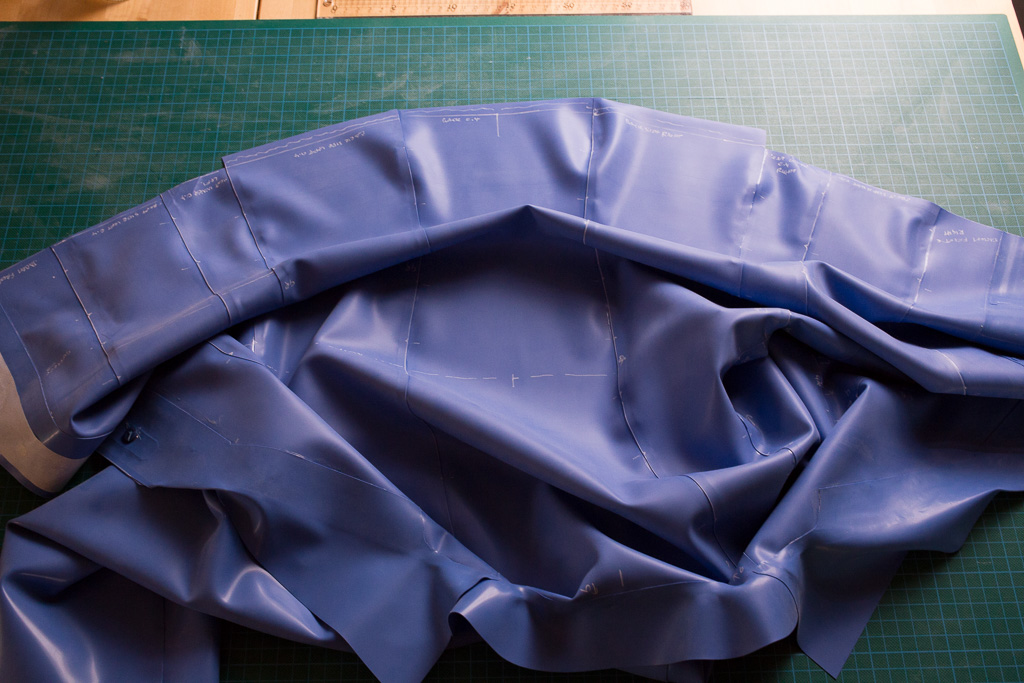
Step 1. Draw and cut out all pieces
Trace around the paper pattern pieces onto the latex. The edges that are not going to be glued should be cut 0.5-1cm larger than the marked edge so that they can be trimmed once assembled (step 11).
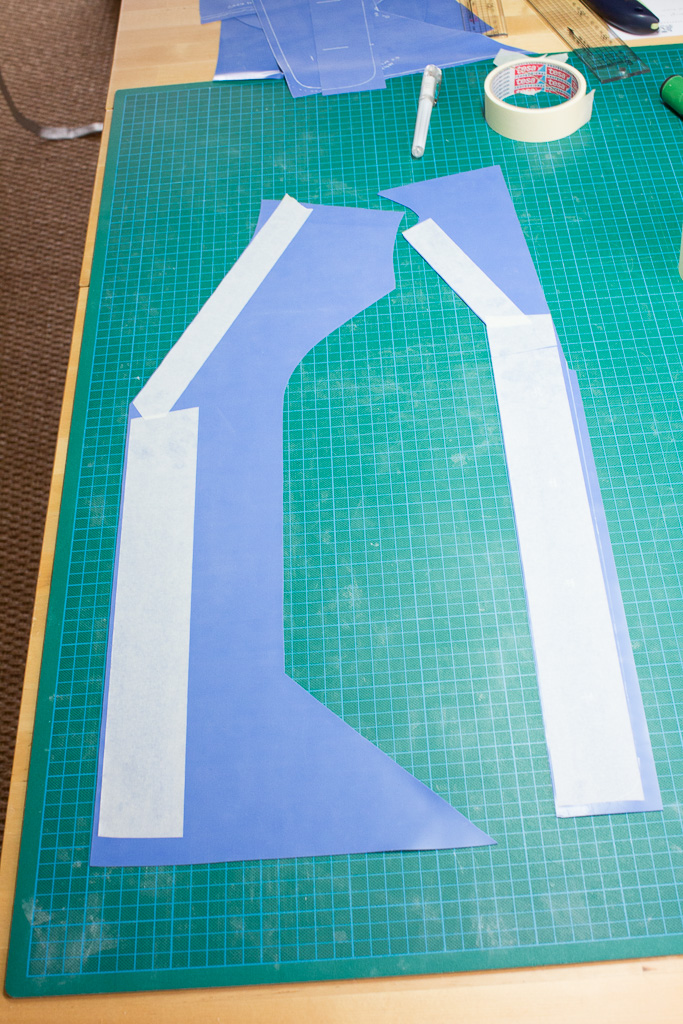
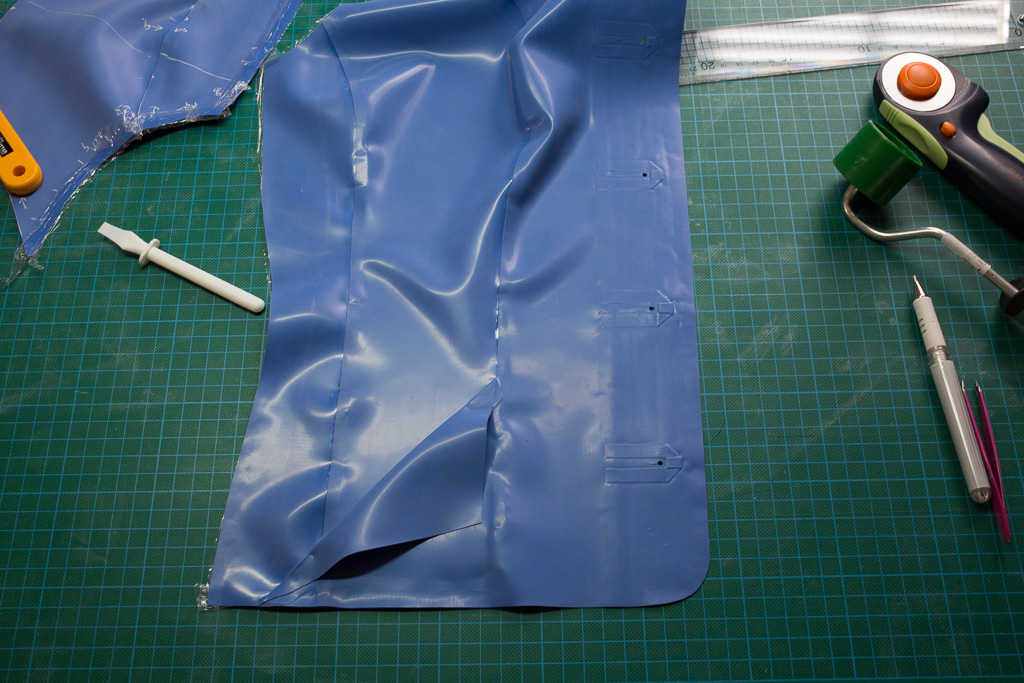
Step 2. Prepare the front pieces
The front pieces are formed from two pieces of latex laminated together. The left and right side are constructed different to allow for the button holes and buttons.

The left side (from the wearer’s perspective) – buttons
Apply masking tape (50mm wide) to the shiny side of both pieces.
Clean and apply a wide even film of glue. The trick to doing this is to use a wide glue spreader and to apply all the glue in as few sweeps as possible. The type of slightly flimsy credit-card sized pieces of plastic that are used for membership cards are ideal here. Note that as the card won’t fit into my normal glue pot, I simply pour a small line of glue onto the work surface and work quickly.
Prepare a piece of cotton tape using copydex (as you would for inserting poppers XXX link). When fully dry carefully align with the front panel. Laying a (clean) ruler onto the front panel allows you to accurately place the tape.
Lay the inner panel on top. Working from one end up to ensure that bubbles do not form, and using as even pressure as possible. Be especially careful around the cotton strip as it is easy to end up with an air pocket around it.
Remove the masking tape. The cotton tape is now fully embedded and the surface of the latex should be free from bubbles and other imperfections.
The right side (from the wearer’s perspective) – button holes
Normally you would seek to avoid a sharp edged slit when creating a pattern in latex, especially where pressure will be applied at the end of the slit. Without special treatment, the latex will just tear.
Prepare some cotton strip with copydex.
Cut the strip lengthwise so that it is 5mm wide.
Cut into 8cm lengths. Make a 90deg fold and then slightly further on another fold in the opposite direction. The copydex coating is sufficient for keeping the pieces in shape.
You will now have U shape pieces of cotton tape. The gap between the arms of the U should be 4-5mm.
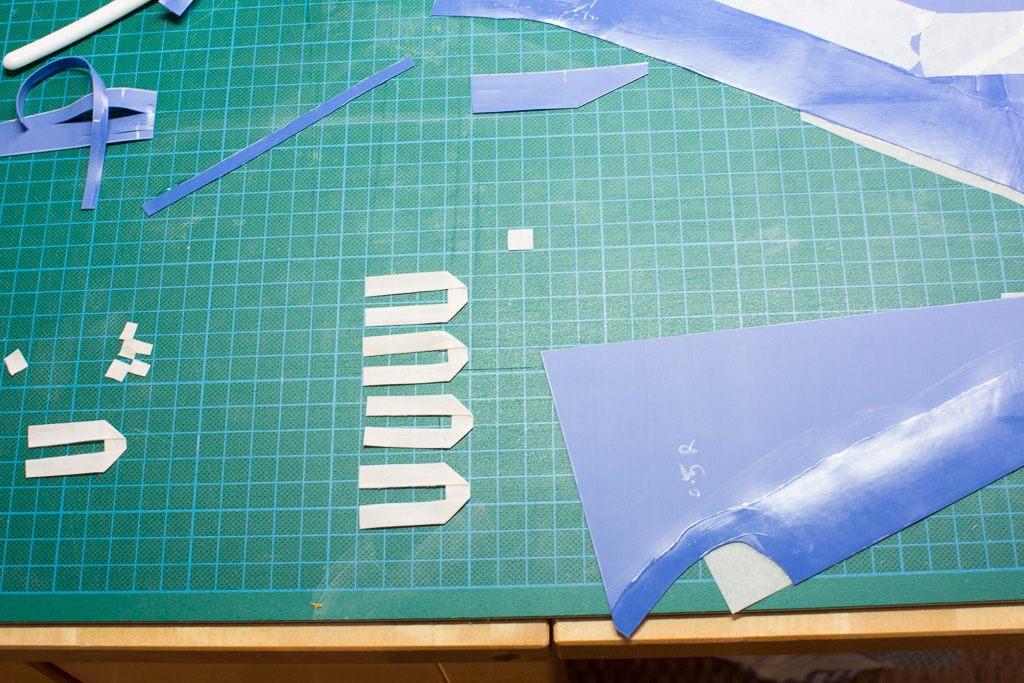
Create a strip of latex the same width as the gap (4-5mm) and clean and glue both sides.
Cut into 1cm lengths.
Fold the piece around the bottom of the U-shape.
Accurately place the U shapes on the prepared surface. Place a small square of the glued-both-sides latex strip at the open end of the U.
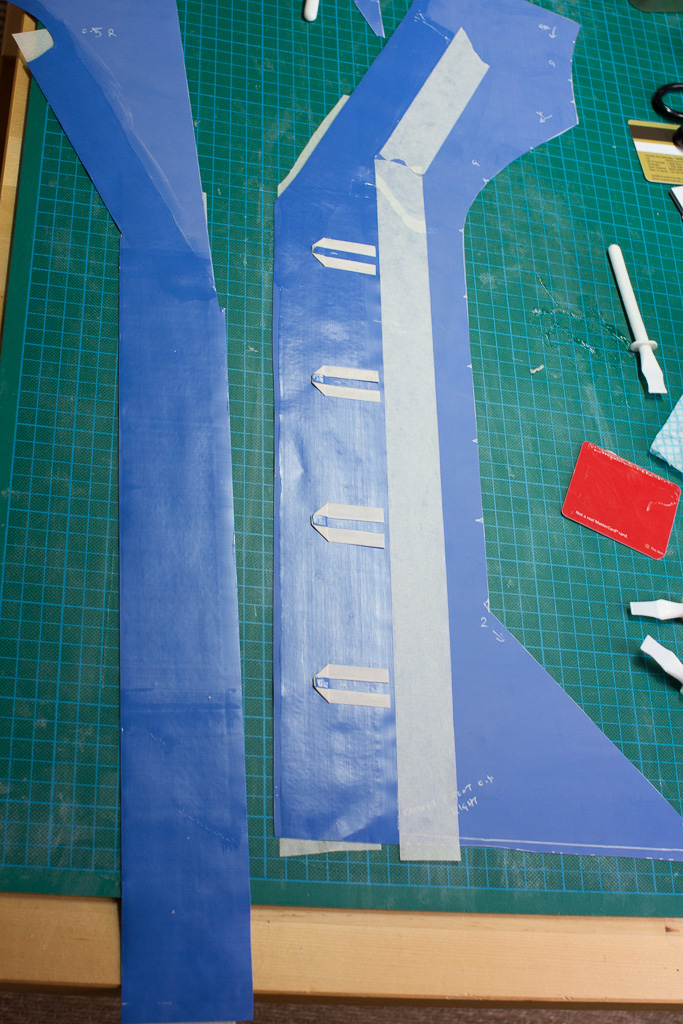
Apply the other inside panel ensuring there are no air bubbles and try to apply pressure evenly to ensure the surfaces are as flat as possible.
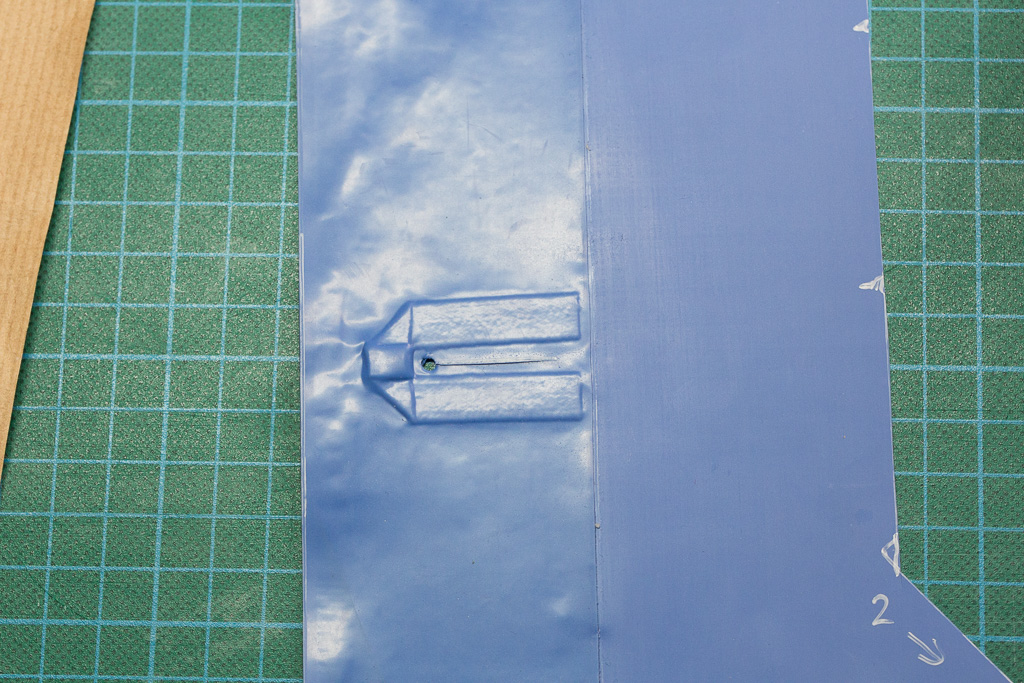
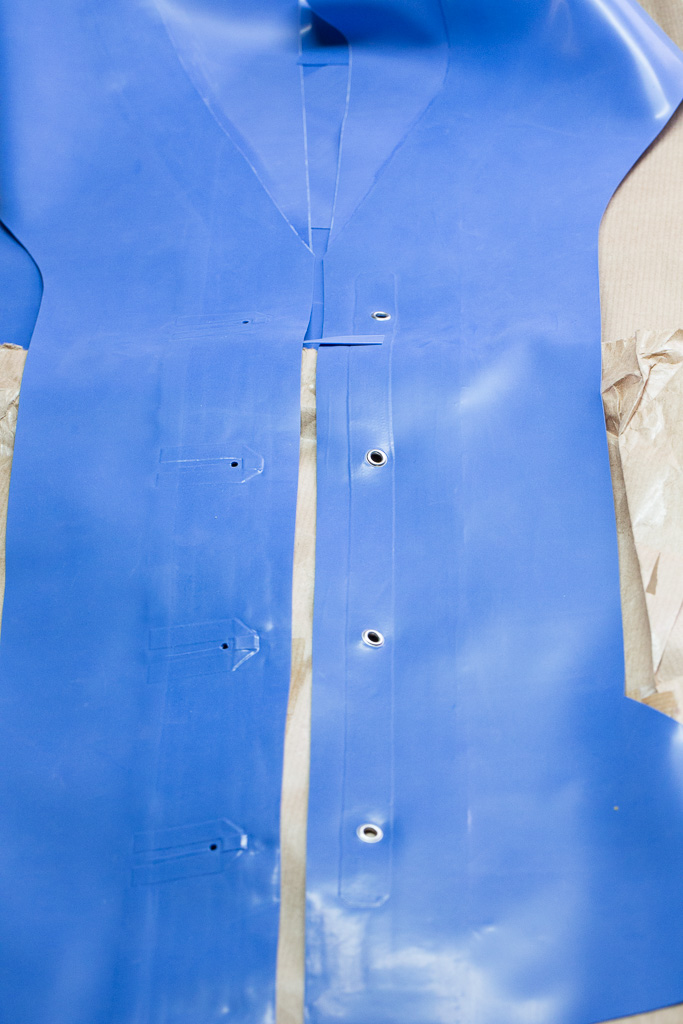
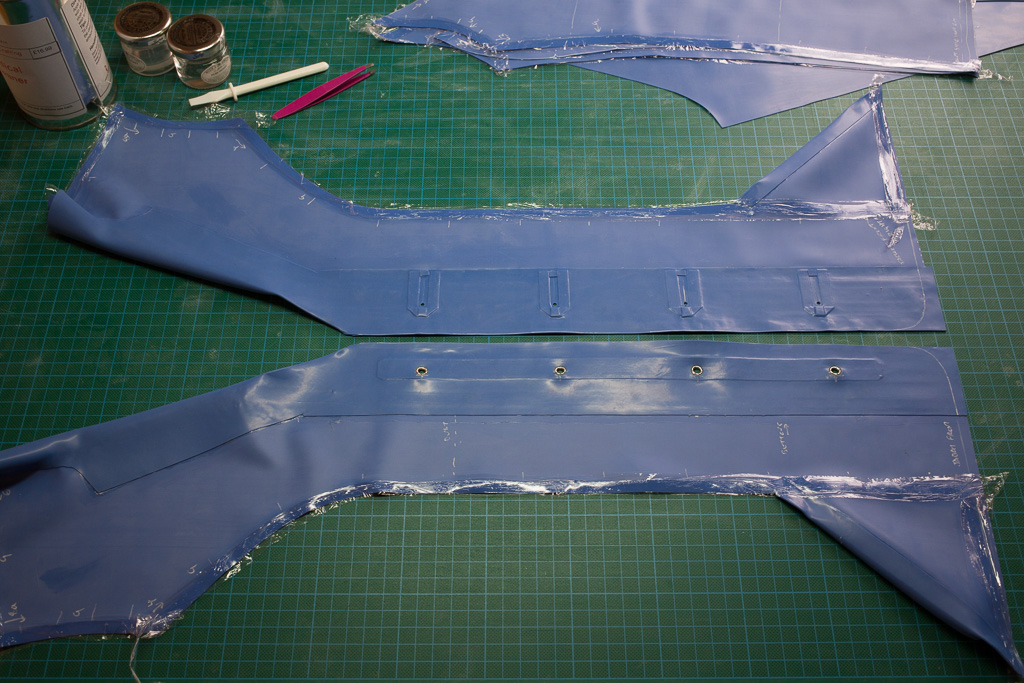
The two front panels can then be prepared for the buttons. On the button hole side stamp a hole at the bottom of the U and then cut a slit (using a small rotary cutter). The slit should only go as far as the tab at the end of the U.
Finishing the buttons
For the other side, stamp a hole and apply a small eyelet.
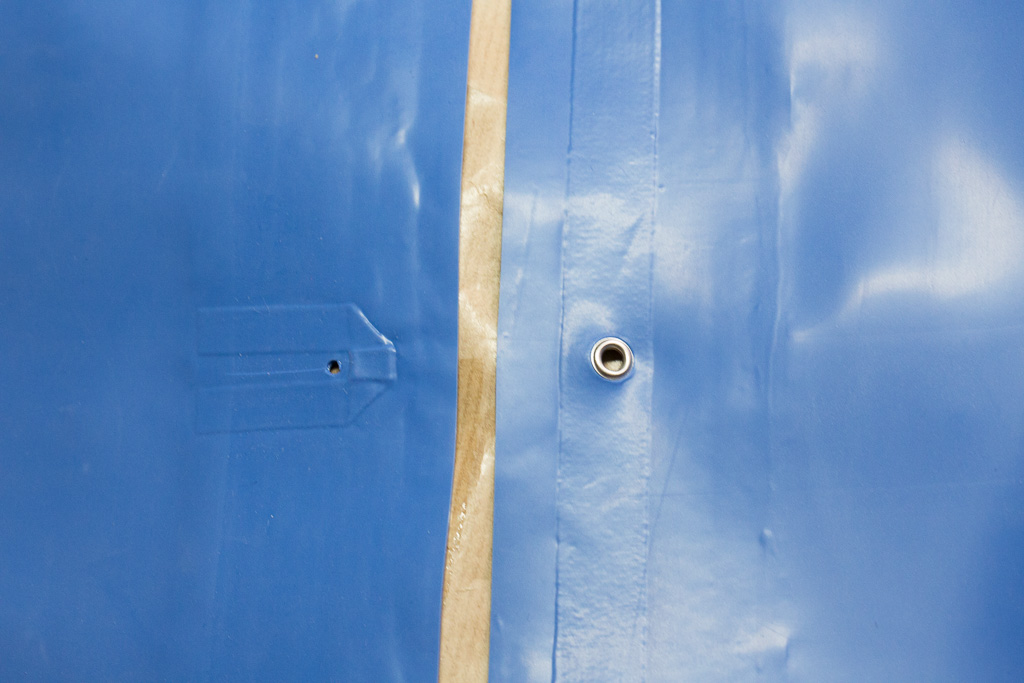
The holes should align perfectly.
The actual buttons can be added now, or at the end.
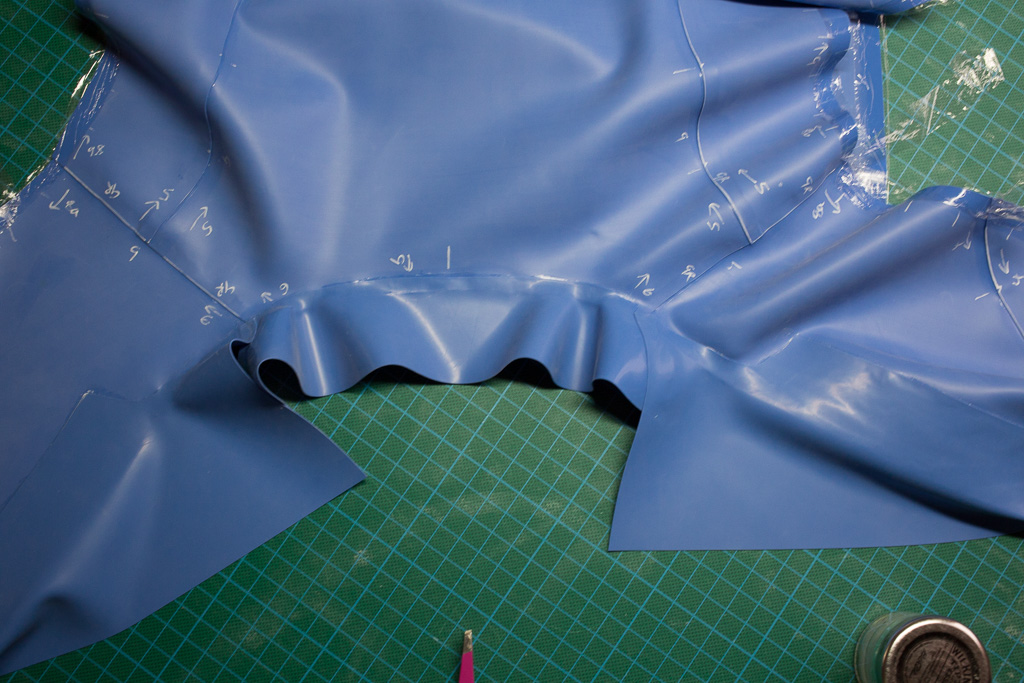
Step 3. The collar
The collar needs to be induced to fold over. Clean and glue a little area towards the start of the collar.

Step 4. Pockets
The pocket flaps are created by gluing the panel to the front piece.

At a later stage we’ll use a small amount of glue at the start and end of the fold to induce the flap to hold the correct position.
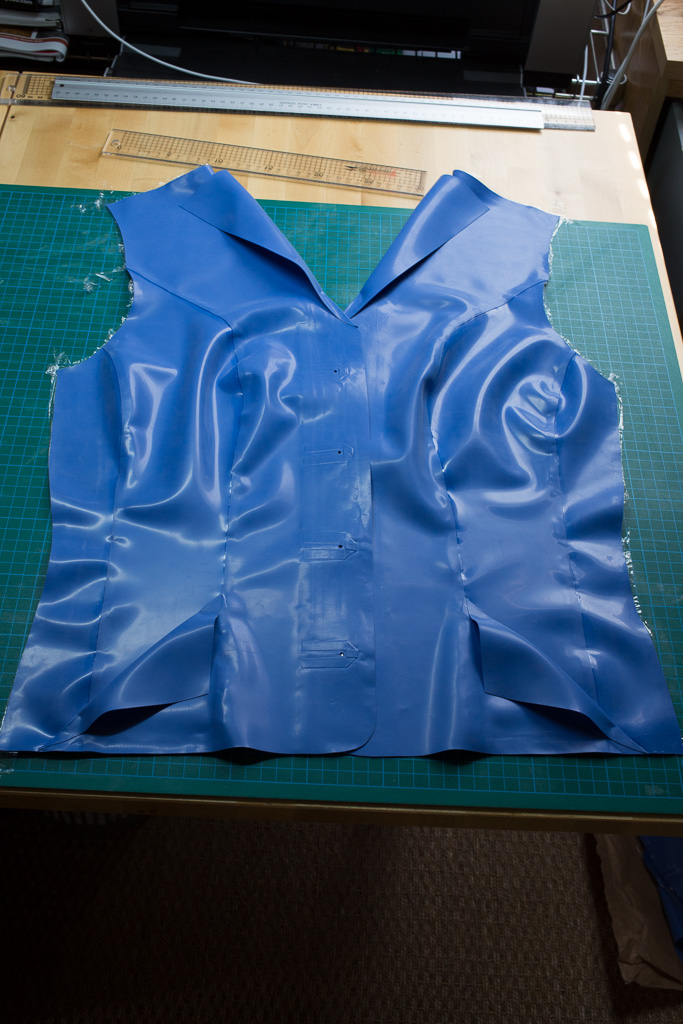
The jacket front should now look like this.

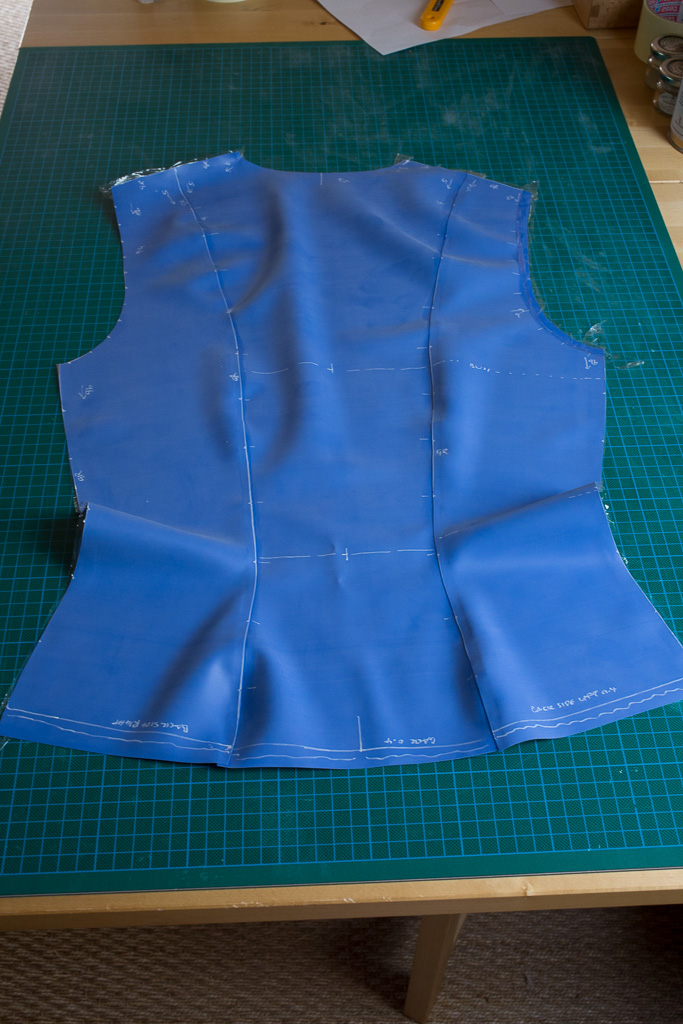
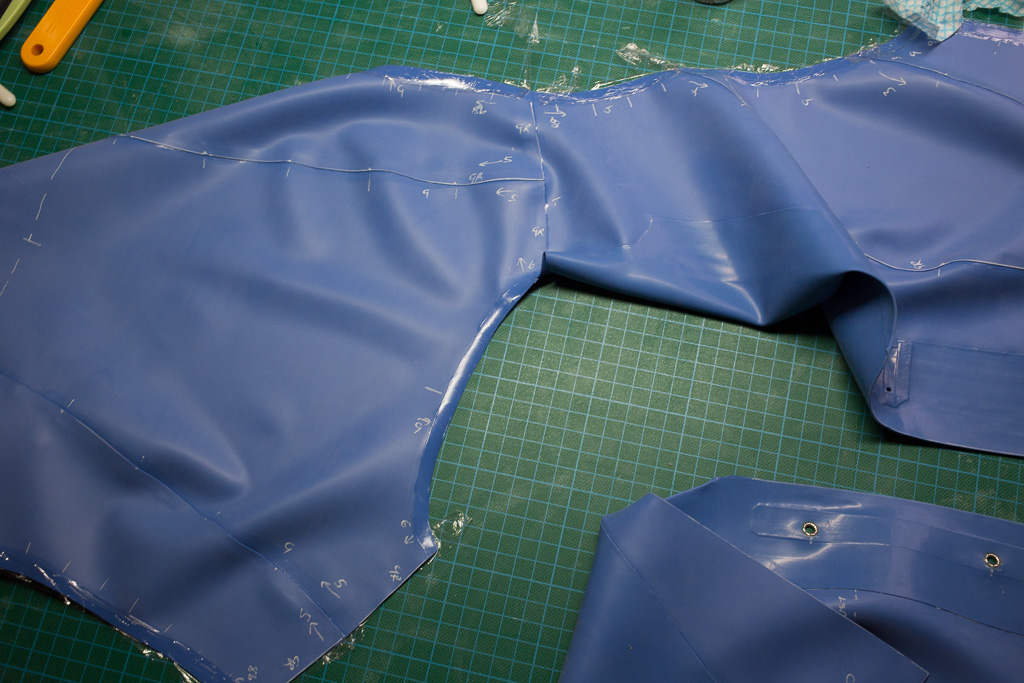
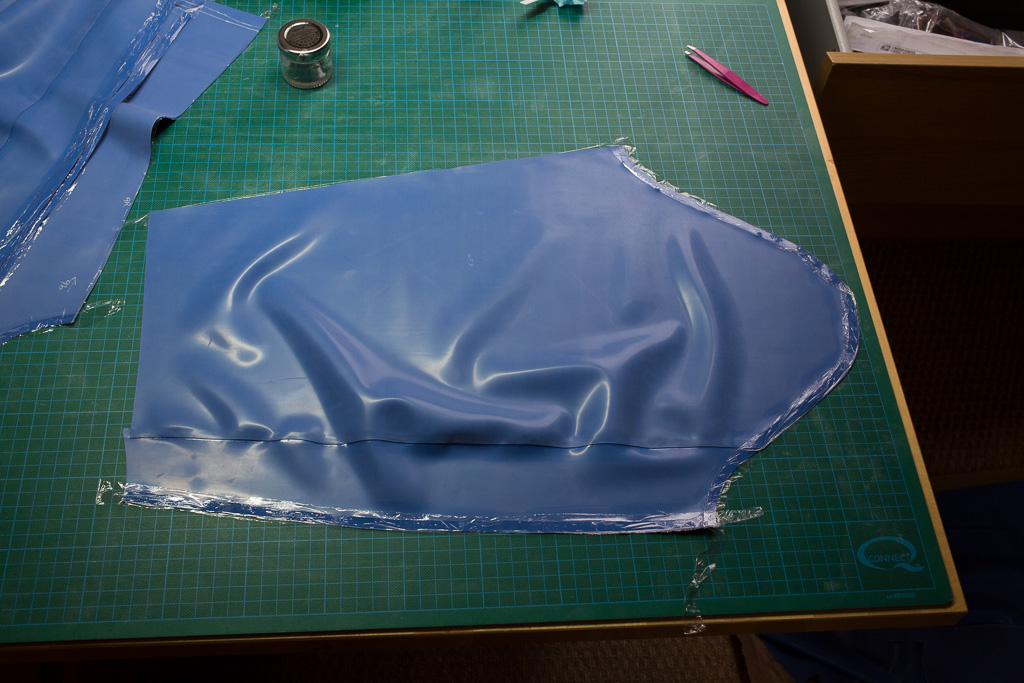
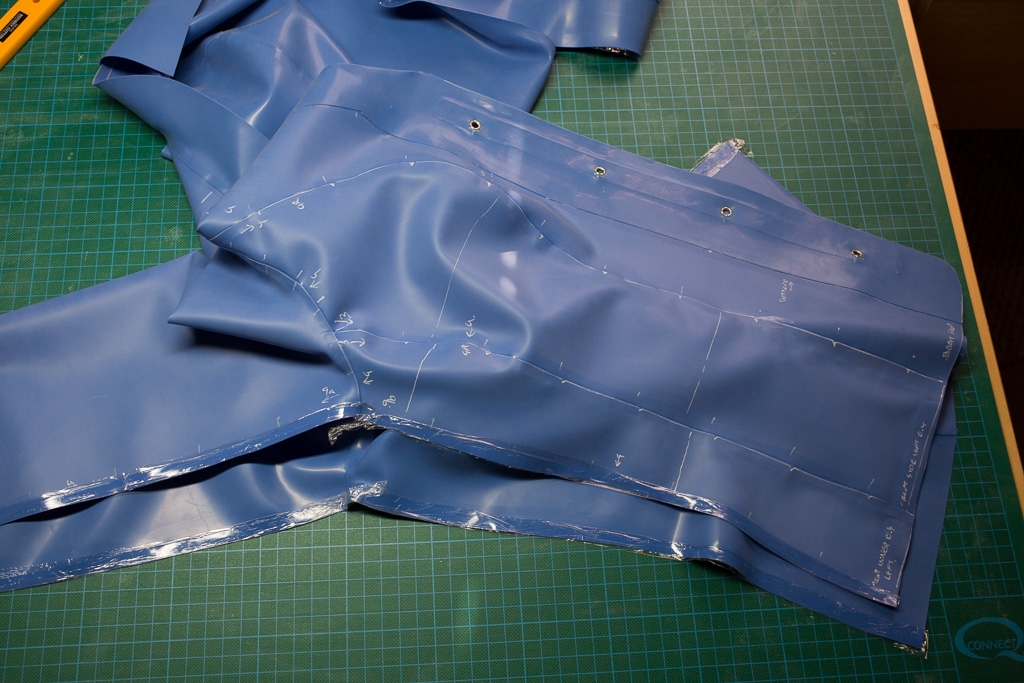
Step 5. The back panels
Prepare all seams and then assemble.
Note that there is at this stage a little excess at the bottom of each panel.
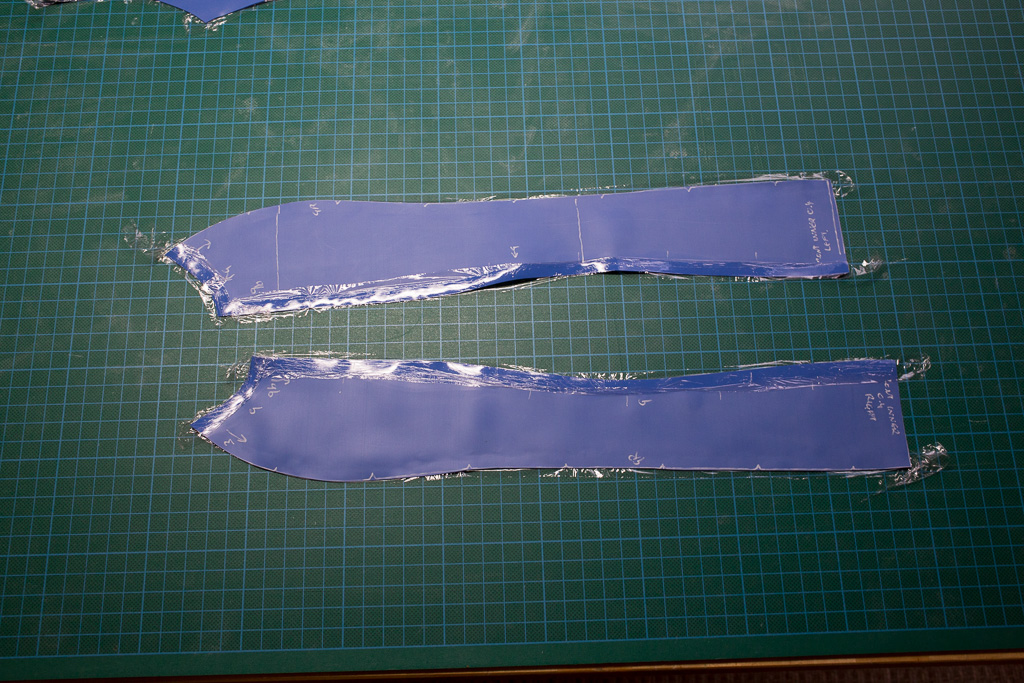
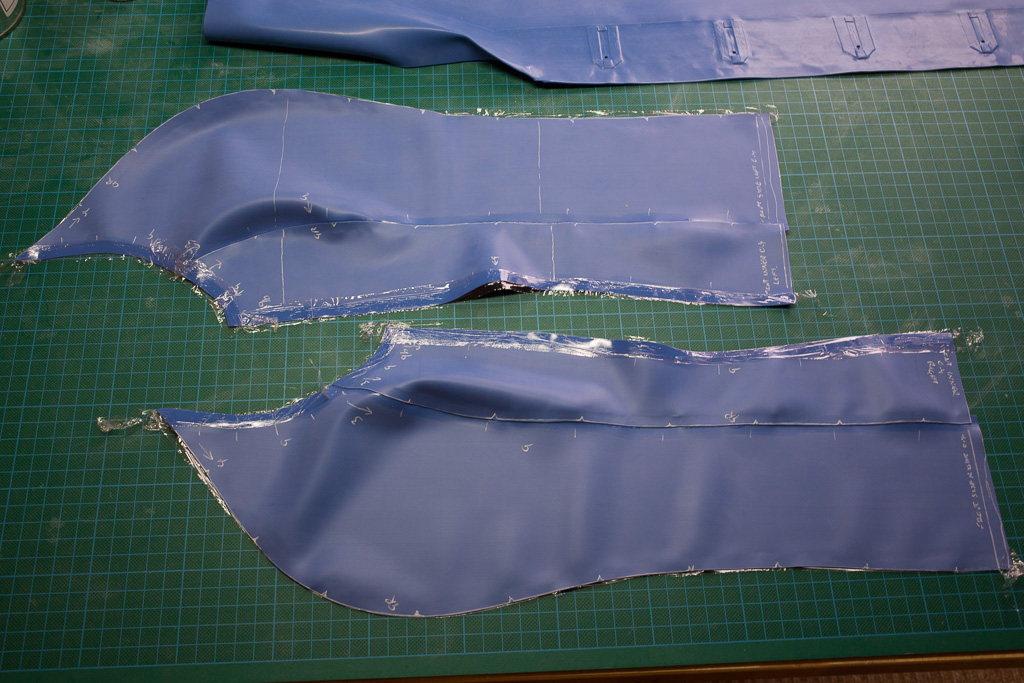
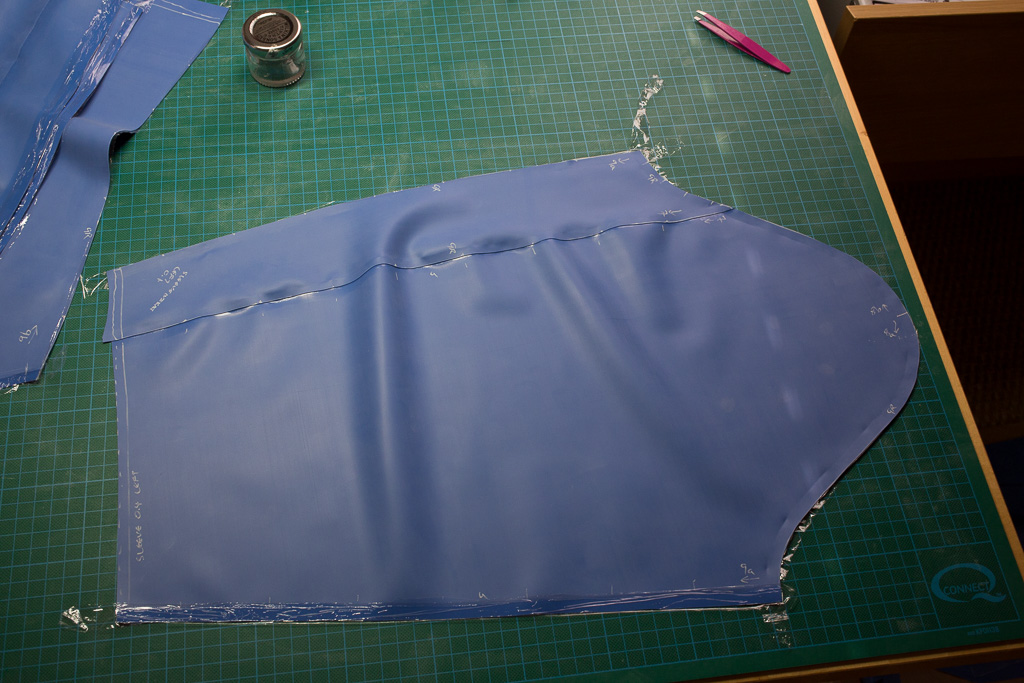
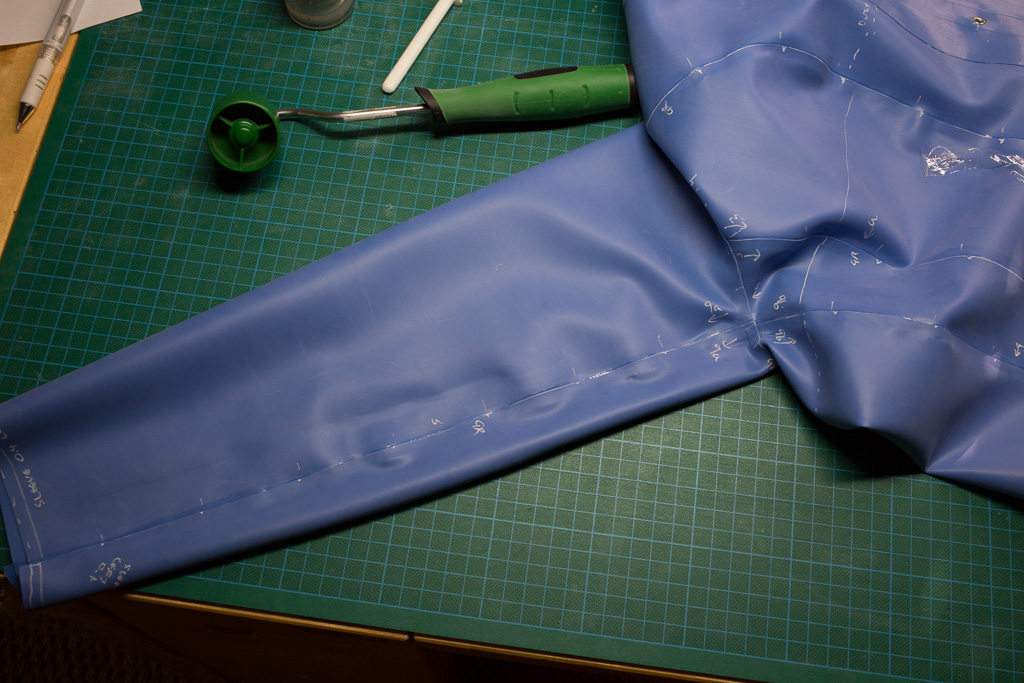
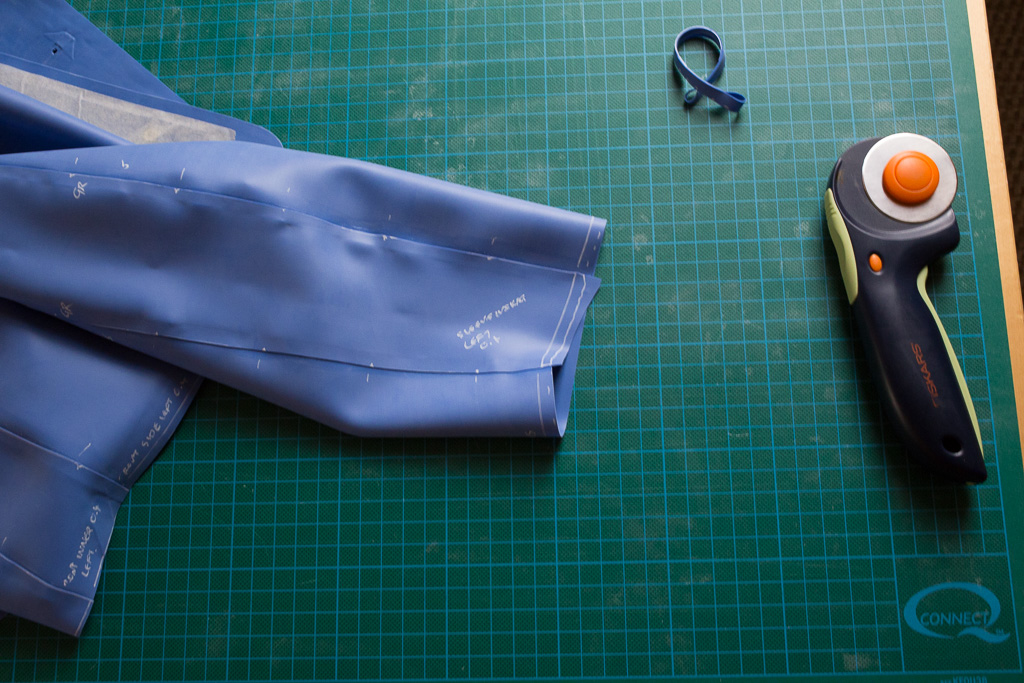
Step 6. Prepare sleeves
To give the sleeves a little shape over the elbows they are made from two panels.
Prepare all seams on these pieces and join the two pieces for each sleeve.
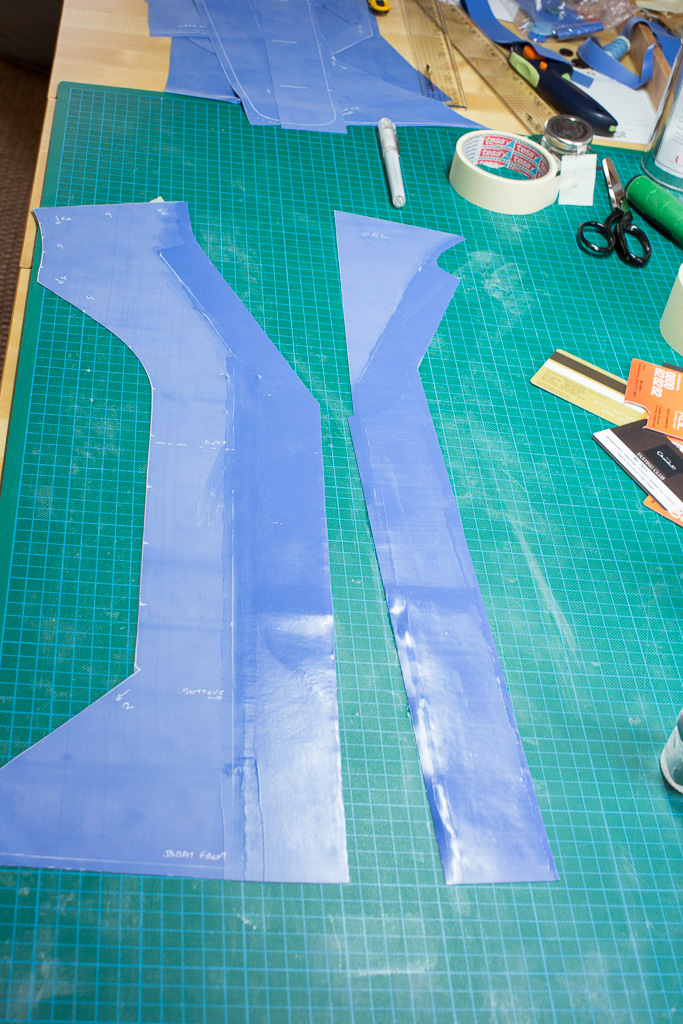
Step 7. Jacket front
The jacket front is constructed from three pieces in order to have a straight edge for the main front seam.
Prepare the two inset pieces.

And assemble them.
Prepare the remaining seams on the front pieces.
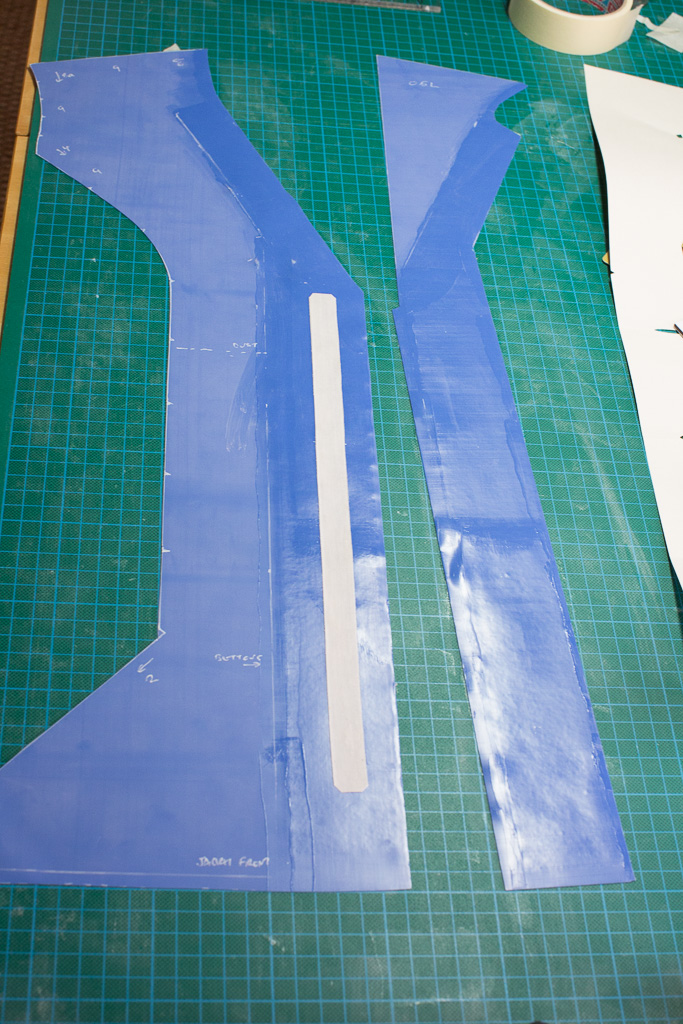
Assemble the jacket fronts.
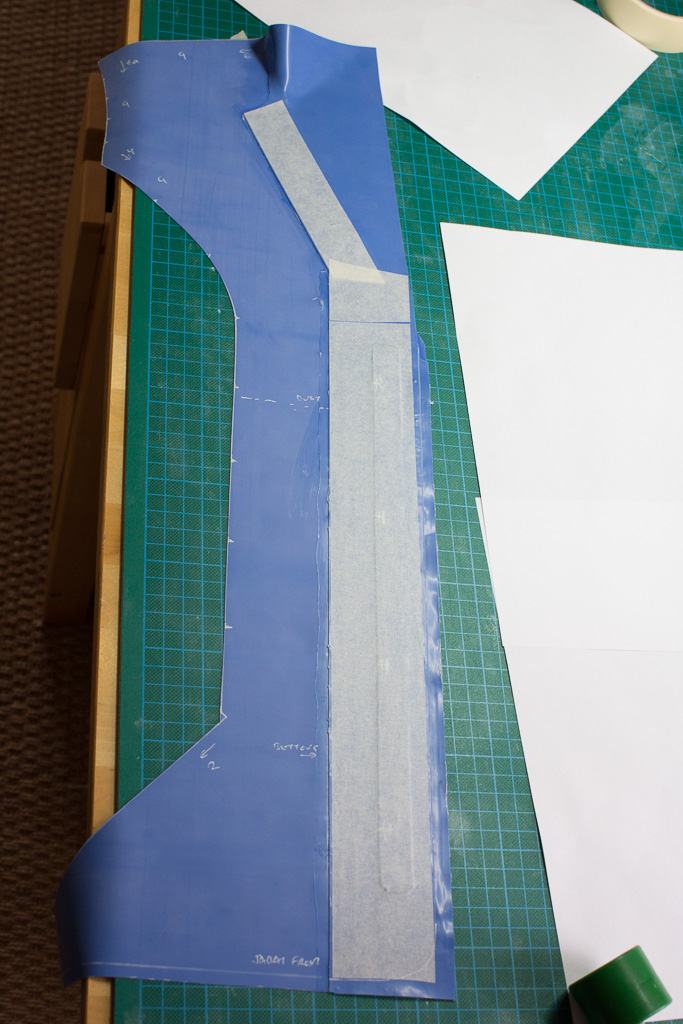
The excess edges can now be removed from the jacket fronts.
The front of the jacket is now complete.
Step 8. Connect front and rear sections
Attach the front section to the rear at the shoulder seams.
Step 9. Completing the collar
Lay out the jacket so that the collar seam is as flat as possible.
Attach the collar, starting at the mid point. Attach the collar piece to the collar fronts that form part of the front section.
Step 10. Sleeves
The prepared sleeve.
The matt side of the sleeve should be marked as per the pattern to align with the armsyce.
Lay out the body of the jacket so that the armhole is as flat as possible.
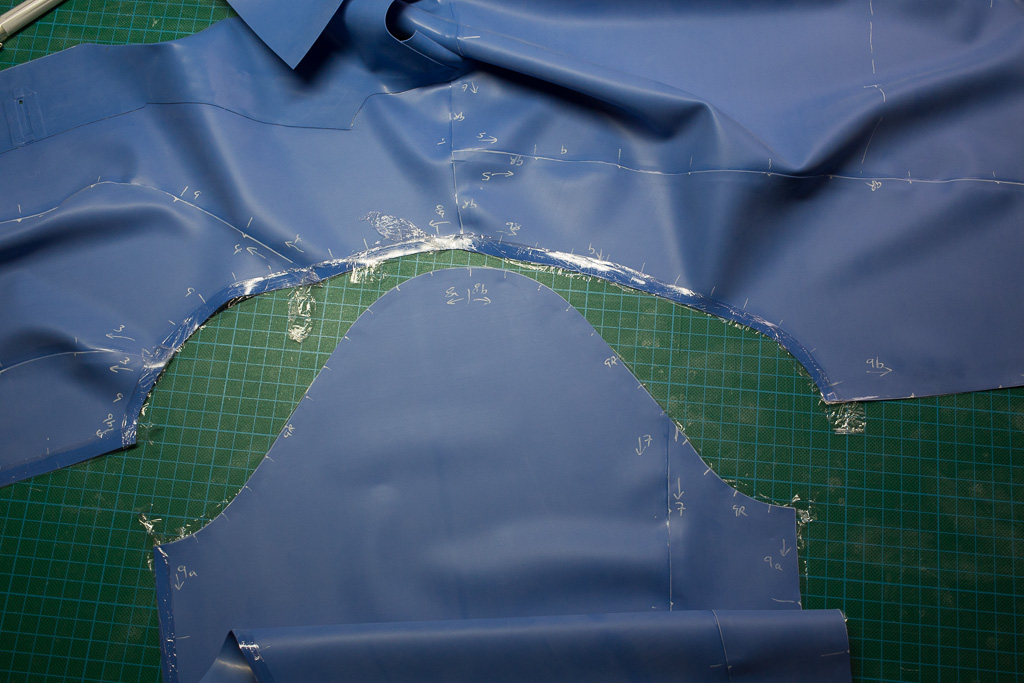
Starting from the should seam join the pieces ensuing that the ends line up perfectly. Try to use an even amount of stretch to ensure alignment, though it will not matter overly if there is a little more stretching employed at the ends.

Once the arm hole seam is complete and rollered lay out the jacket so that the entire seam along the sleeve down to the side of the jacket is aligned.
Starting from the armpit, join the seam down the sleeve.
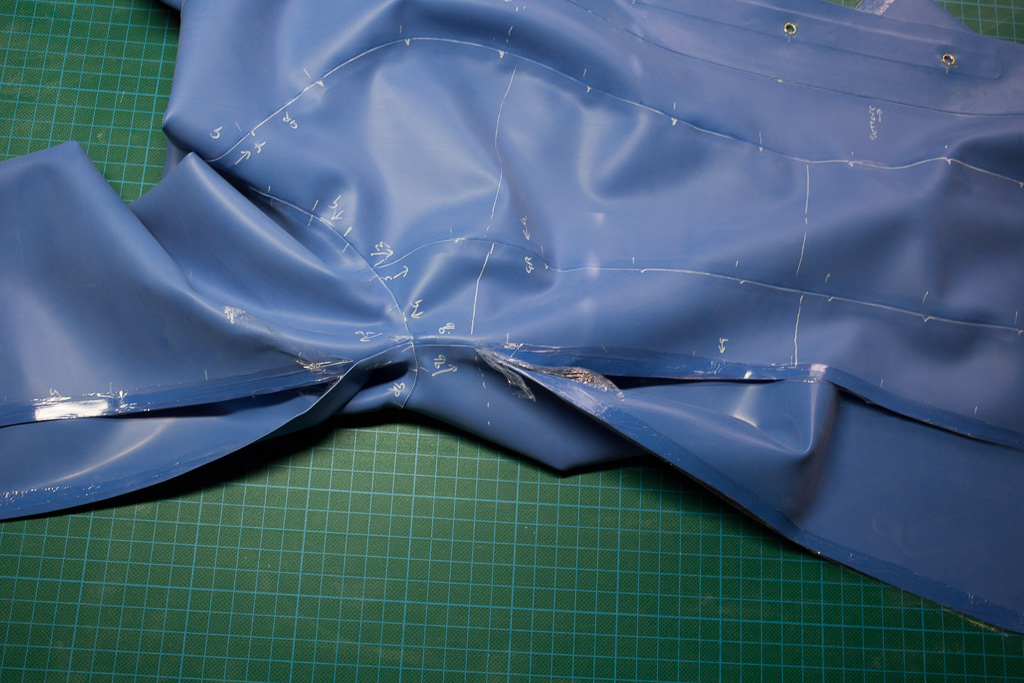
And then join down the side seam.
Step 11 Trimming
Trimming the back panels.
Trimming the sleeve ends
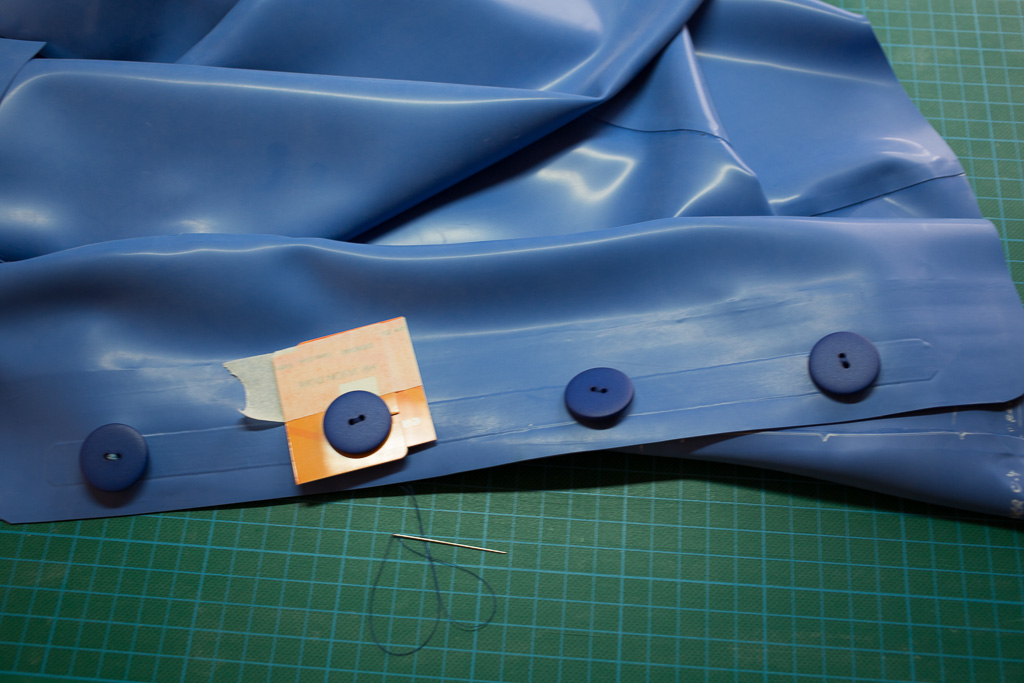
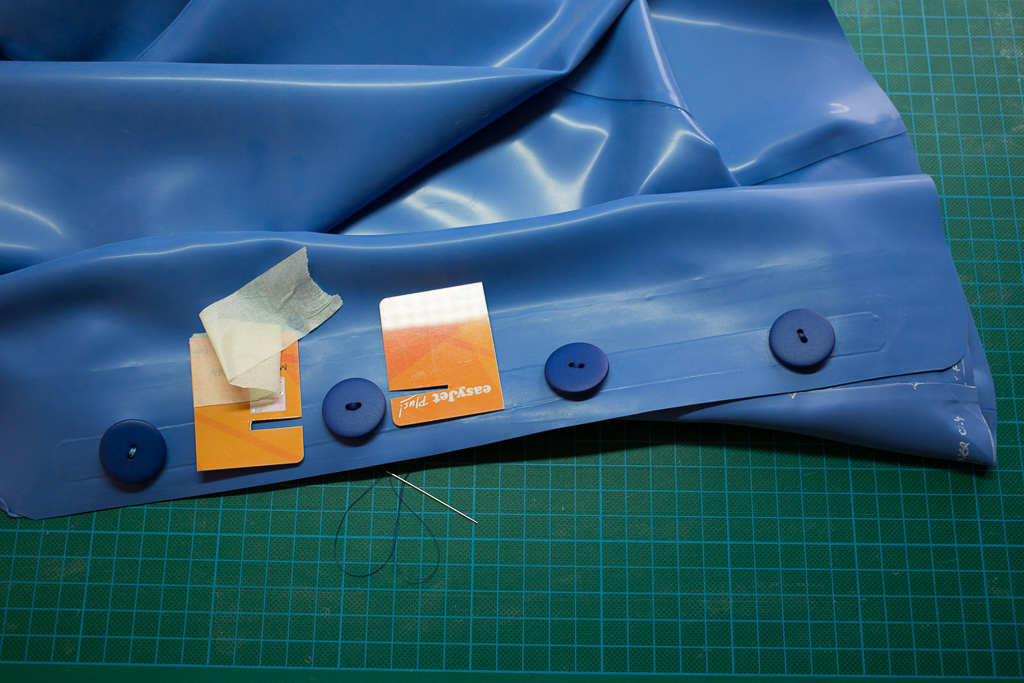
Step 12 – Buttons
Rather than sew the button directly to the latex – introducing more points of focussed stress – we have used an eyelet and cotton tape re-enforcement as we would have done if we were using poppers. The button is attached by sewing a small button on the inside to the large button not the outside – we are not sewing into the latex.
There must be some looseness in the buttons. If the button is held against the latex too tightly then it will not function correctly. Create a spacer using bits of credit card. This will give approximately 2mm of play once the spacer is removed. (Note the spacer is constructed from two pieces so that it can be removed!)

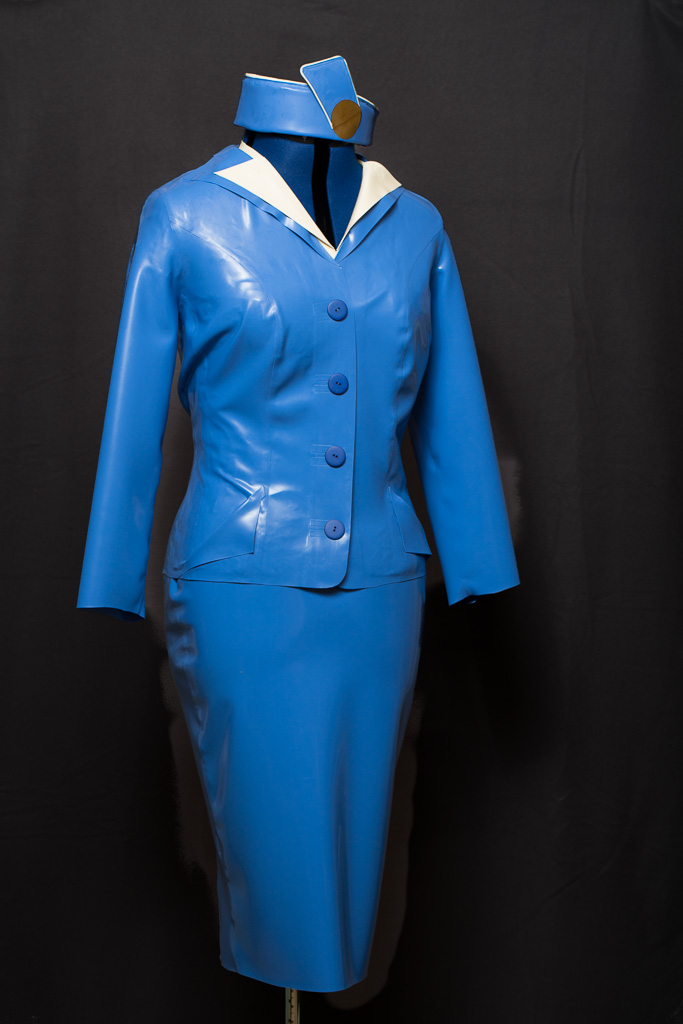
The finished jacket


Wow what a awesome outfit! I’d love to try to follow your tutorial but sadly the PDF file is missing 😦
If you are willing to share the pattern, could you put in up!
Thanks for all your great work
LikeLike
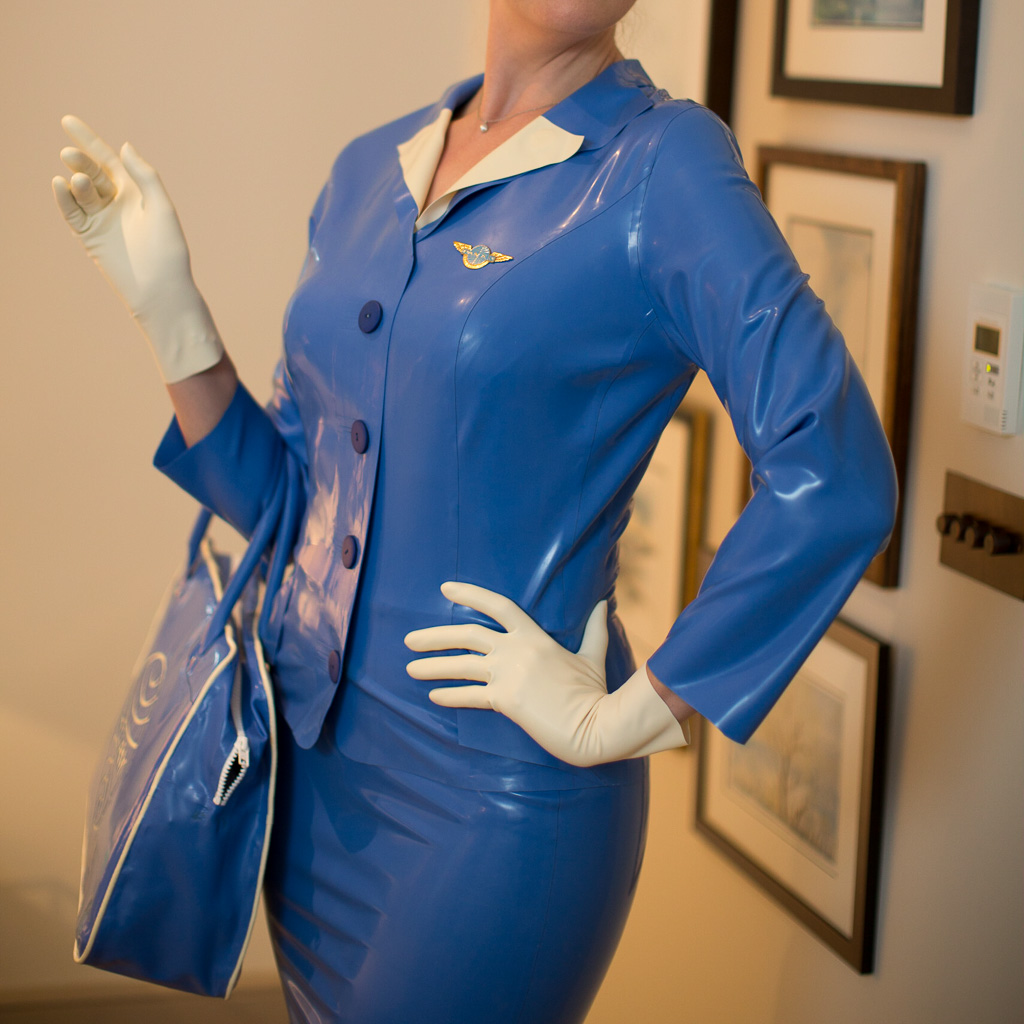
Thanks for your lovely feedback. I have uploaded the PDF of the pattern and linked to it from the how-to. Let me know if it would be useful to have the original iDraw files uploaded as well. I have also added, to the end of the jacket howto, some recent photos of the outfit being modelled. These photos also show the bag that I made (also entirely out of latex).
LikeLike
Thank you very much for sharing the pattern. I haven’t had time to start, also I have to learn how to resize pattern properly first. I work with Adobe Illustrator and AutoCAD, both can’t open idraw files. But AI was able to open the PDF and so I have a head start for modifying the pattern to my measurements. If I succeed I will send you a few pictures of the result if you are interested.
The Bag also turned out great, your work is awesome.
LikeLiked by 1 person
Hello,
Beautiful work!!
Do you still have the matching Pan Am blue bag, by any chance?
Many Thanks!
LikeLike
Thank you for your comment, and yes, I still have the bag.
LikeLike