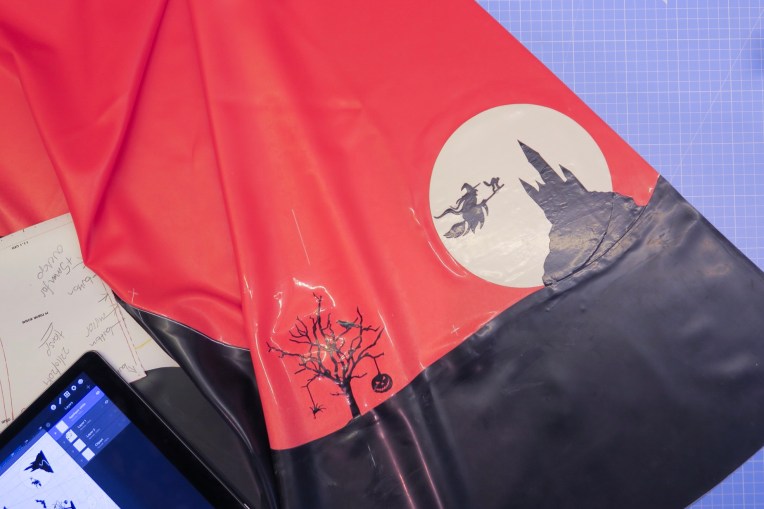
The halloween dress required a lot of detailed appliqué. This page describes the process I use to laser cut appliqués.

I use an Emblaser 1 laser cutter from Darkly Labs. This is an A3 laser cutter that uses a 4W blue laser led. There are a variety of similar cutters now available.
Obviously, ensure you follow all safety instructions for the laser cutter you use. Even though an led laser is low powered compared to CO2 lasers, they can still blind you or cause a fire if misused.
Even if you love the smell of latex, you will want to avoid the fumes generated by laser cutting latex. Ensure you have sufficient extraction.
File preparation
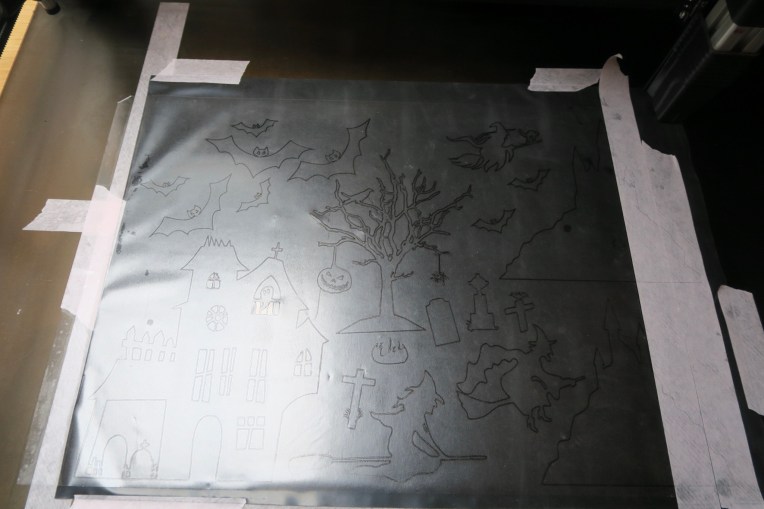
You need to ensure that you’re drawing is suitable for laser cutting. Prepare the shapes in a vector drawing program and remove the fill from the shapes so that you can check that the paths are joined up appropriately. Shapes less than 1mm wide are, in my experience, not practical.
Cutting

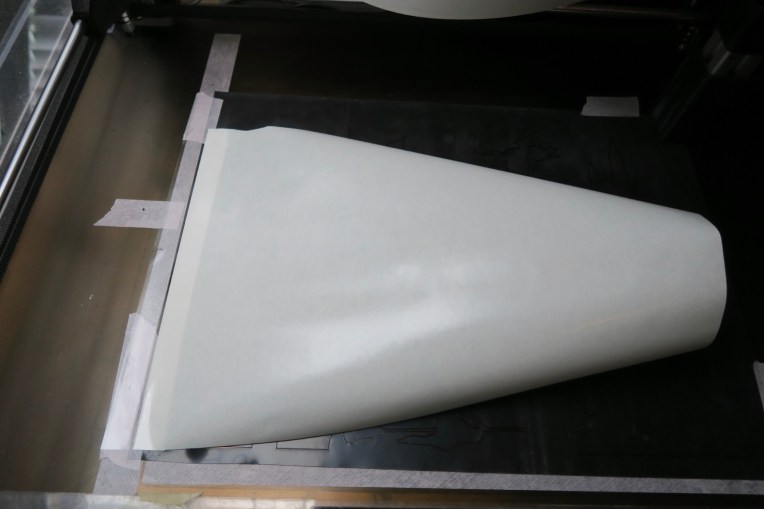
Cut the latex shiny side up.
When the latex is cut by a laser a sticky viscous liquid residue is generated. This is stinky and hard to wash off so try to avoid getting this on your fingers.
You’ll also need to clean the laser bed to remove the sticky residue. I use a non-stick scourer and kitchen surface spray for this.
Transfer

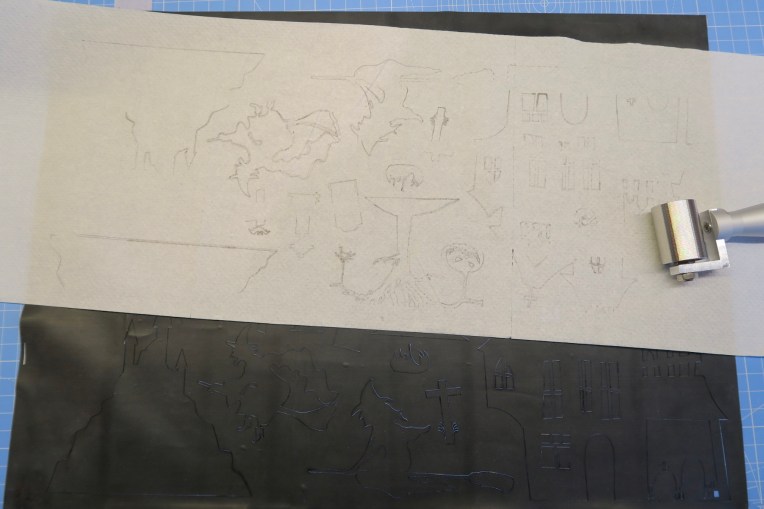
If the appliqué is intricate, and especially if it is cut from thin sheet (0.2-0.25mm) then when it is lifted from the laser bed it is likely to stick to itself and form a sticky ball which is almost impossible to unpick.
To avoid this issue, after cutting apply a sheet of low tack film. Remove the backing from the first 20mm of film and stick to this the bed of the laser cutter, and then smoothly, with a soft roller (10cm gloss paint roller), apply the film. This is a delicate procedure and you only get one chance to get it right.
With the film applied use a hard roller to ensure that it is firmly adhered to the latex. Carefully peel the combined film and latex from the laser cutter.
The transparent low tack film achieves five things:
- it enables the pieces of latex to be picked up without sticking to itself
- it enables the relative positioning of several pieces to be maintained (e.g. lettering)
- it holds the latex in place while you clean the matt side (otherwise fine detail on thin latex curls up too much)
- it allows adhesive to be applied consistently to the latex without curling
- it allows the appliqué to be positioned accurately.
Clean
Clean the matt side of the latex. This will take several passes to remove all the sticky residue.
Initially place some paper, or paper towel, on the matt side and use a roller to transfer sticky residue onto the paper. Don’t reuse the paper as you’ll be transferring the residue around. Once the paper attracts no further residue then use the normal cleaner that you would before gluing.
Ensure you don’t use too much cleaner as the latex may swell up and remove itself from the film (if this happens, just be patient it will settle down again).
Glue
Apply the glue before removing the bits that you don’t need. Use a wide spreader (e.g. credit card sized) and apply a thin, consistent film of adhesive.
Separate
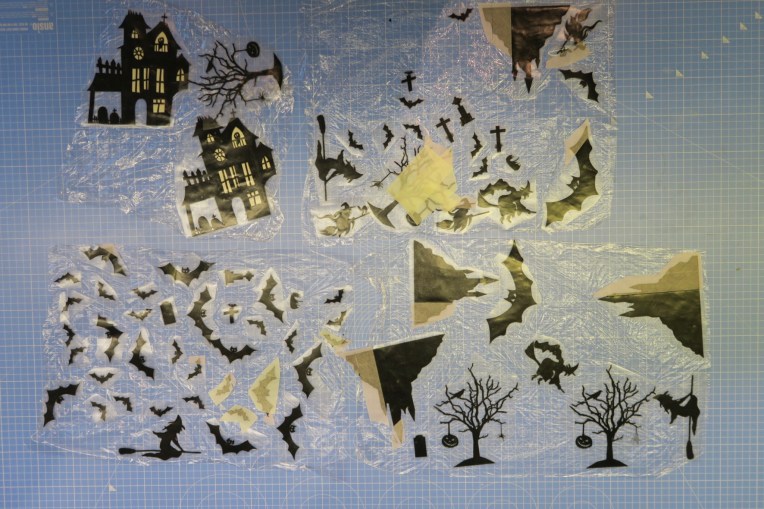
Carefully peel off the parts that don’t form part of the final design. As the latex is now glued it will readily stick to itself, so ensure that the parts you are peeling away don’t touch the parts you want to keep.
If you are not ready to apply the appliqué straight away you can stick it to paper (or cling film as above). The low tack film can be peeled easily from the paper when needed, and the latex adhesive won’t stick to the paper at all.
Apply
In my experience it is not necessary to apply glue to the area that will be receiving the appliqué, instead just give it a good clean with the normal solvent.
Position the appliqué in place using a sheet of paper to keep it from sticking until you are ready. Stick the film into place and then use a soft roller to smoothly apply the appliqué without capturing air bubbles.
Roll firmly to form a good bond between the latex.
Carefully peel the film away taking care not to lift the appliqué off again.
Cover with a sheet of paper and roll firmly again. If there is any residue on the gloss side then clean with solvent.


