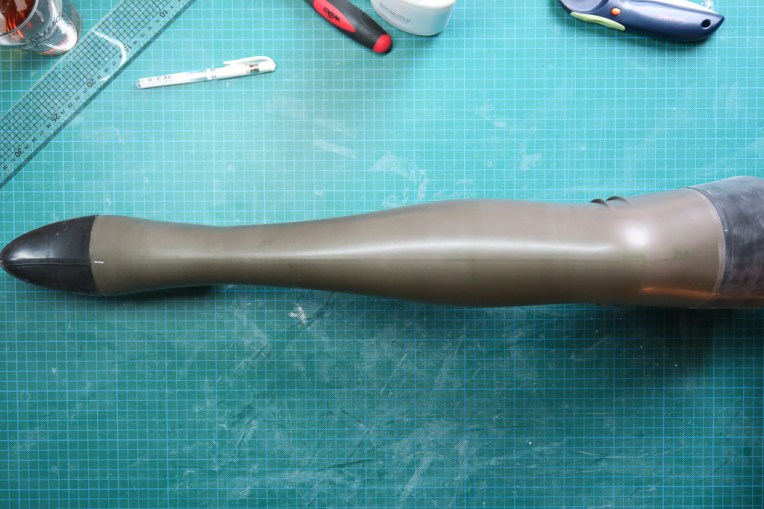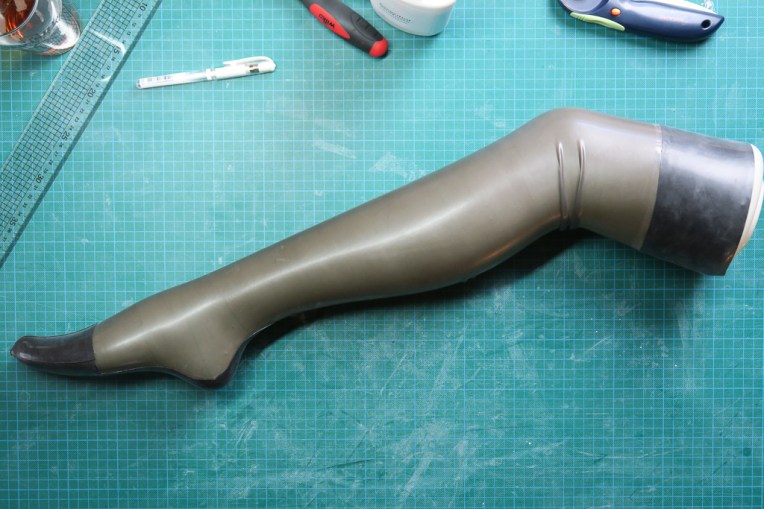
I bought this stockings display leg in order to experiment with creating a pattern for stockings. The pattern can be modified easily to produce stockings tailor made to fit any measurements.
She is quite petite and unfortunately has a quite unnaturally pointy, and symmetrical foot. Hence, the pattern for this experiment is tweaked slightly to accommodate a pointy, symmetrical foot. Note that the toe section is very long for the mannequin leg as the wide part of her toes is unrealistically far along her foot.
Pattern, measuring guide and spreadsheet download.
NOTE: if you have a human foot, and don’t fancy adjusting the toe pattern yourself then wait for version 0.2!
The first step is to take some measurements…
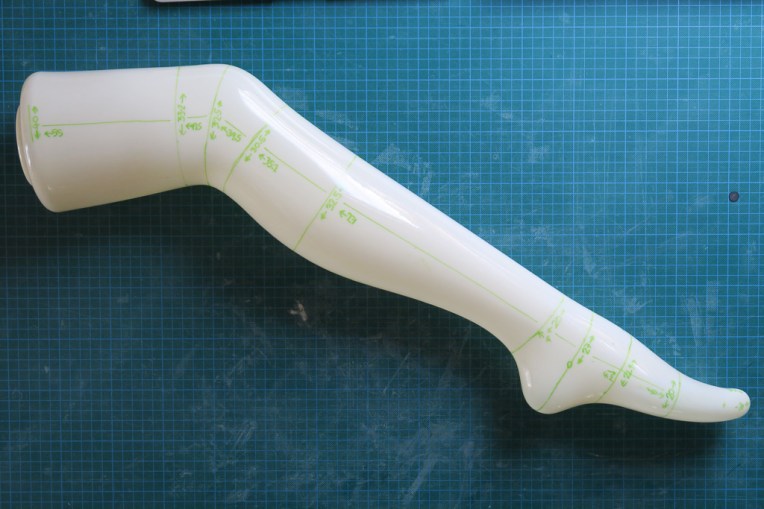
Using a Sharpie for a real leg is probably not ideal. However, it was quite useful to ensure that the length measurements tally with the circumference measurements. It might be worth using a makeup pencil when taking measurements.
I had no choice but to take the measurements with the leg bent. The measurements should ideally be taken with the leg straight.
This may be a clearer guide for the measurements:
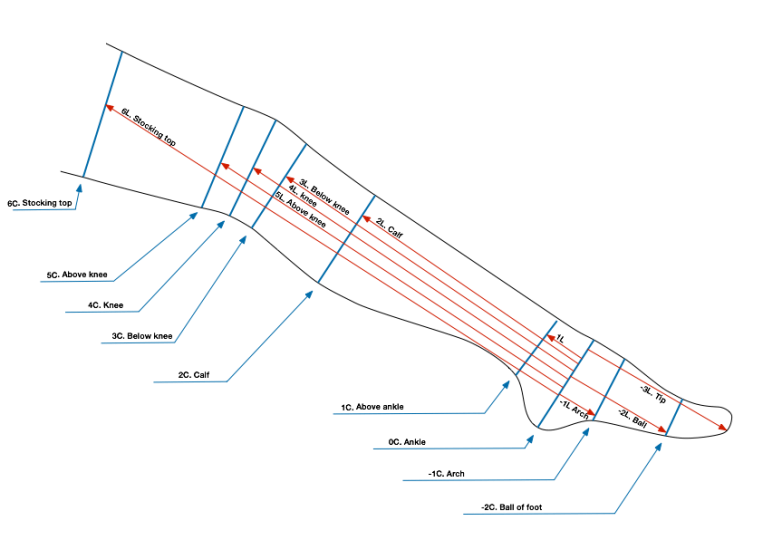
Enter the measurements into the spreadsheet. This simply applies a ‘negative ease’ (so that the stocking is slightly stretched on the leg) and a seam allowance.
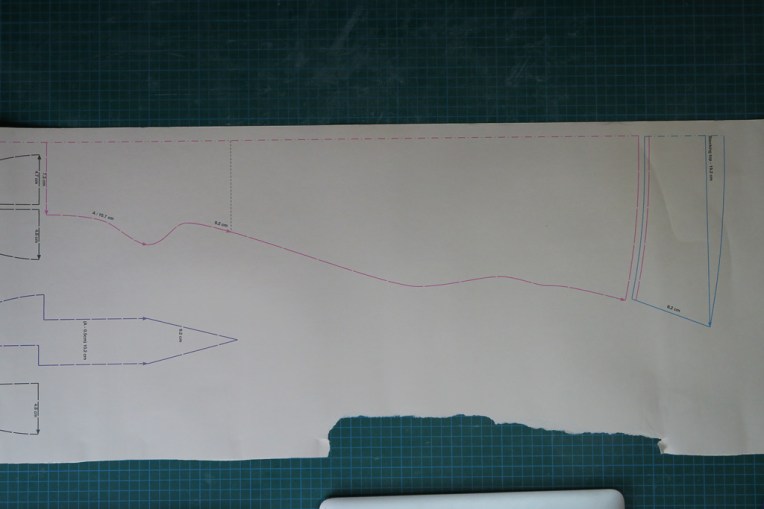
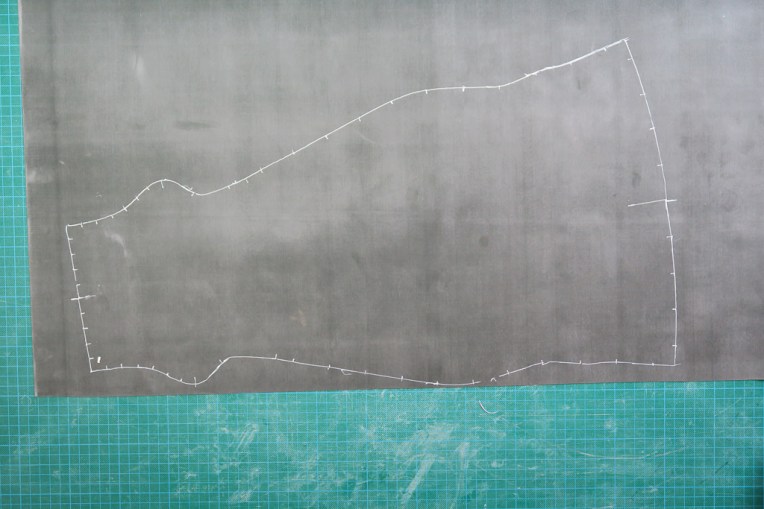
The resulting measurements column can then be used in the drawing program. Adjust the sizing lines to match the measurements, and then move the curve control nodes to align with the sizes.
Check all the measurements and print out the pattern.
Cut out the pattern pieces and create the alignment notches.
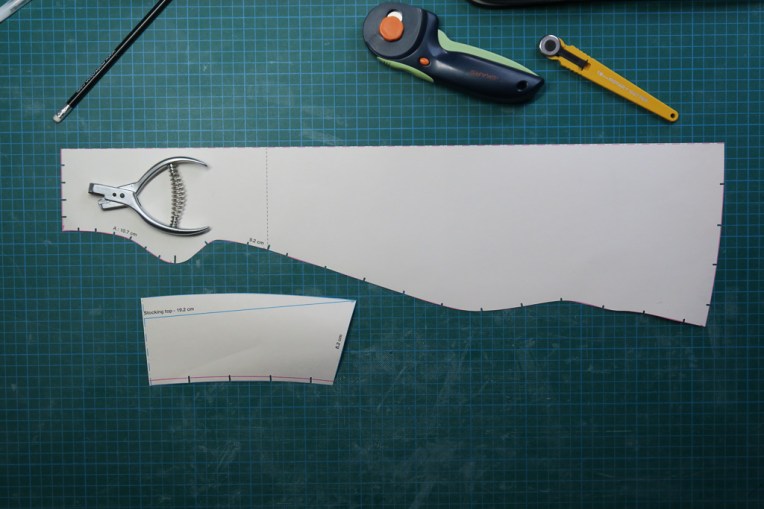
I cheated and used my laser cutter for the smaller parts. If using a rotary cutter you will probably find it beneficial to use a small (e.g. 18mm) one rather than the normal 45mm.
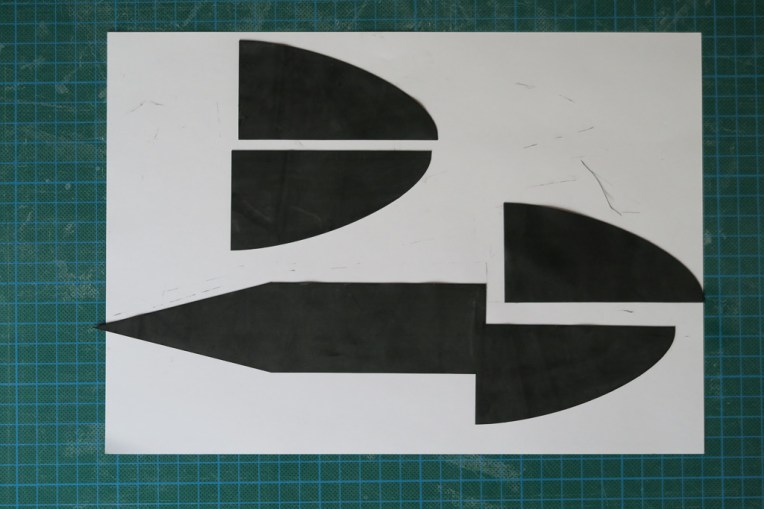
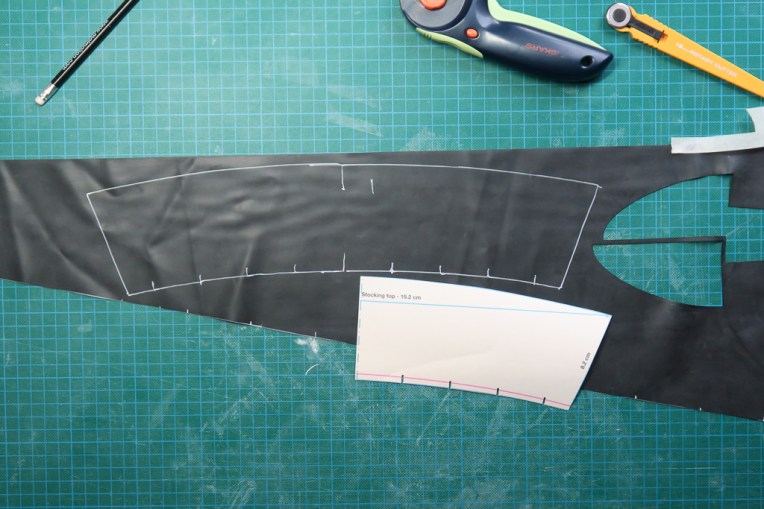
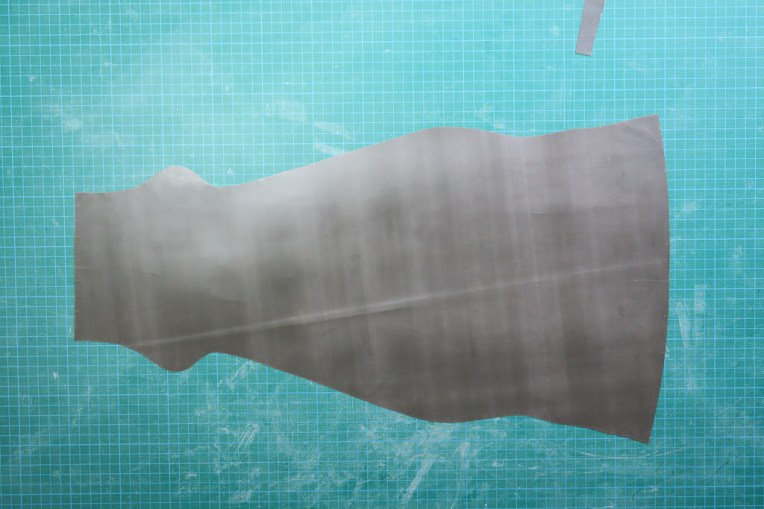
Cut out the stocking top…
And the main stocking front…
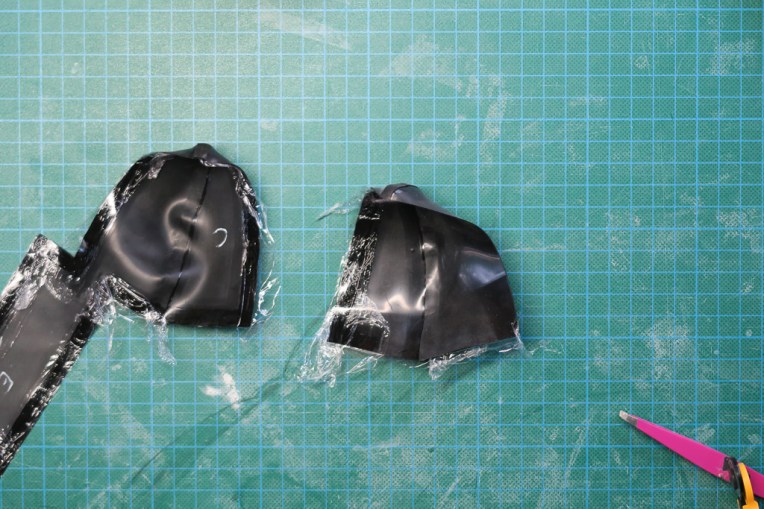
Following the pattern, clean and glue the small pieces.
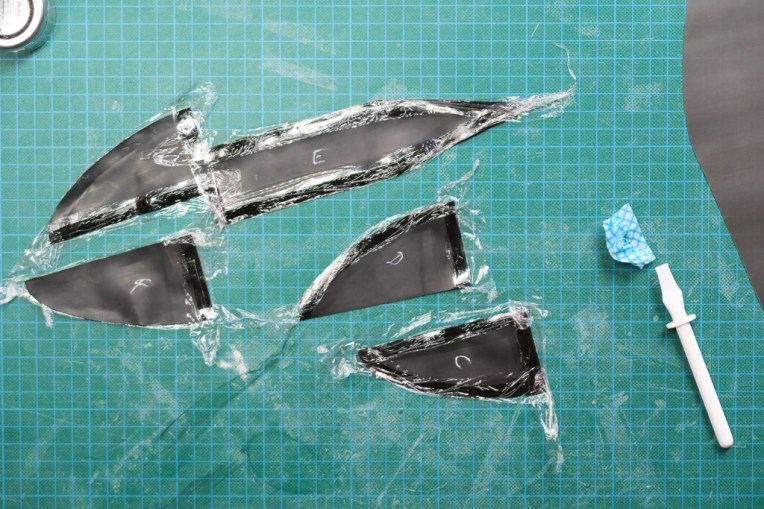
Join the pieces in the order specified in the pattern. To create a neat join on a tight radius I use a polystyrene cone which has a rounded top. I stretch a piece of insulation tape over this (sticky side out) and then tape this to the cone. This allows me to stick one latex piece to the cone and then follow the curve more easily when attaching the second piece.
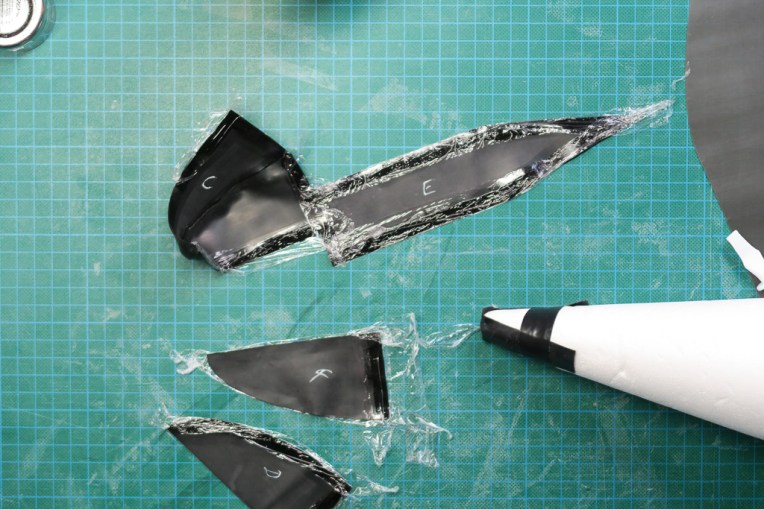
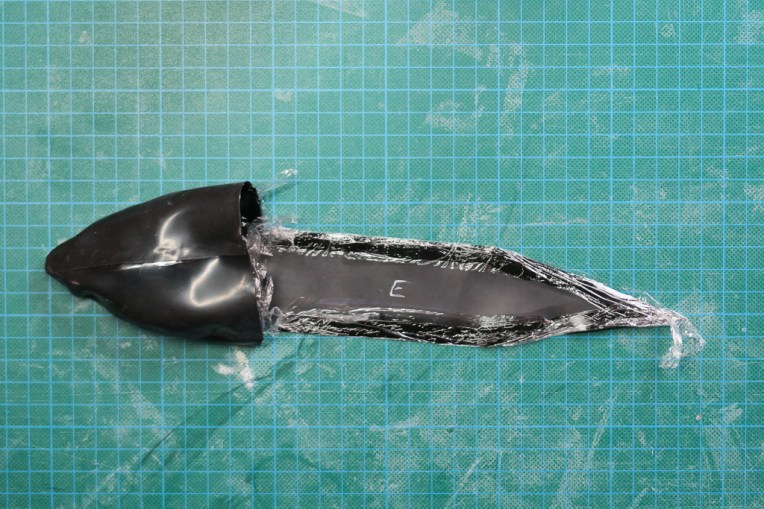
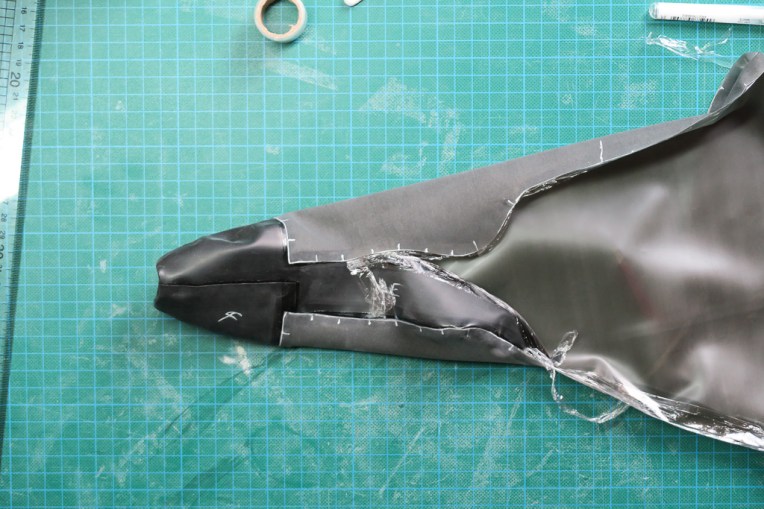
Once the two tricky curves (C-E and F-D) have been joined, then join CE to DF. You then have the basic toe shape.
Note that the toe section is very long for the mannequin leg as the wide part of her toes is unrealistically far up her foot.
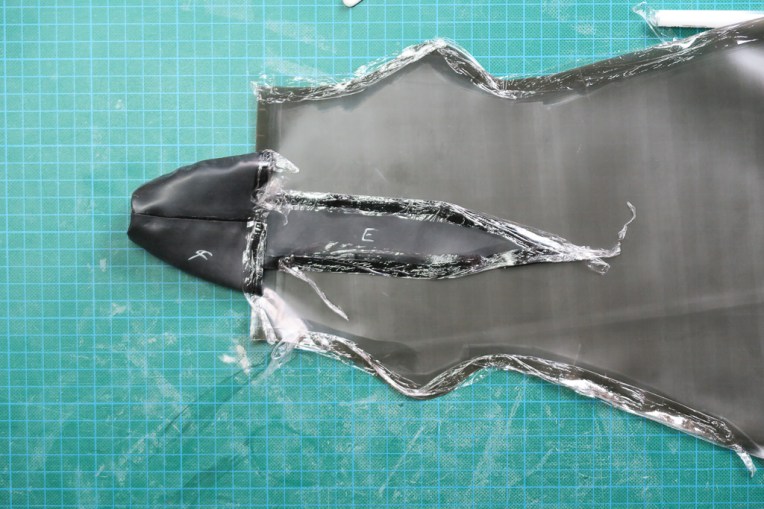
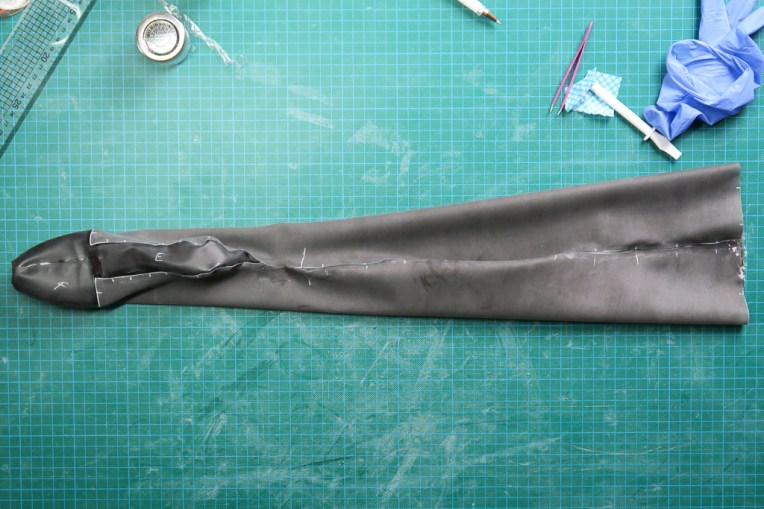
Clean and glue the front (main) piece.

Ensure you start at the centre, attach the toe piece to the main piece. Then wrap each side around.
Work upwards from the toe piece to the heel.
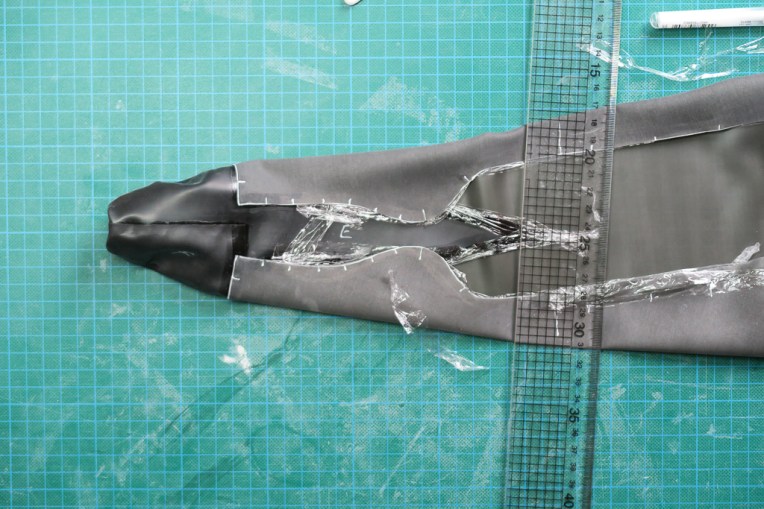
Ensure that you get to the point of the heel first using the side of the front piece that is glued on the matt side.
Work up the main seam.
Then attach the stocking top. Starting from the centre.
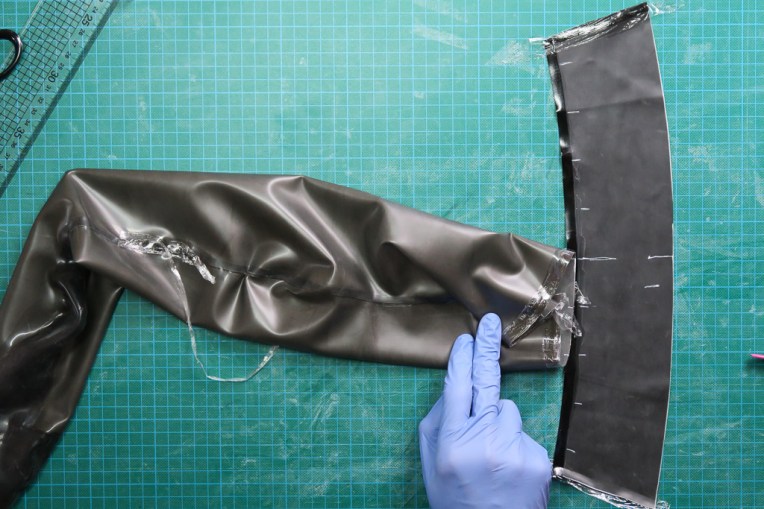
Ensure that the alignment matches as you work from the centre to each side.
The stocking is now finished!