This page is under construction. This information was originally posted by Jay ‘Hill Billy’ on Facebook and has been copied here to keep it accessible.
Equipment:
- Sheet to pour onto
- Magnetic stirrer or hand mixer
Q1 what is your pouring sheet made of. Does it need to be flexible. Would a sheet of glass or perspex also be suitable?
Supplies:
- RD407 latex (400ml for a 90x90cm sheet)
- Fabtone pigment
- Talc? Cornstarch?
Part 0 – Planning
The main process is not difficult but it does require a plan as it can be a multi-hour or multi-day process to build your sheet up.
Plan your sheet: decide how you want it to look; the colors required and the order and pattern in which they are applied.
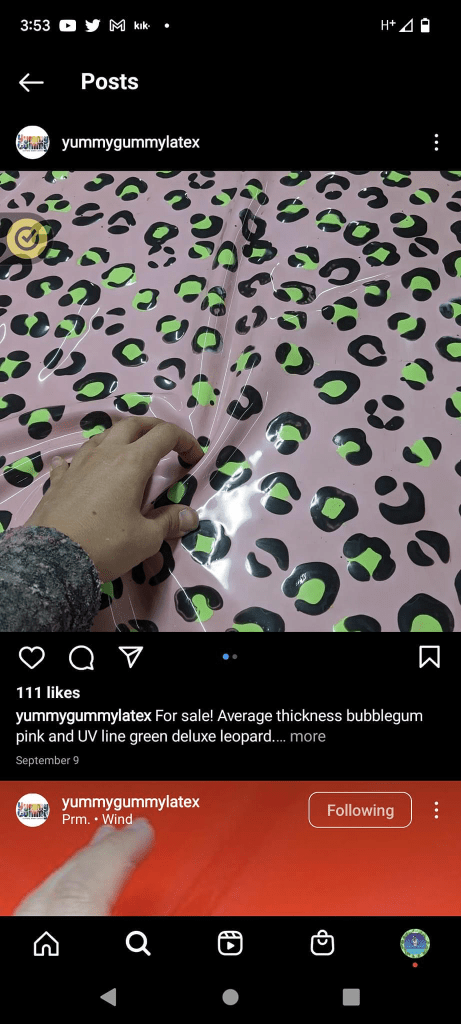
Q2 there are some black bits missing green bits, is it possible that black bits were first?
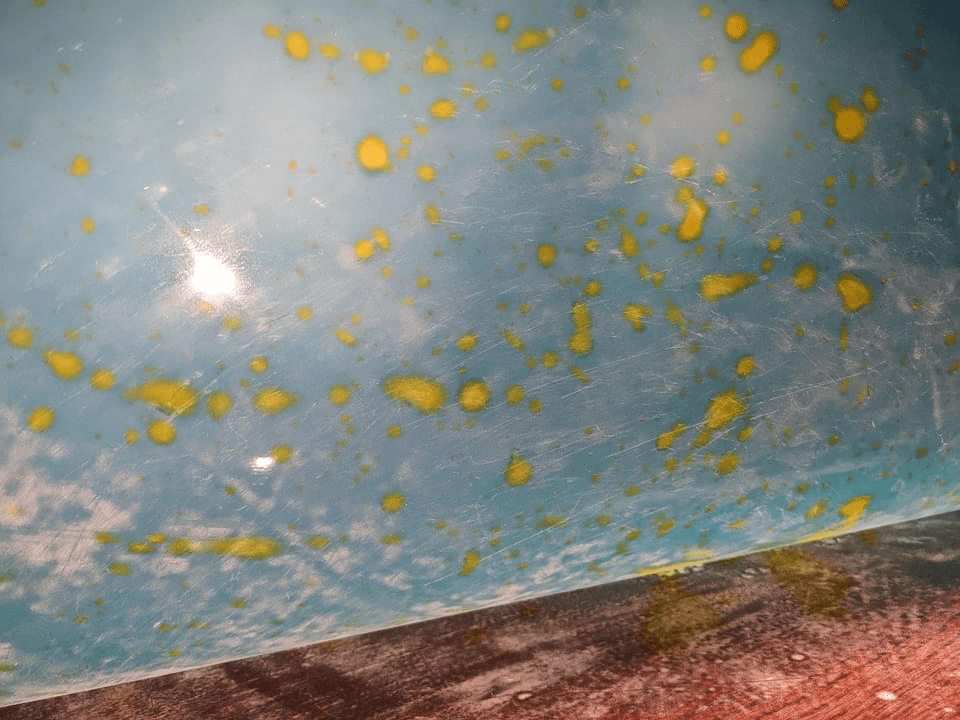
Using this picture of Yummy Gummy latex as an example the lime green dots were applied first. These would have been left to tack up, almost dry but not quite. Then the black would have been poured around the dots. Letting each color tack up prevents them from running into each other. The black is left to tack up, and then the final coat is poured. As both colors have tacked up to almost dry you get a very clean design on the good side and everything is sealed up by your top coat, leaving a beautiful clean design and hopefully no issues on the back side.
And because each color is not on top of one another your sheet will be of one uniform thickness and not lumpy.
Q3 how would this look in cross section? Would I be able to see the black and green on the other side?
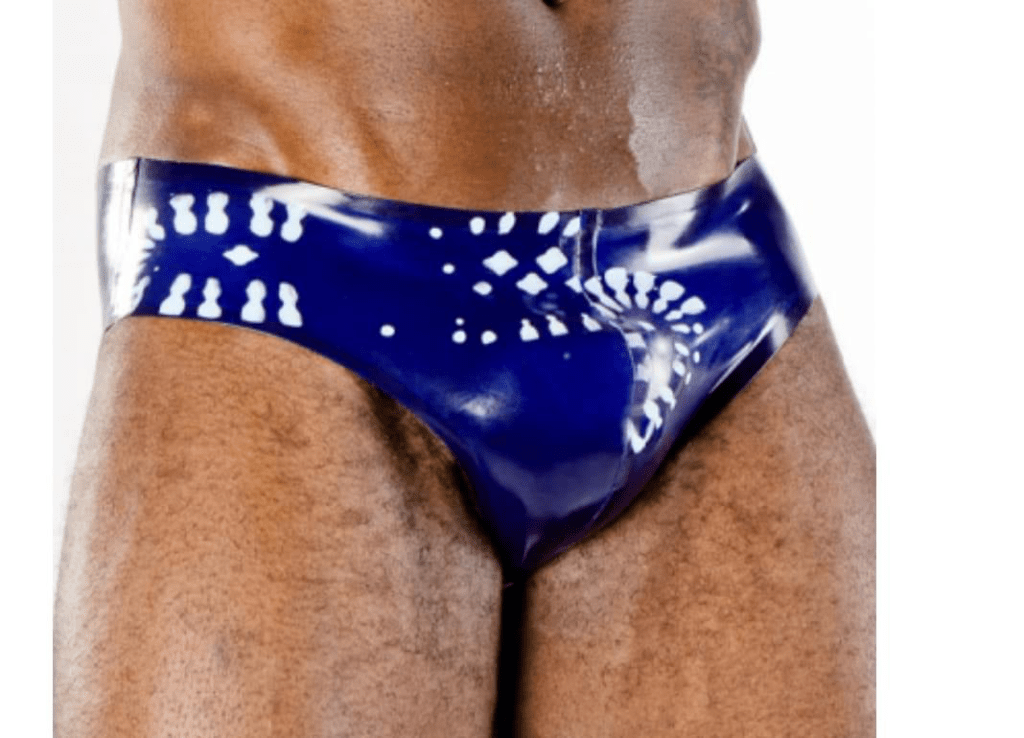
Here is another example using a “positive” print. You can also use rubber stamps or maybe 3D print a positive and dip the part you want in latex and then print it onto your pouring medium, let it semi dry and pour a topcoat.
Part 1 – Selection and dilution of latex
This is pretty basic, but certainly important. To make a quality sheet you need to vary the viscosity of your latex liquid. I would highly recommend an RD-407 type of latex and distilled water, rather than using dipping latex and thixso thickener as it becomes too much like chemistry after that and results are not guaranteed.
However if your using dipping latex and thickener and getting good results then by all means continue.
As well I am using “glove” latex so that definitely makes a sheet that really feels lux against your skin at 0.5 mm.
Q4 'thixso' is this 'thixo' - do you have a link?

Q5 is RD-407 glove latex?  online I found something describing itself as casting latex?
I would recommend a dilution ratio of no more than 1:1 so 100ml latex liquid to 100ml of water and then adding color via pigment.
I use fabtone but others exist.
Part 2 – Mixing and stirring
This part really makes a huge difference. Latex loves to form bubbles, little tiny pain in the ass bubbles. These will make your sheet weak and not very aesthetically pleasing.
Either use a hand mixer or magnetic stirrer, both can be acquired cheaply off Amazon or wish. Add color to water first in case your pigment has gelled from exposure to air. This ensures good incorporation and even color.
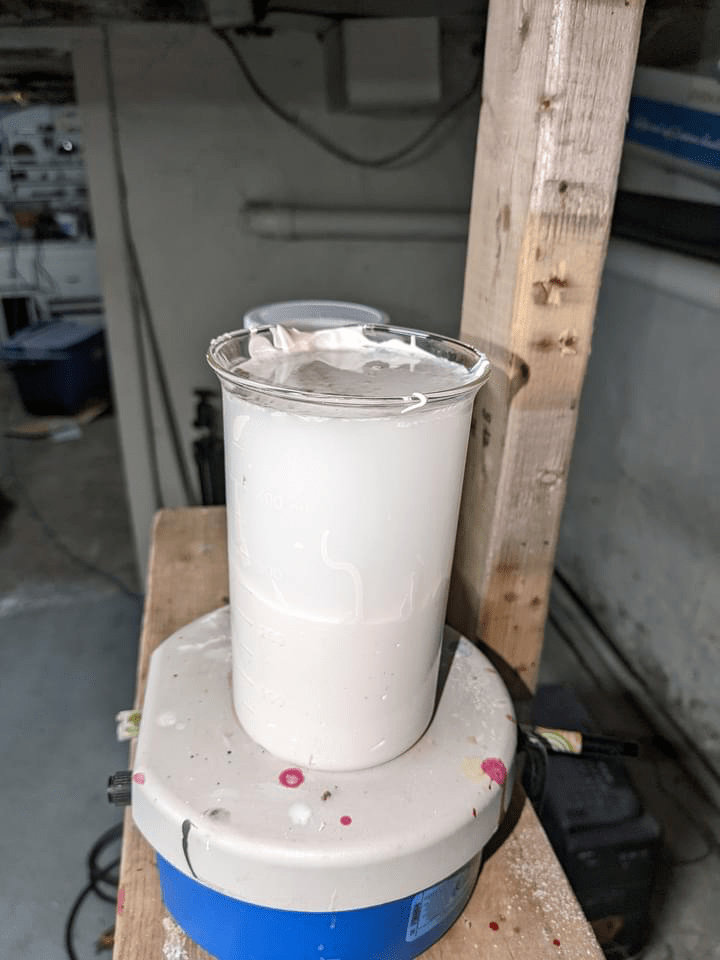
The picture below is the top coat which is baby blue and my magnetic stirrer doing it thing. It really does mix without bubbles, and you can see the pigment going into the latex maybe 2ml at most, you can see the mixture go from lumpy to velvet smooth.
1 video
TODO get the videos
Then I mixed approx 75ml latex and 75ml water put it in a cup with yellow fabtone pigment and let it stir till it was well mixed (cream consistency) then I poured the colored mix through a strainer into a beaker so I could make the yellow splotches.
Part 2.5 – Prepare pouring surface
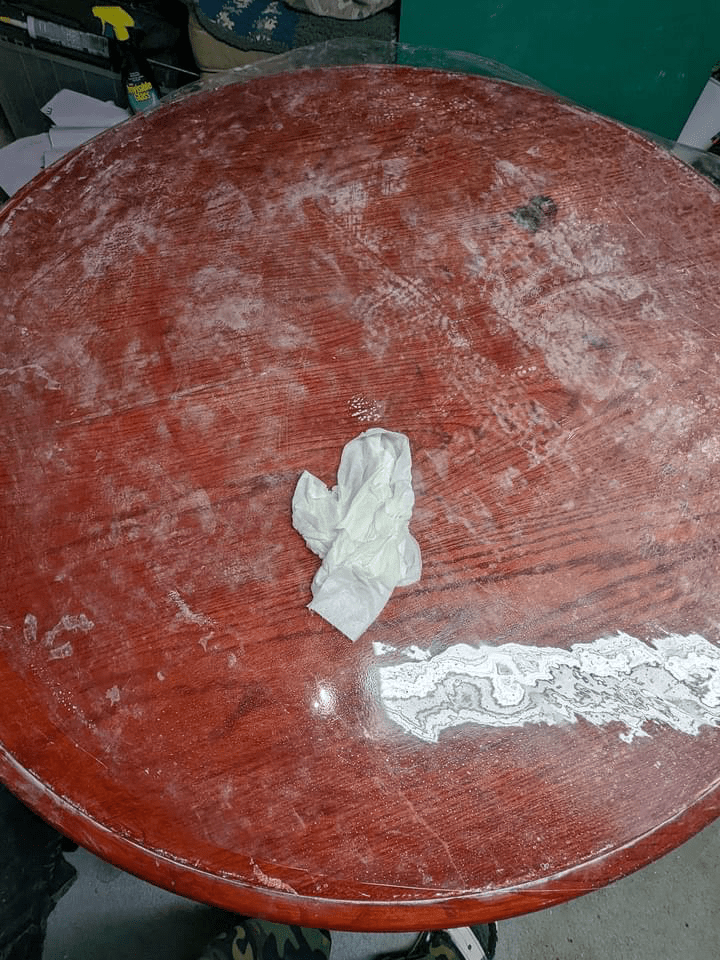
This is how I started the process, cleaning my sheet.
Q6 cleaning hints?
Part 3 – Coagulant
This is pure science and it may or may not apply to you.
If the design you’re making is more like abstract art then you won’t need coagulant. Lines or stencils won’t require it either.
If your latex always ends up very weak or stringy or you’re making very fine lines in your base layer then you may need to use coagulant.
Coagulant decreases slump in latex and strengthens it noticeably. However, use too much and you end up with 3mm thick latex.
There are a few types of coagulant but most use either calcium chloride or calcium nitrate. I specifically use calcium chloride but it’s much stronger than nitrate and if you use to much you will chlorinate your latex (above 25% by volume). I use 1-3% by volume but when you use coagulant you need a wetting agent to help it stick to what you’re pouring onto or it won’t stick uniformly and the effect will be horrendous.
Q7 what wetting agent?

Q8 Talc or cornstarch?  Does it matter?
So now you introduce a mixture of talc(cornstarch) water and your coagulant. Mix and add cornstarch as needed to your water and coagulant until you get a nice even coating on your pouring medium.
Let it dry before you pour anything.
When you pour liquid latex onto your coagulant mixture it basically reduces the slump and stops it from traveling into areas you may not want it to go, e.g. fine line appliqué.
Q9 are we aiming for an even coating of coagulant across the whole pouring surface?

Q10 does this affect the shine achieved?
Part 4 Pouring
Pour through a fine strainer, this removes clumps and bubbles.
Make your first color as vibrant as you can as this helps it pop from the background.
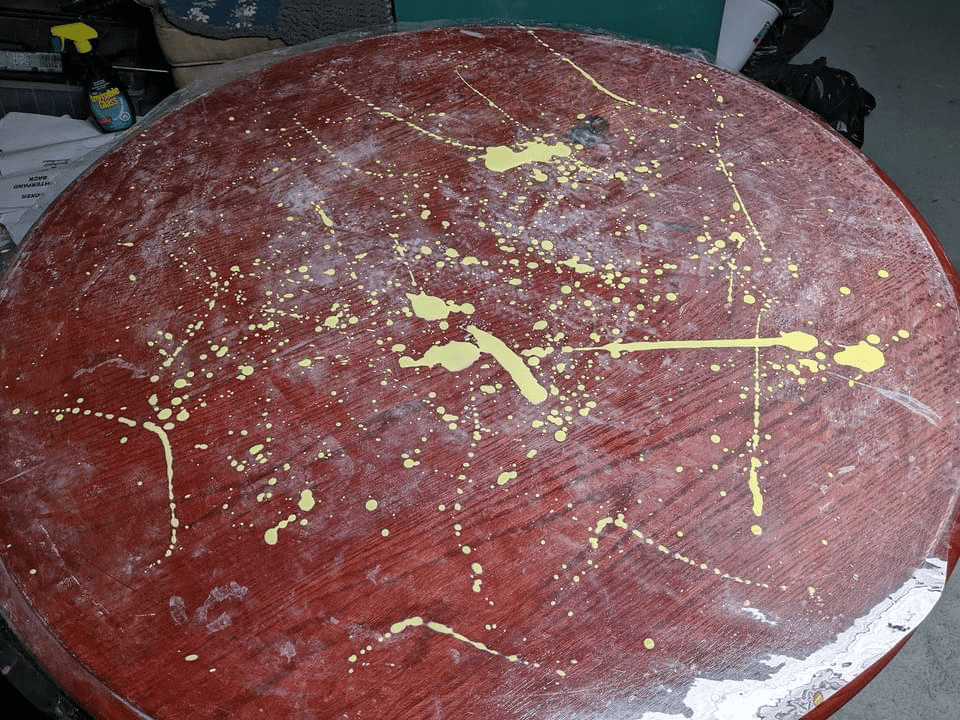
The spots where there is no latex is my fault my vinyl had ripples and I didn’t notice till it was too late.
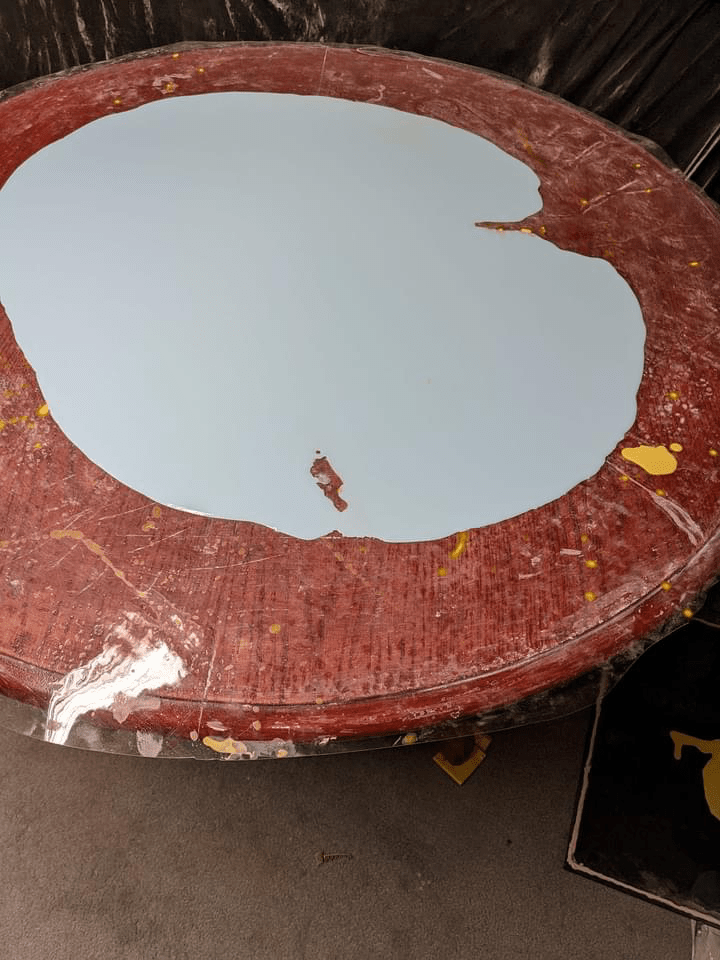
Q11 Is time the only difference between the above and below picture?

Q12 does the blue flow around the yellow?
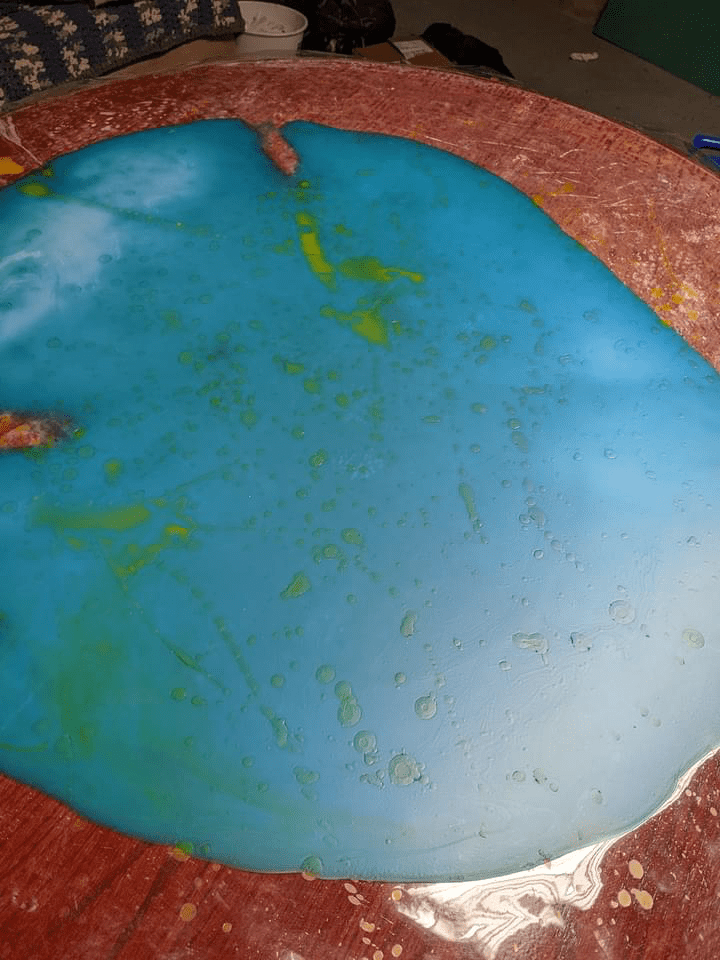
In the picture below the sheet has not yet been pulled. This photo is shot through vinyl with talc all over.
Q13 drying time?

Q14. do you need to de-tack it before you pull it? e.g. with talc?

Q15 any hints for pulling it?
TODO get the videos and any other available photos.
