This section covers the creation of the catsuit front with the famous shield logo. This project pre-dates the arrival of my laser cutter and so describes how to do an appliqué using a scalpel.
The yellow latex being used here is thin – 0.25mm. The red is 0.5mm.
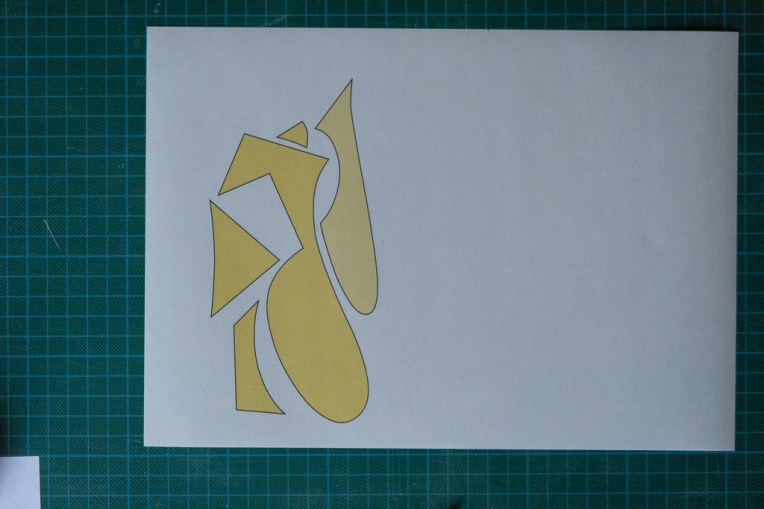
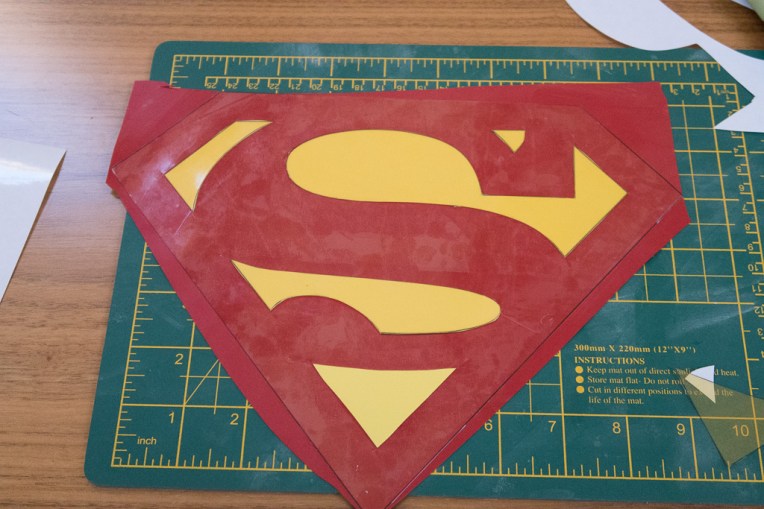
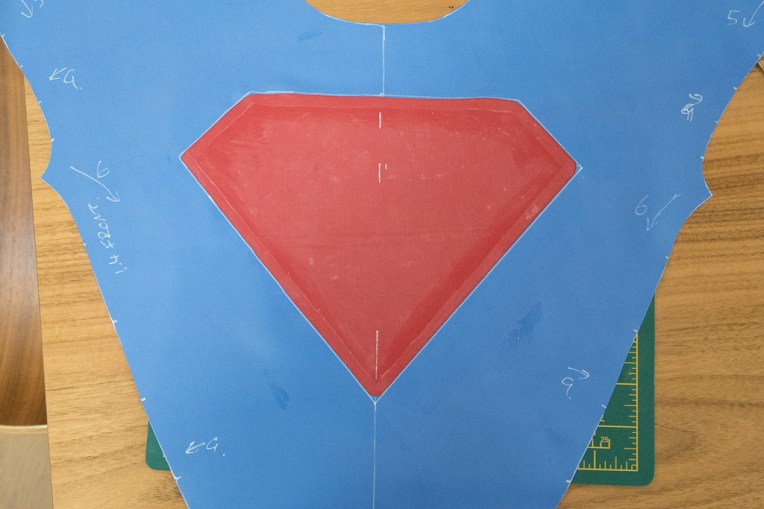
If you look carefully at the Superman shield, it is mostly red. There are only a few yellow shapes that form the outline of the S.
Print out the shapes for the yellow parts onto inkjet printable sticky film. XXX add to supplies XXX
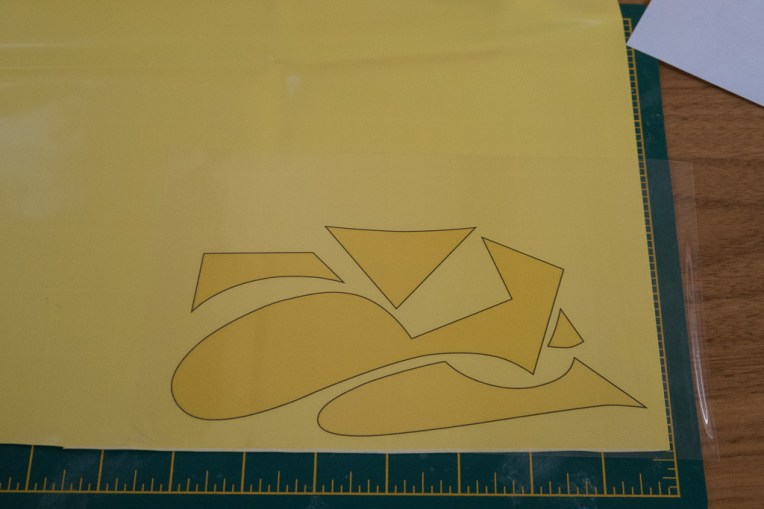
Apply the sticky film to the gloss side of the latex.
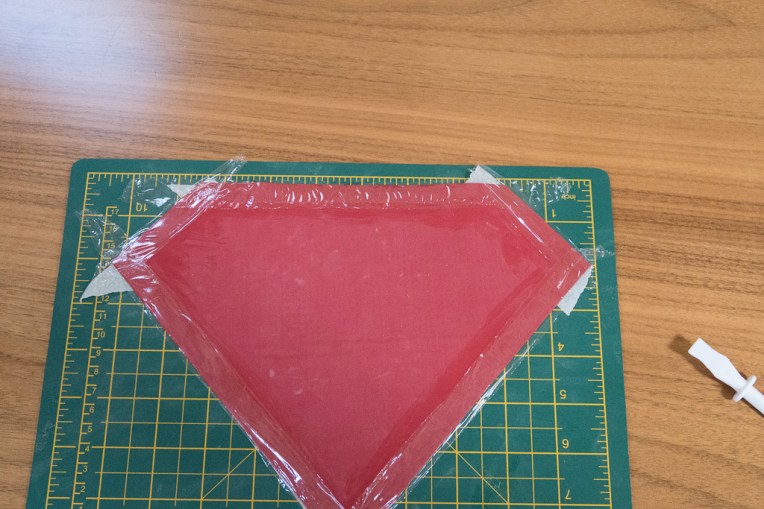
Then clean and glue the matt side of the latex. Protect the glued surface with clingfilm.
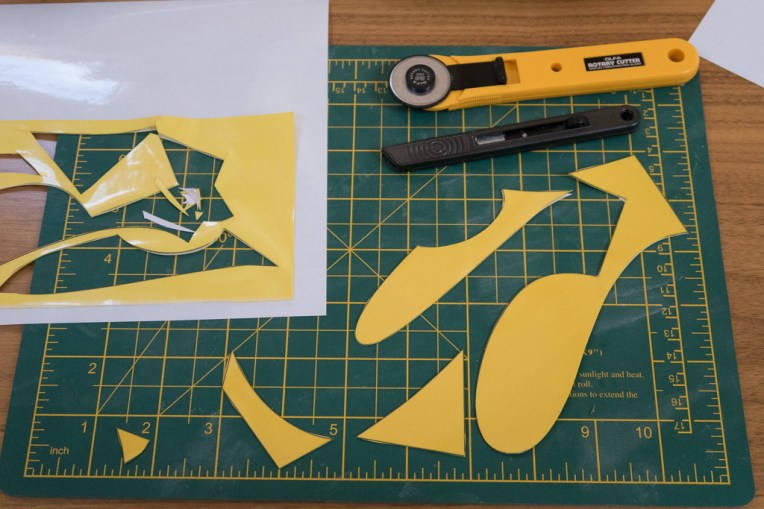
Using a small rotary cutter and, where necessary a scalpel cut out the yellow parts.
We now need a pattern to allow accurate positioning of the yellow parts.

Print out the whole shield logo on clear sticky film. And then cut it out.
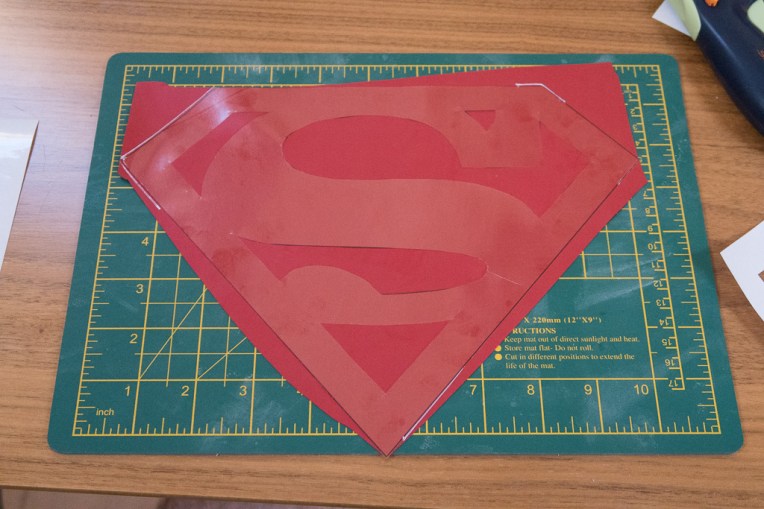
Clean the whole shield area. Apply the film to the shiny side of a piece of red latex that is at least as big as the shield.
Remove the cling film from each piece and carefully place the yellow segments into the appropriate gaps. Roller.
The fact that only one surface was glued is okay as this is not a seam.
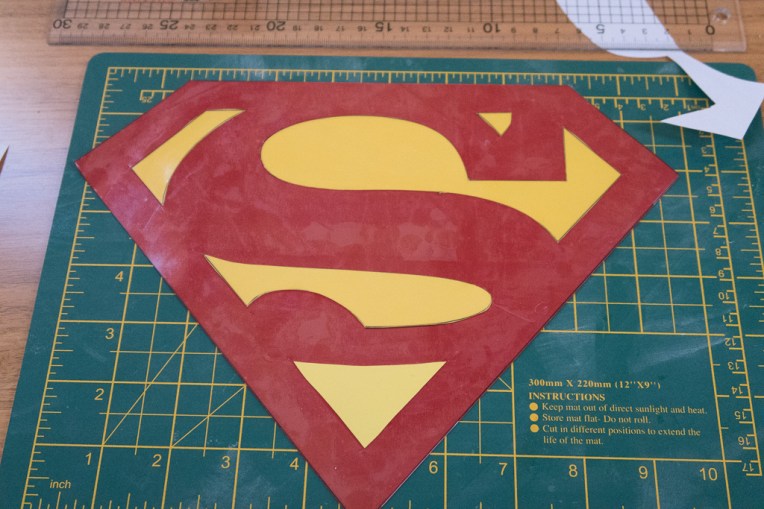
Remove the clear film.

Prepare the hole in the front piece of the catsuit. The hole is 5mm smaller than the shield all round. Clean and glue on the shiny side.
There were two reasons why I elected to cut a hole in the front piece rather than simply stick the shield on:
- The shield is 0.5mm and the catsuit front 0.4mm. The shield area would be 0.9mm and this would affect its stretchiness which would then be inconsistent across the front of the suit.
- Applying the whole shield without any air bubbles or tension marks is harder than cutting the hole.
Clean and glue the outsides of the shield on the matt side.
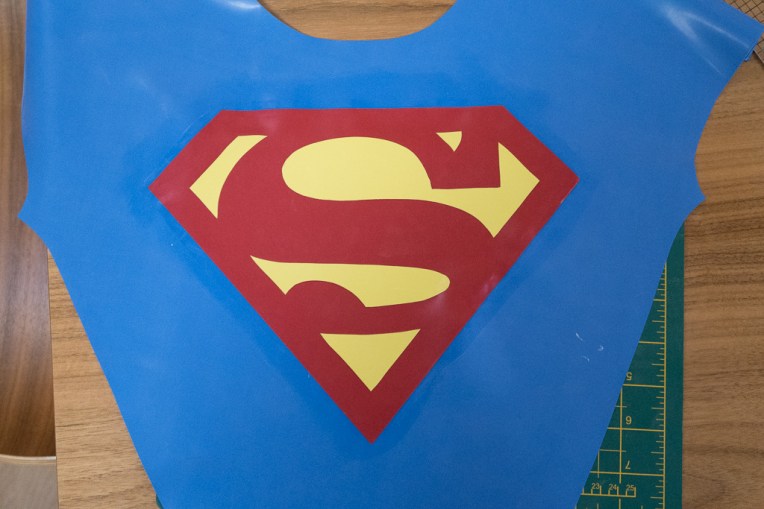
Carefully position in place and remove cling film only when the alignment is perfect. Be sure not to stretch the front piece or the logo and that the overlap is a consistent 5mm as planned.
Showing the back of the front panel.
Now proceed to part 2.
