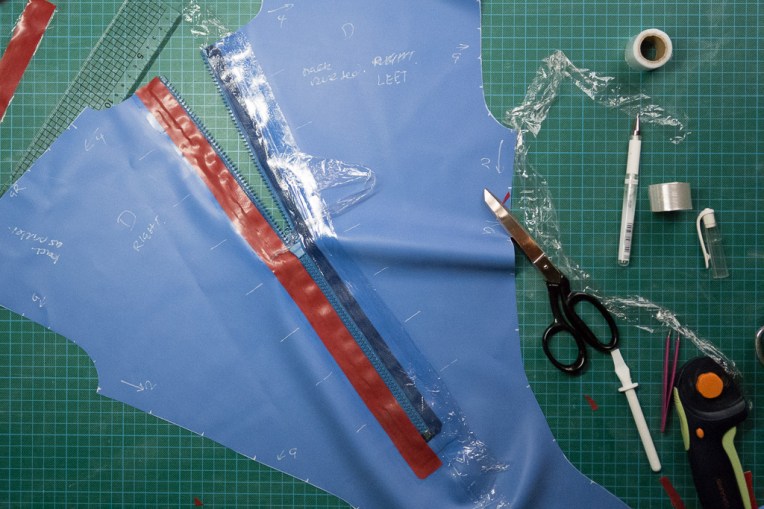
These photos show the insertion of the back zip.
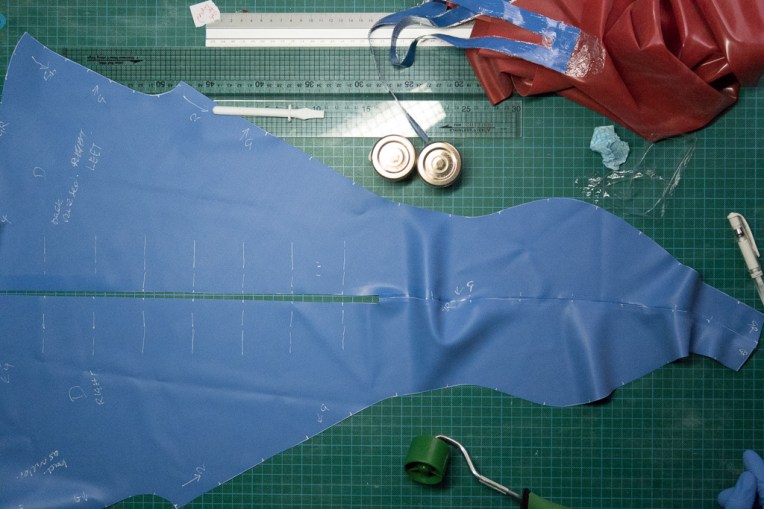
First prepare the reinforcement panel
Glue the two rear pieces together. Glue the gloss side of one piece and the matt side of the other.

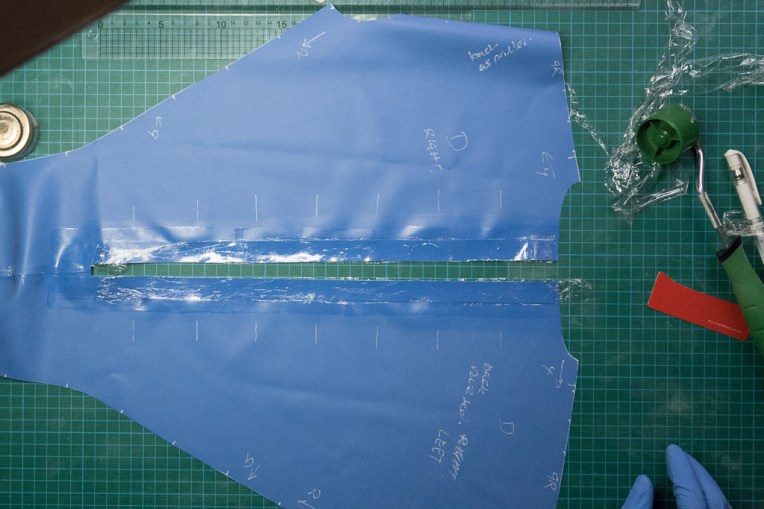
Join the rear panels together ensuring that the start of the zip slot is the correct width.
Prepare the area for the zip by cleaning and gluing a sufficient area for both the first and second reinforcement panels.
Clean and glue both sides of the reinforcement panel and protect the matt side with clingfilm. Add the first reinforcement panel to the back piece.
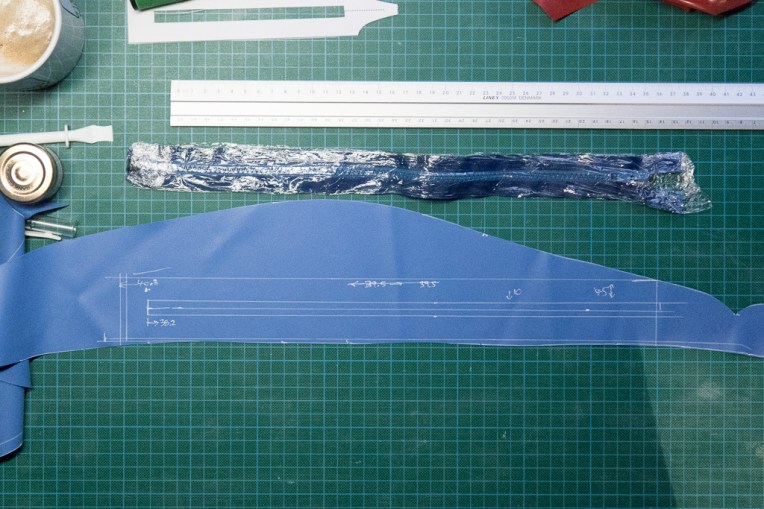
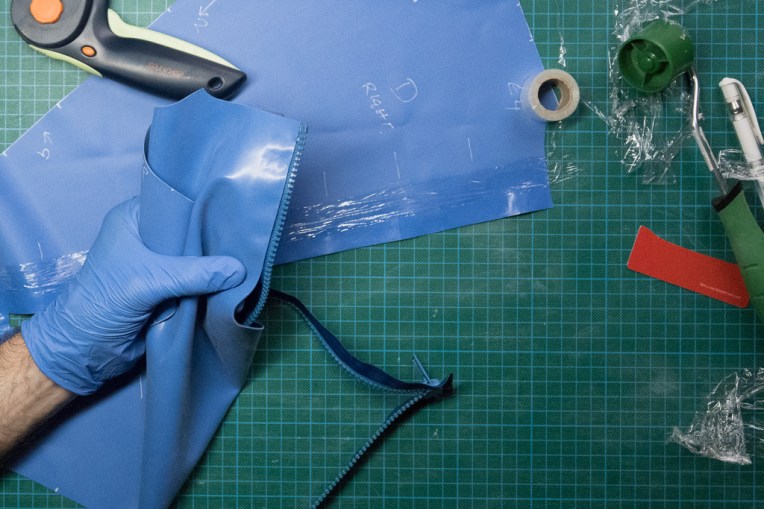
Insert the fully prepared zip starting at the open end.

Ensure the zip is positioned accurately with a consistent gap between the latex and teeth. Take care not to stretch the latex as both sides must be consistent.

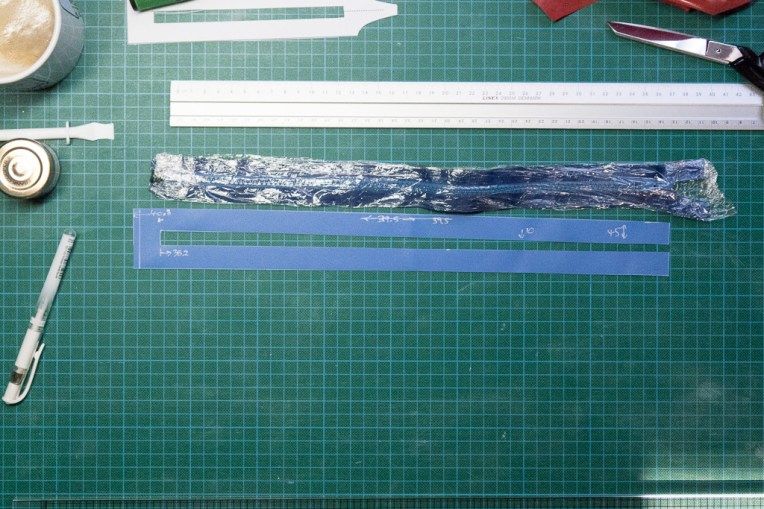
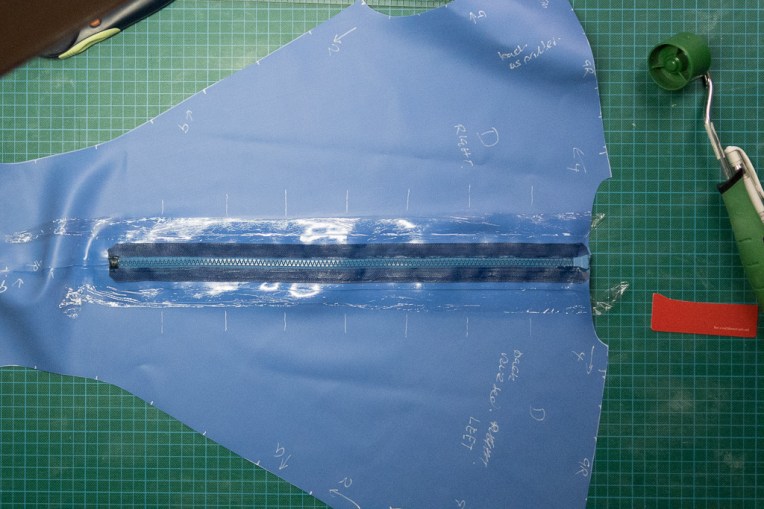
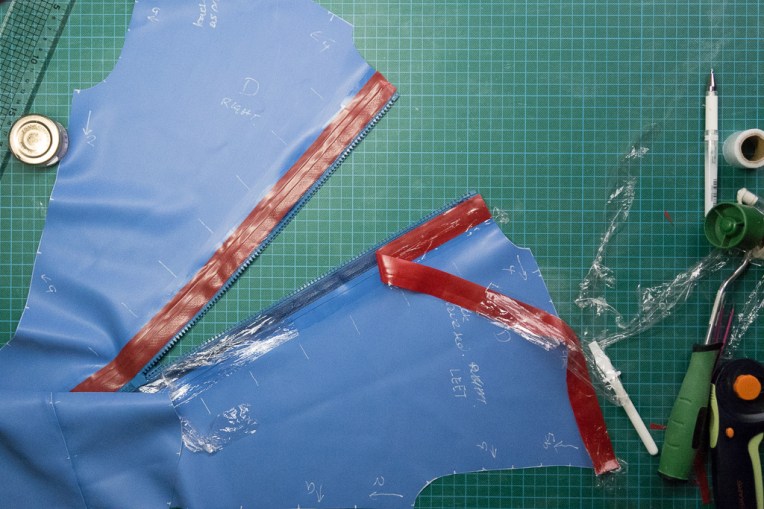
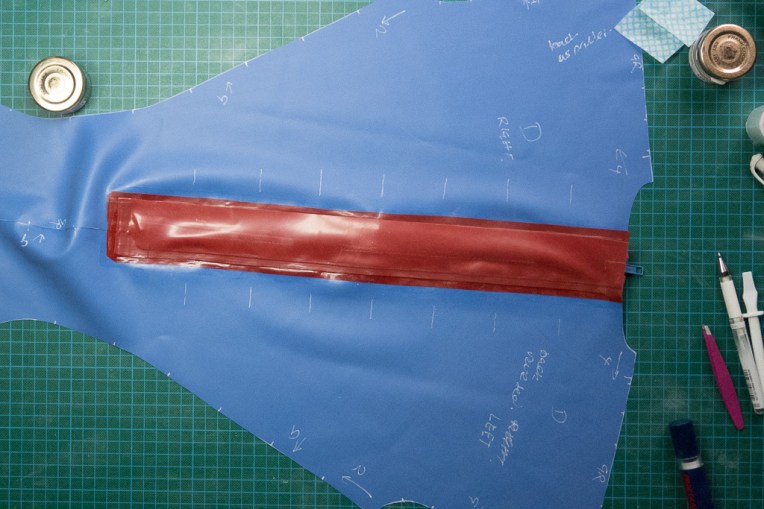
The picture below shows the zip inserted and ready for the reinforcements.
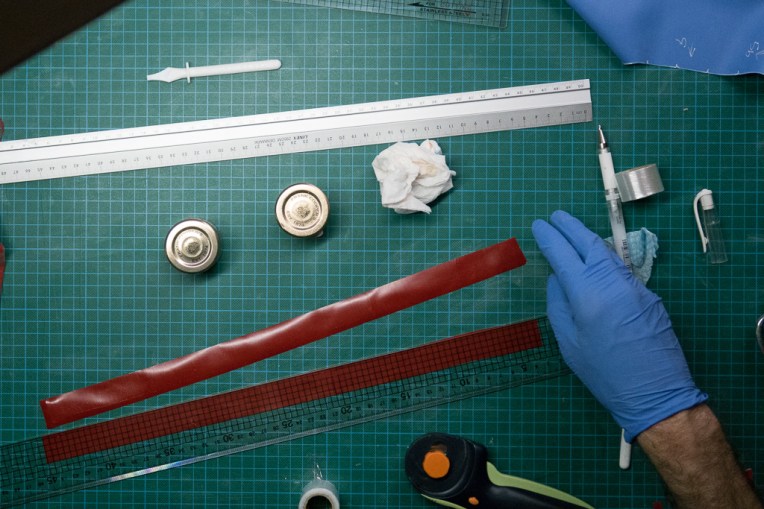
Prepare the reinforcement strips.
And attach them ensuring a consistent gap between the latex and teeth of the zip.
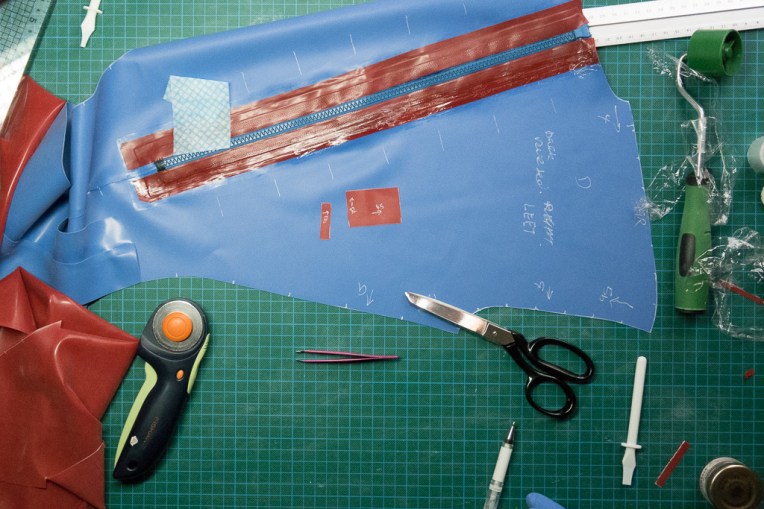
Roller the various layers firmly.

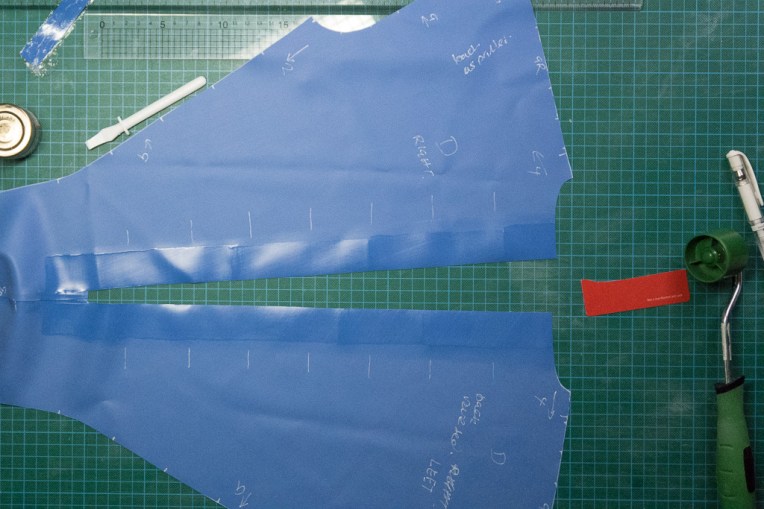
Prepare pieces to complete the u-shape of the reinforcement and to provide an inside cover for the zip.
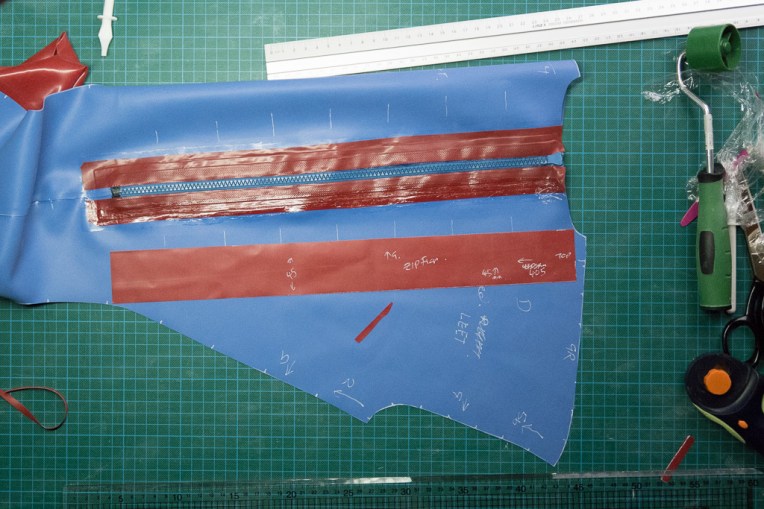
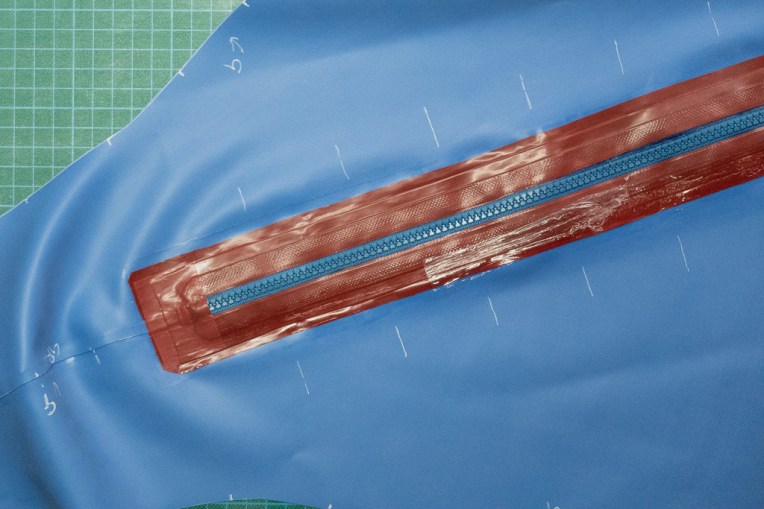
The picture shows he final piece of the inside of the zip in place.
Picture showing the completed zip from the gloss side.

Now proceed to part 4.
