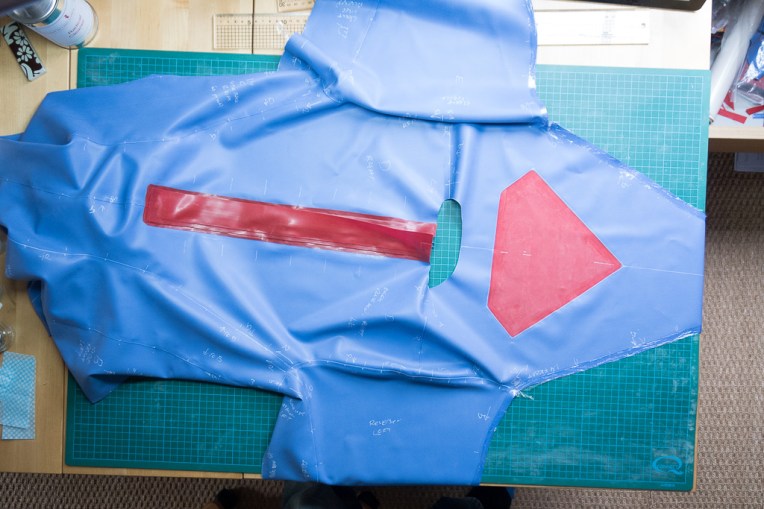
With the logo and the zips completed the final stage is to build the catsuit.
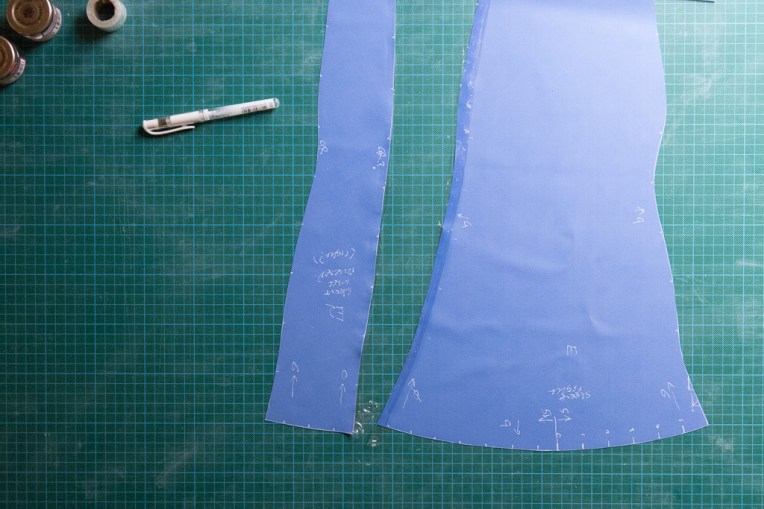
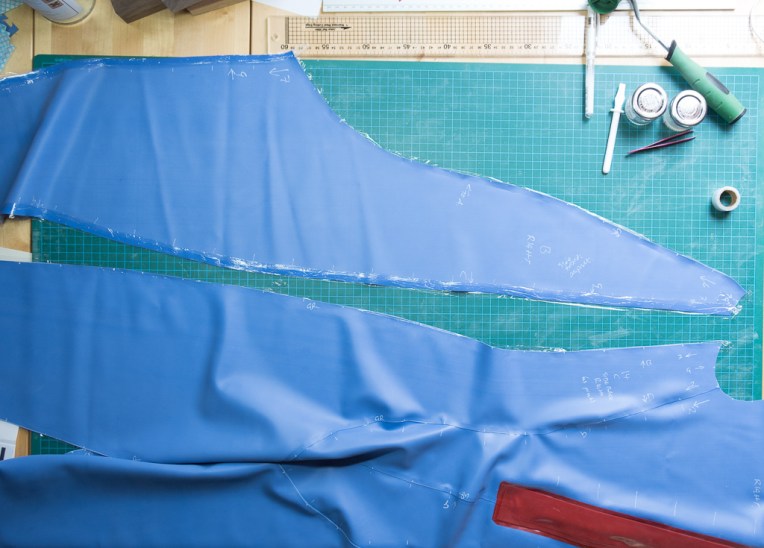
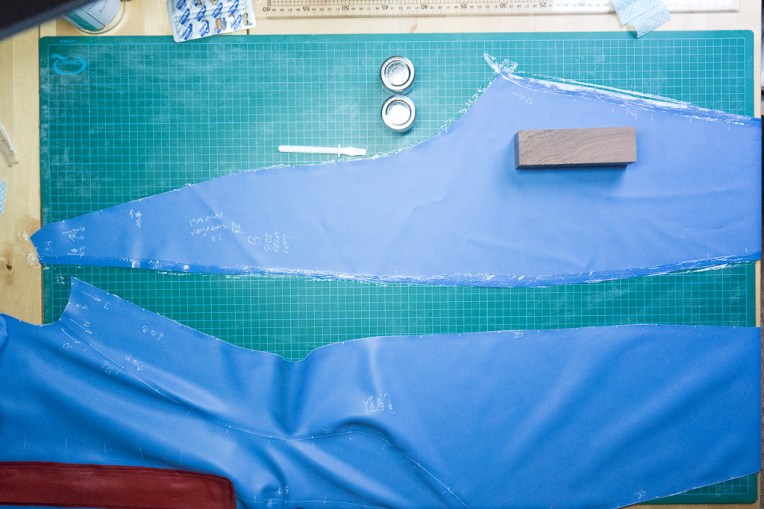
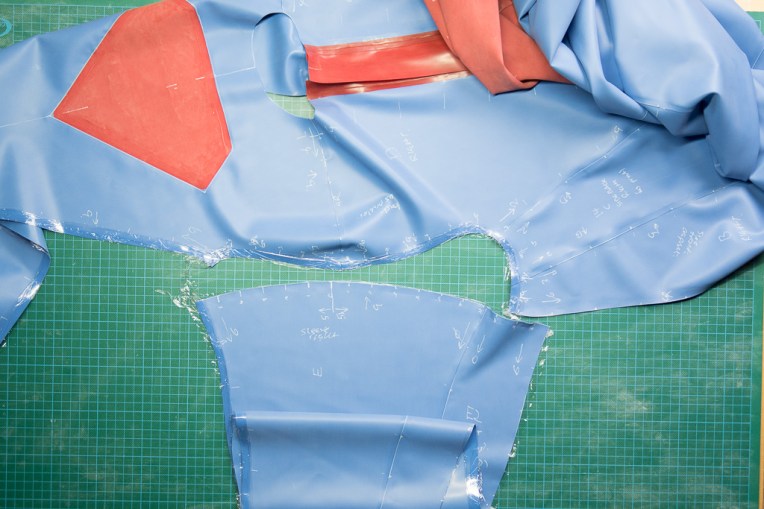
This pattern uses a two part sleeve. This provides a slight angle to arm.
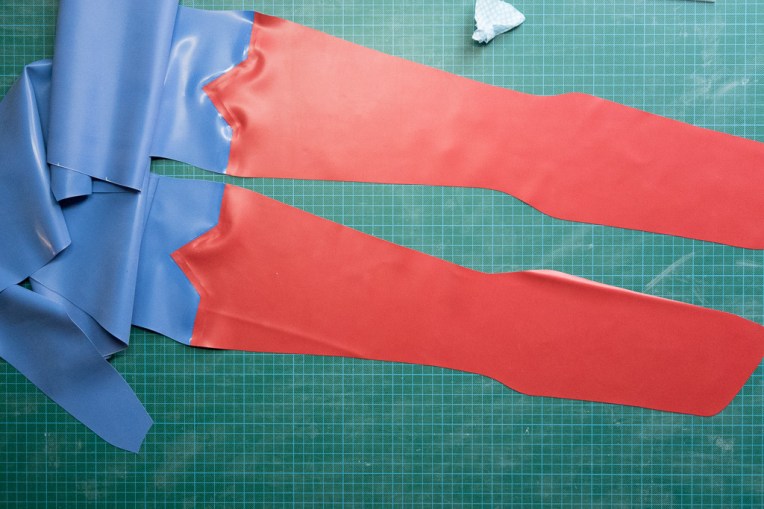
Ensure the parts are cut and identified accurately. The markings at the top of the sleeve are critical.

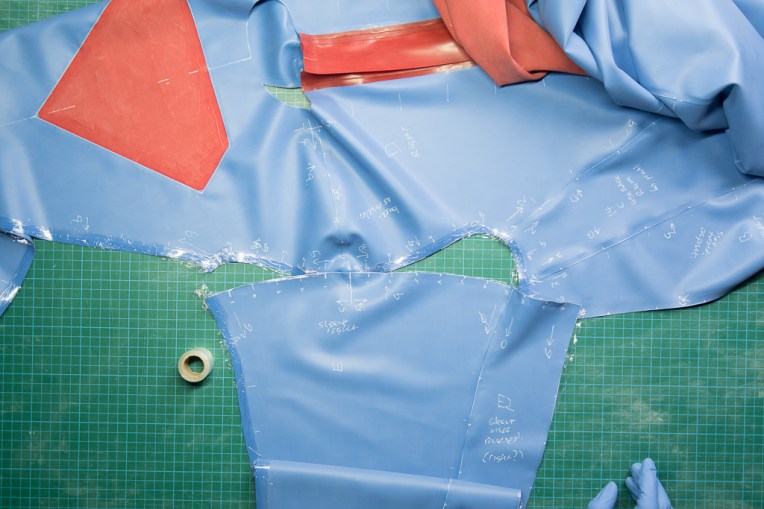
Prepare to join the two sleeve parts.
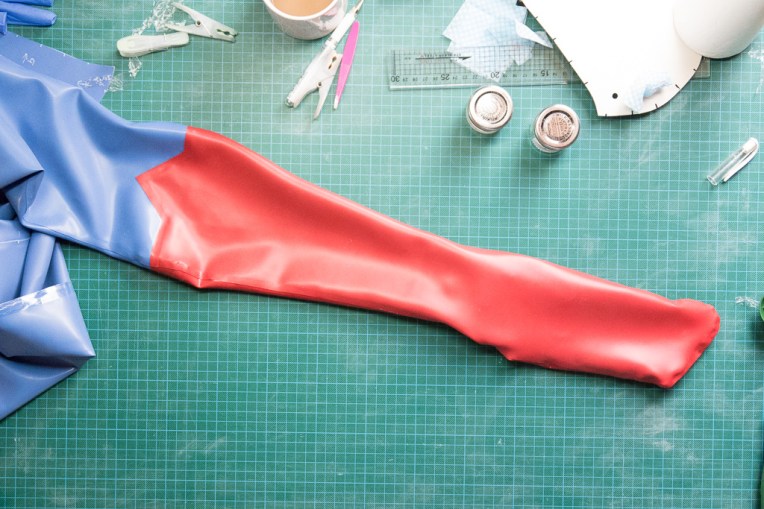
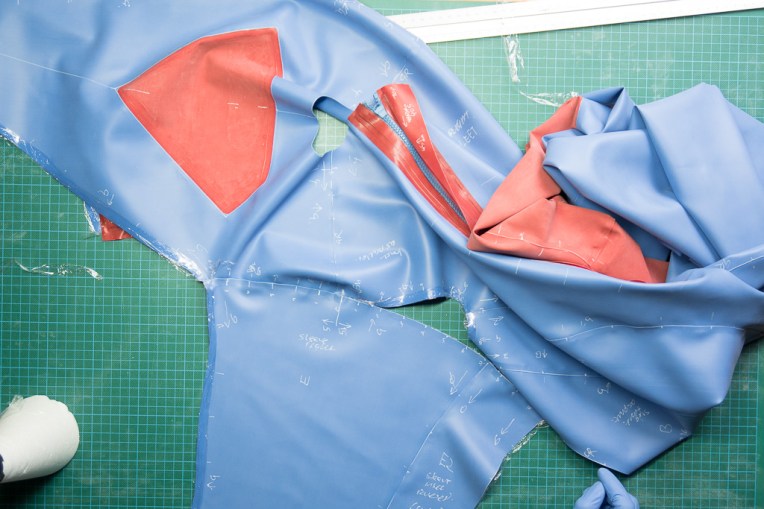
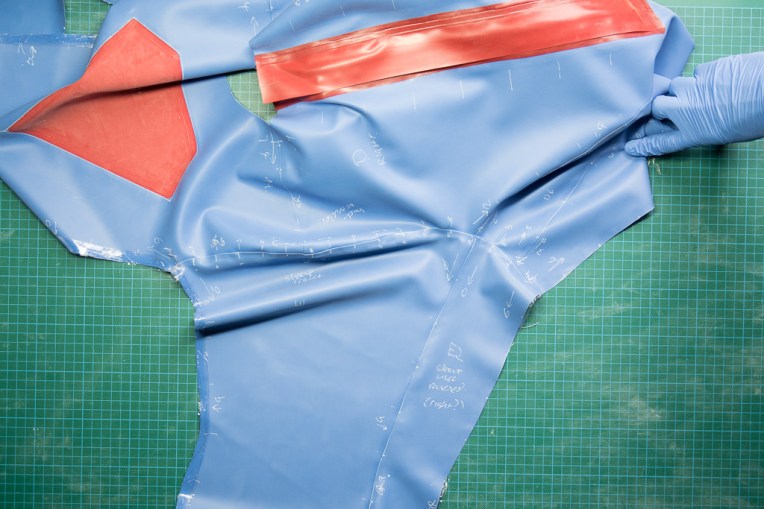
The picture below shows how the sleeve doesn’t want to quite lie flat. This is expected as we have just added shape to it.

Prepare the other sleeve in the same manner.
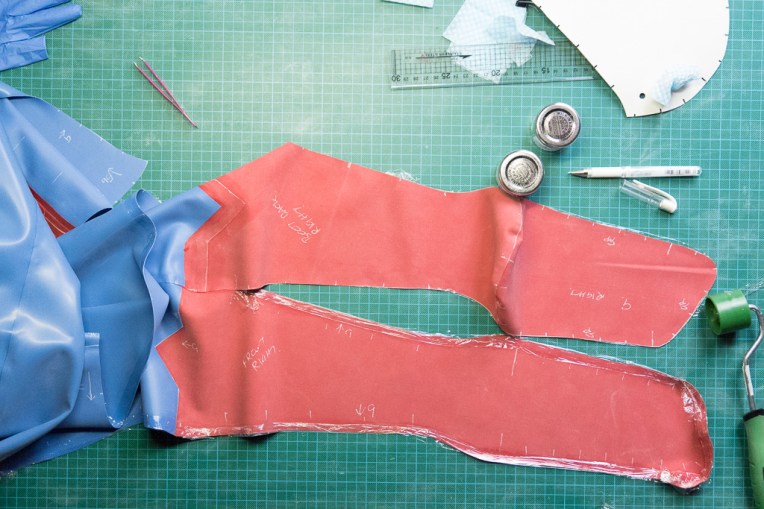
Prepare the back of the legs by attaching the back of the boots.
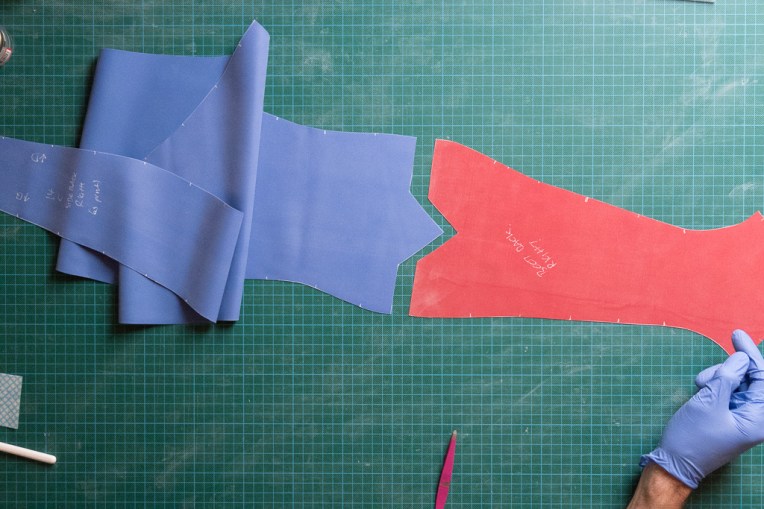
Prepare the front of the legs by attaching the front of the boots. Ensure that the correct front is on the correct leg!
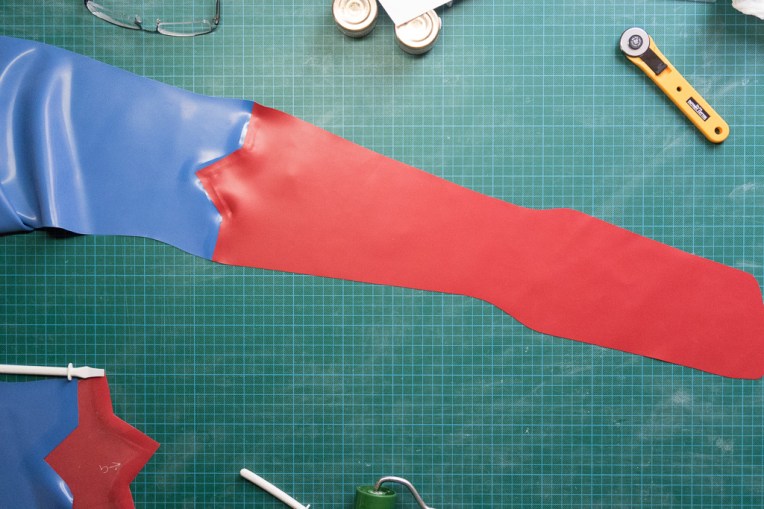
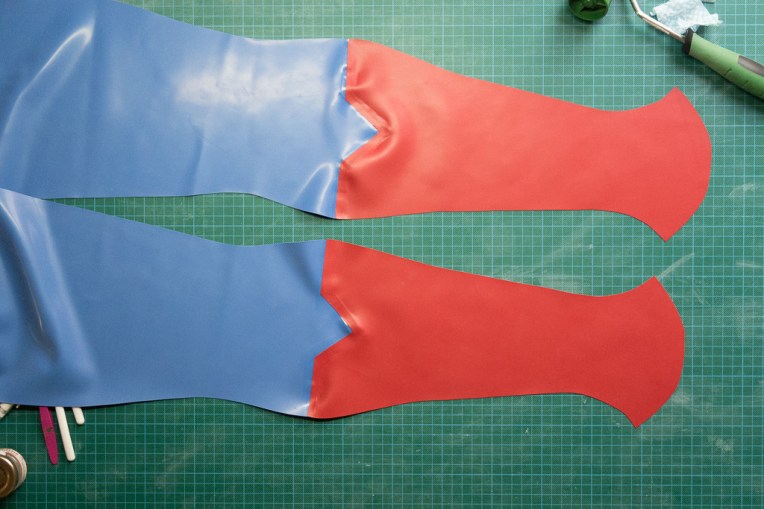
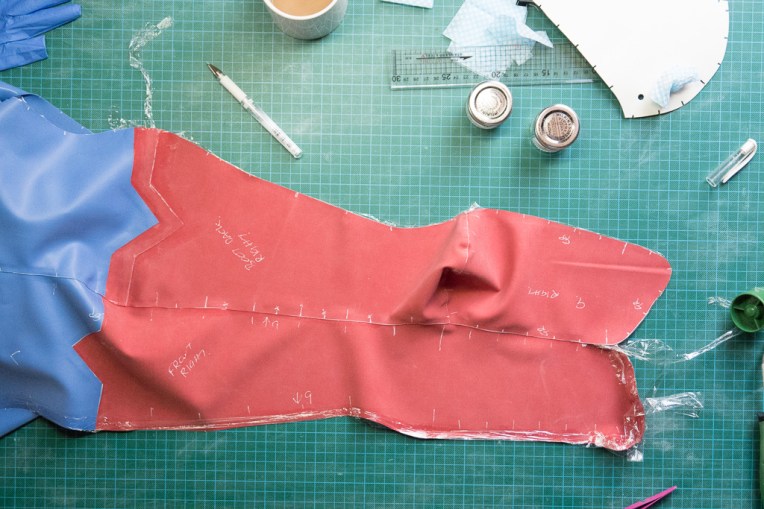
To assist with the construction of the tight curve around the big toe a separate panel is used for the end of the boot.
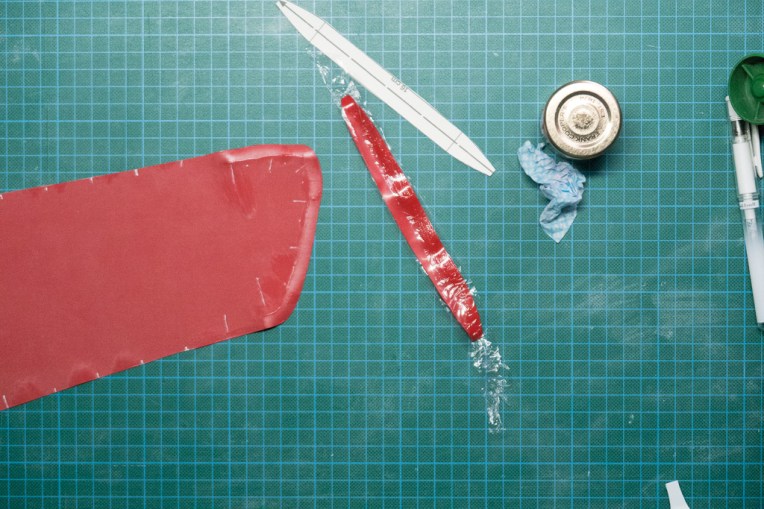
Following the markings accurately attach the toe panel.

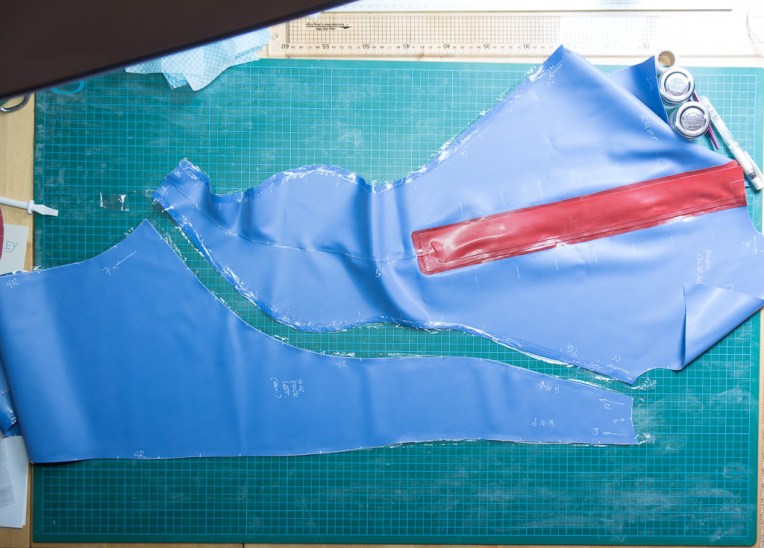
Prepare the seams on the back panel and backs of the legs.

It is easiest to prepare all the seams before assembly whilst the pieces will lie completely flat.
Attach the rear panel to the leg backs. Use the regular markings to ensure an accurate start and end of the join.
Repeat for the other side.


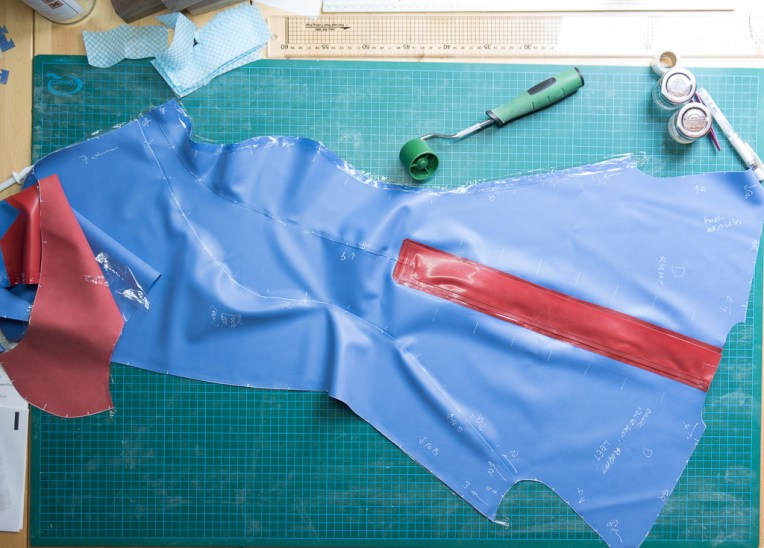
Prepare the seams on the leg fronts.
Join the leg front to the leg back starting at the underarm.
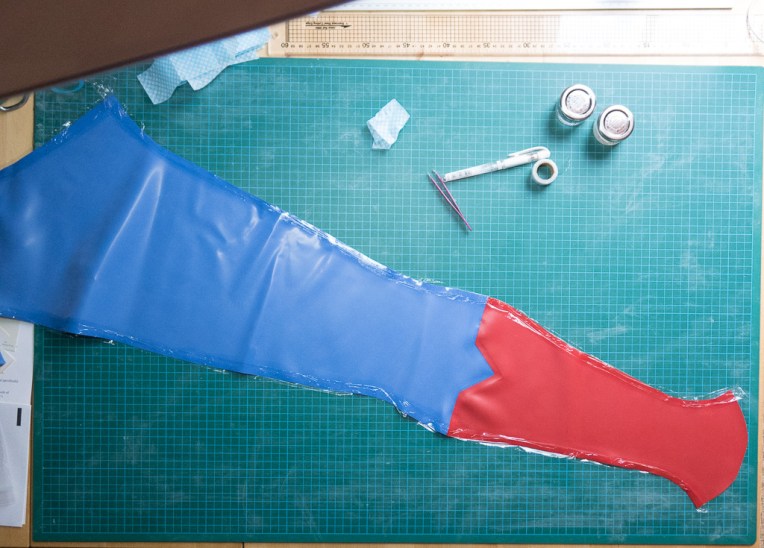
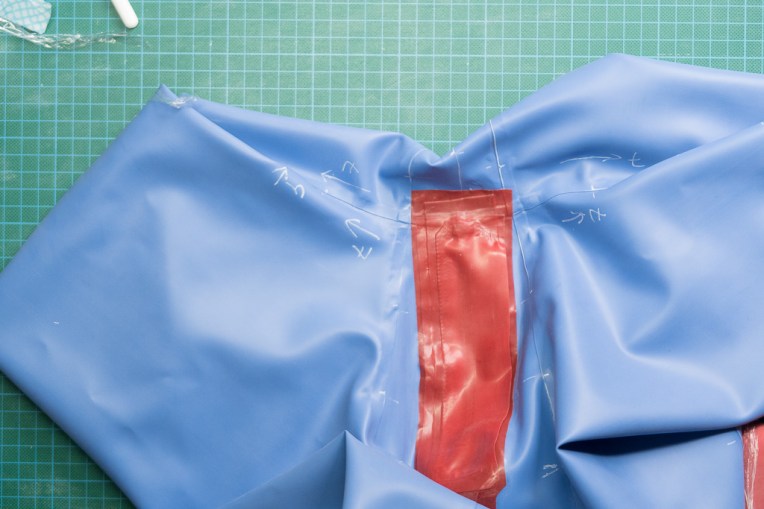
When you get down to the boot ensure that the start of the red section is matched perfectly.

Add the sole to the boot rear.

Continue seaming down the leg and into the foot and around the toes.
Then continue up the foot and up the inside of the leg.

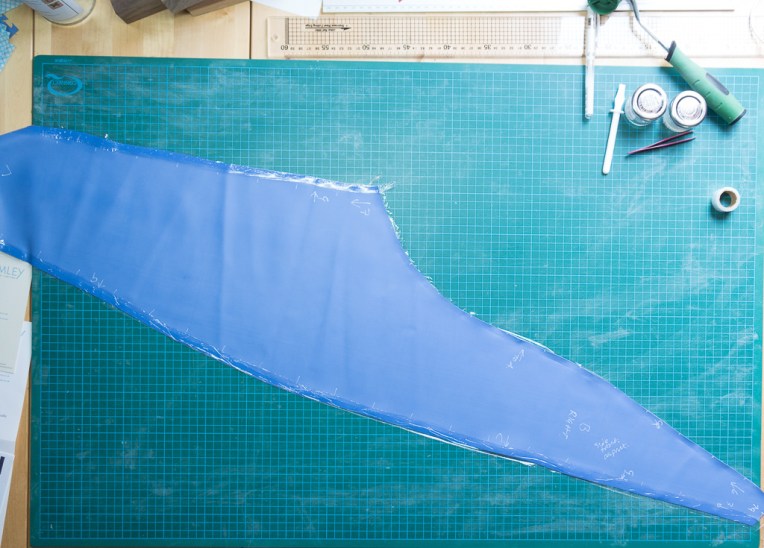
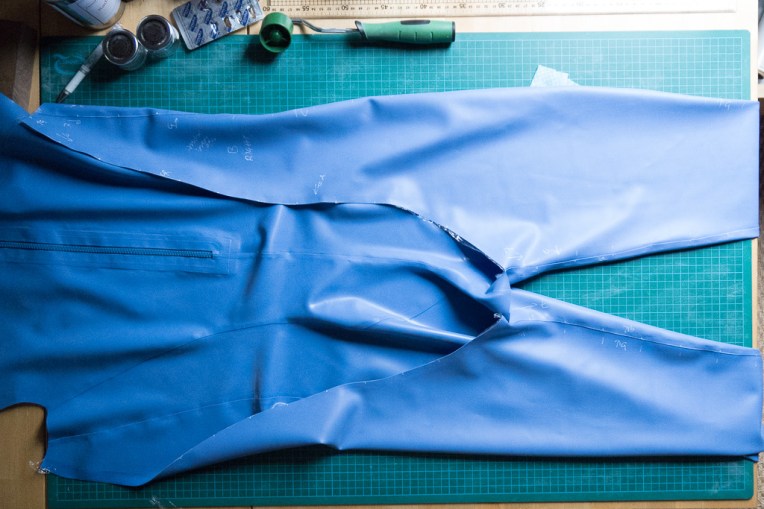
The completed leg front…
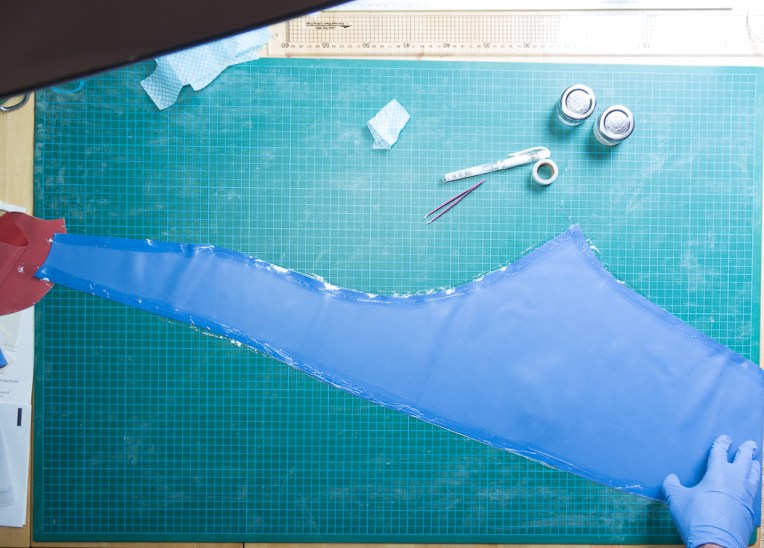
And back…

Do the same for the other leg. Prepare the panel. Join starting at the underarm.
Around the foot and back up to the crotch.

The suit with both legs completed.
The front piece is attached to the rear piece along the shoulders.


Inserting the sleeves is straightforward provided that the markings are accurate.
Start at the shoulder seam.
Work towards the front ensuring that the end of the seam aligns perfectly.
Do the same towards the rear seam.
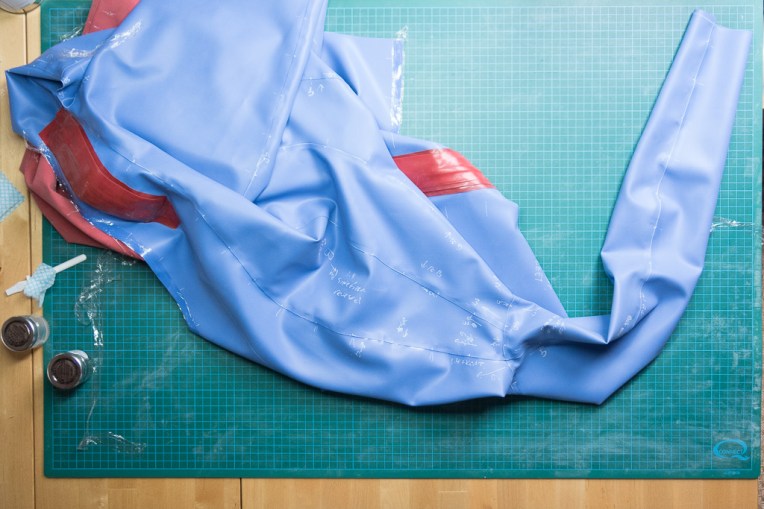
With both sleeves attached it should look something like this…
Starting from the armpit seam, close the seam down the inside of the sleeve.
And then down front seam towards the crotch.
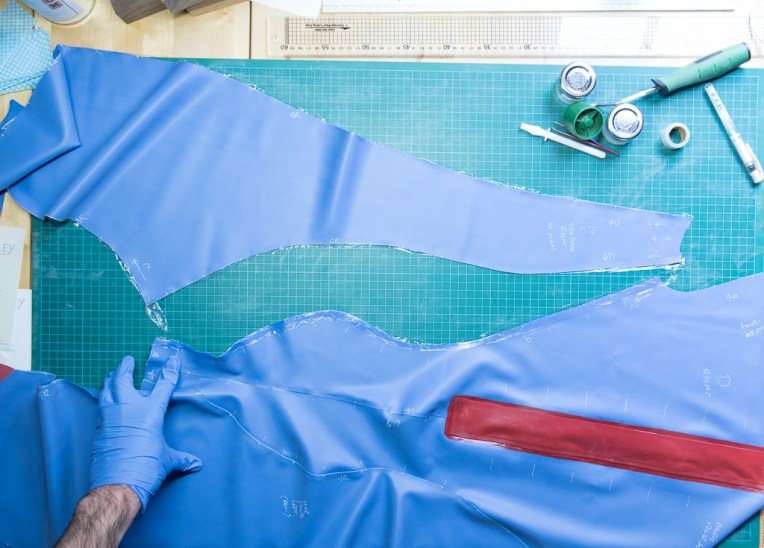
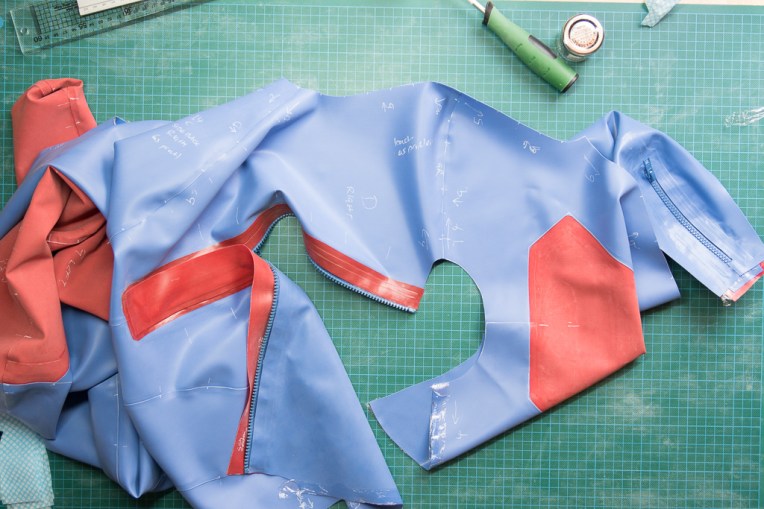
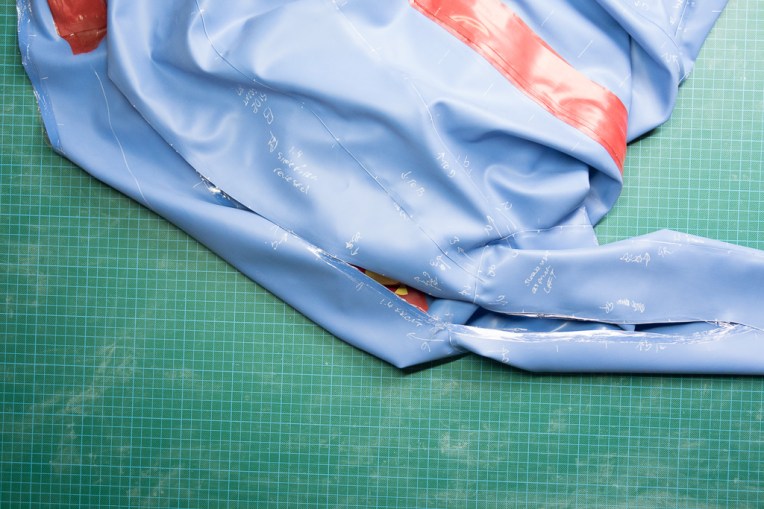
The following picture shows one side completed and the second side lined up ready to be joined.

It is important to keep the seams aligned properly so that the end of the front seams line up perfectly with the crotch.
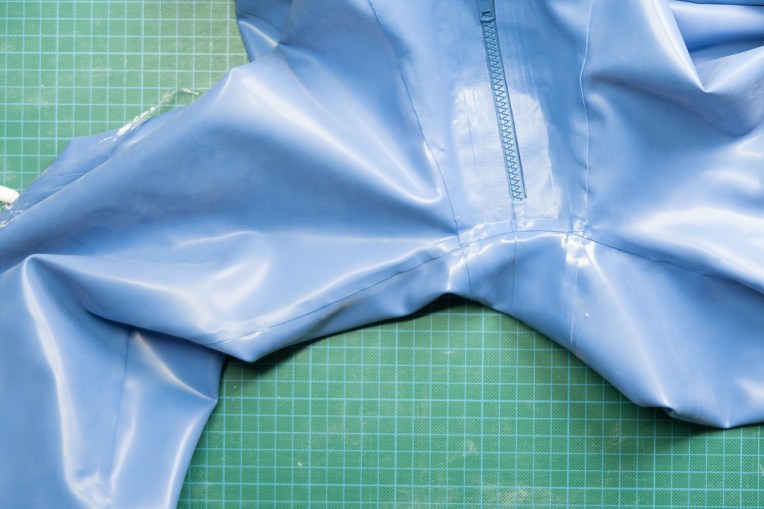
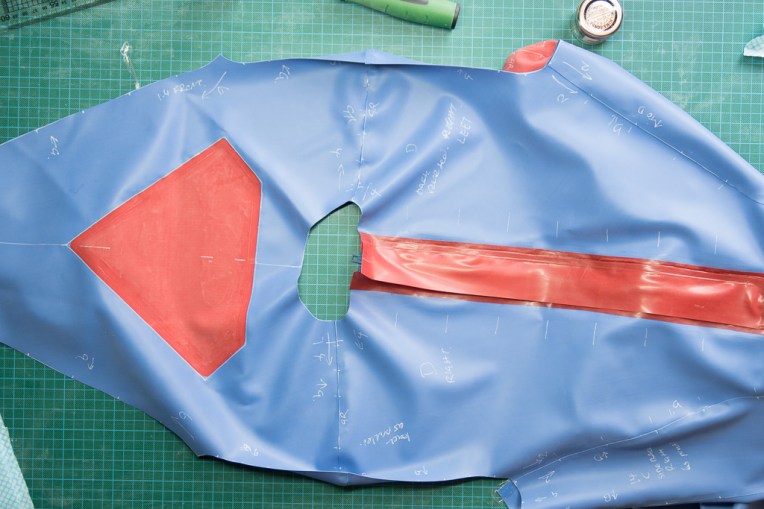
Finally… When we prepared the fly zip we left a section of the reinforcement unstuck. Now that the front panel is connected this can be attached to the rear panel.
Complete!