The pattern for these pants is based on a small part of the catsuit pattern. However, because there is no vertical tension, the shapes needed tweaking slightly to sit exactly over the catsuit. Consequently this pattern only works well when used over the catsuit.
The construction approach is identical to my other projects. If there appears to be too many white pen lines on the pictures below, it is because I had marked out the pieces a couple of times in order to use the available material most efficiently.
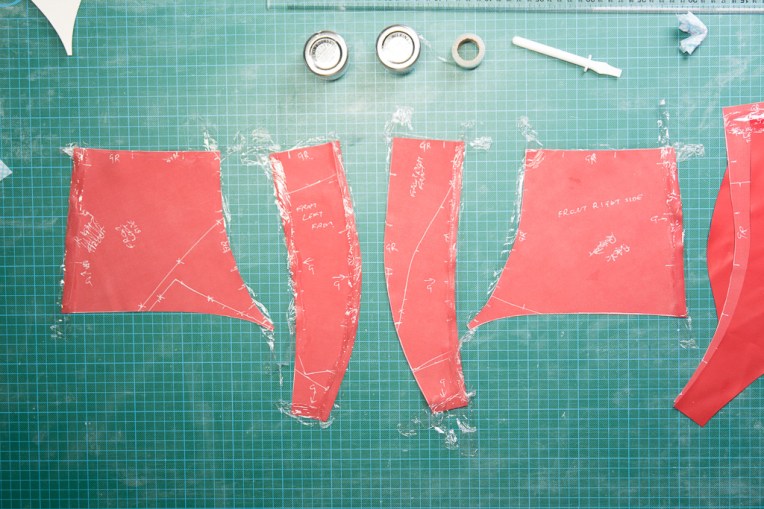
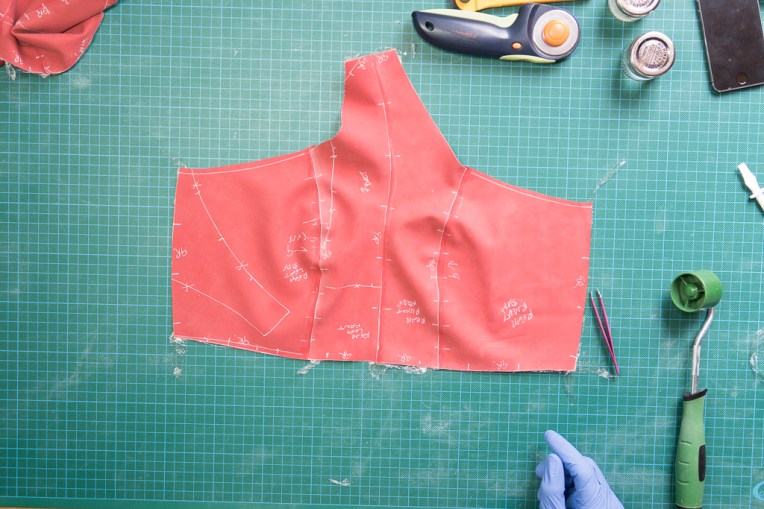
Cut, clean and glue all pieces.
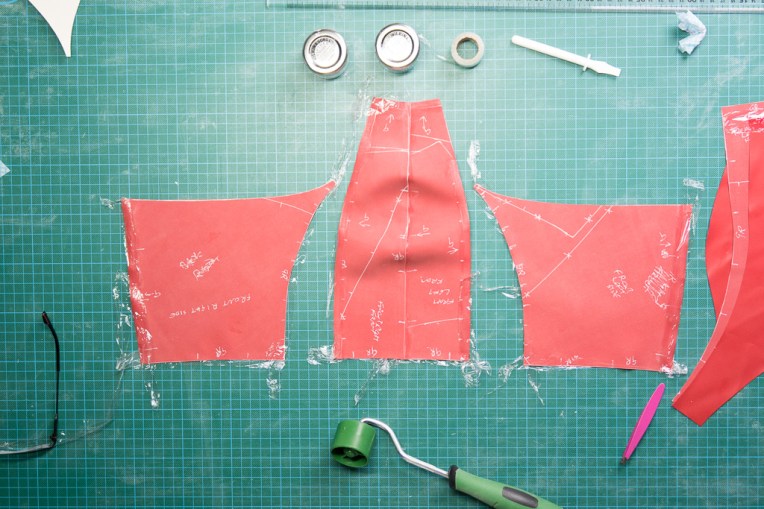
Join the two crotch pieces.
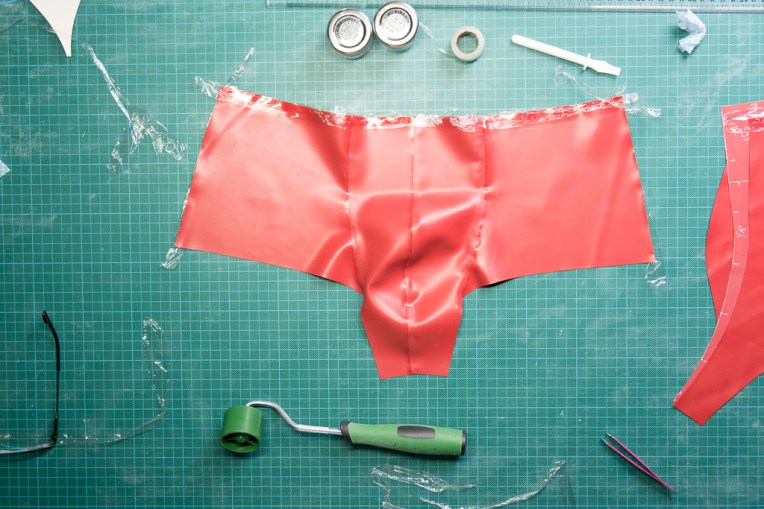
 Complete the construction of the front.
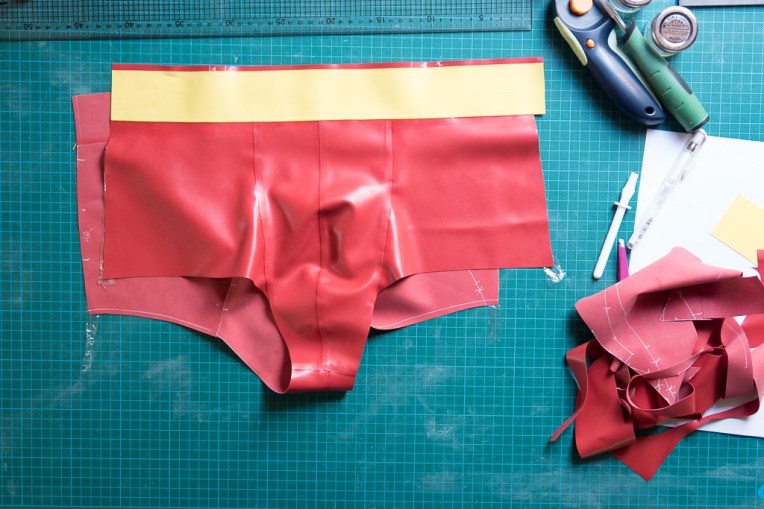
 This image shows the glue on the shiny side for attaching the belt.
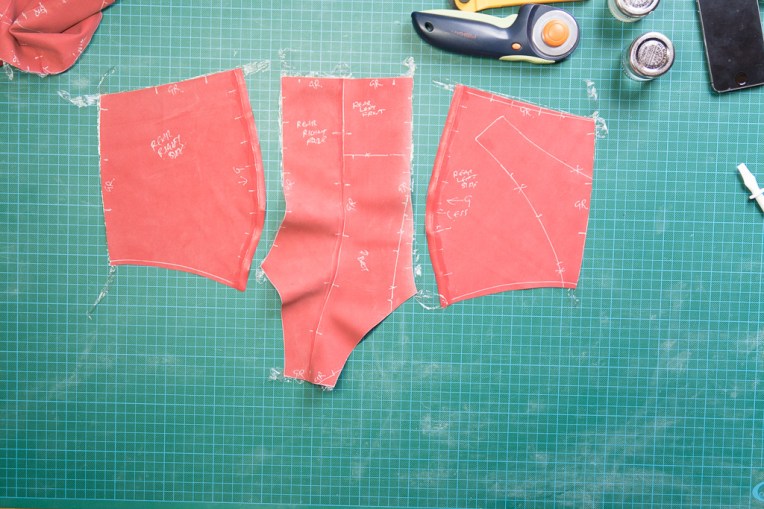
 Attach the two centre rear pieces.
The pieces attached.
 The four rear panels joined.

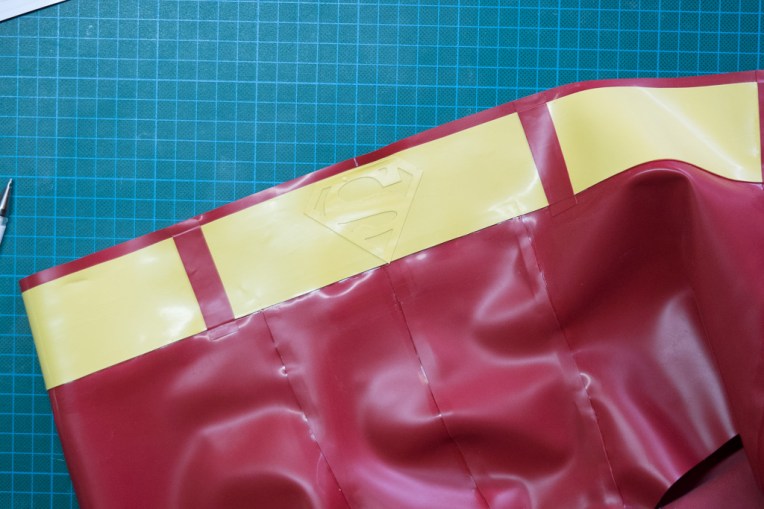
As I only had 0.25mm yellow, the belt section is made from yellow laminated onto red.
 Belt sections connected to front and rear.
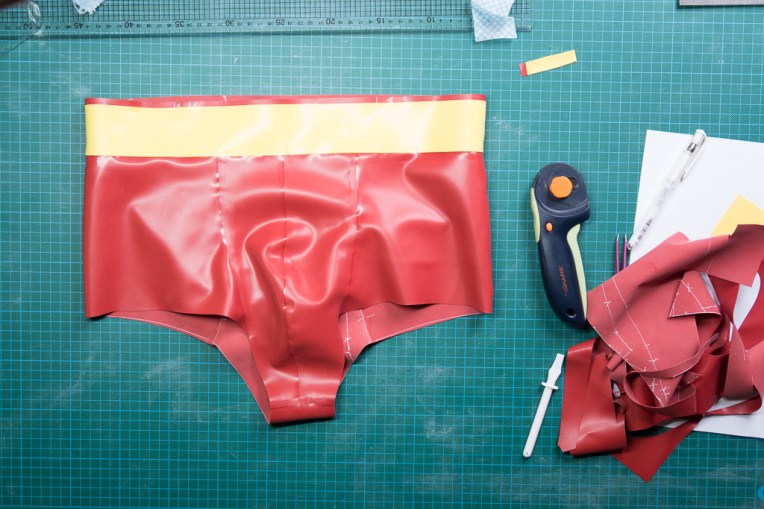 Side seams connected.
 Fake belt loops.
 Laser printed logo.
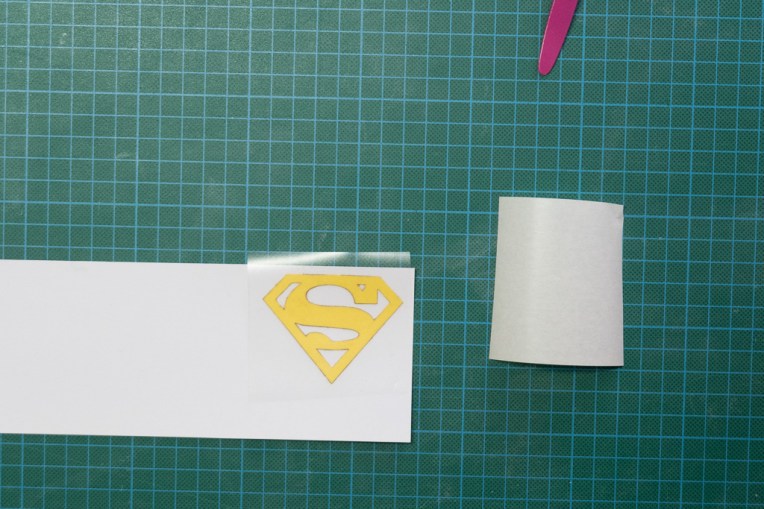
Clean the piece thoroughly. Use film to hold the logo (including the parts we don’t want) in place and apply glue evenly in one sweep using a wide spreader. Remove the parts that are not wanted.
 Logo now has glue on the back and belt area has been cleaned.
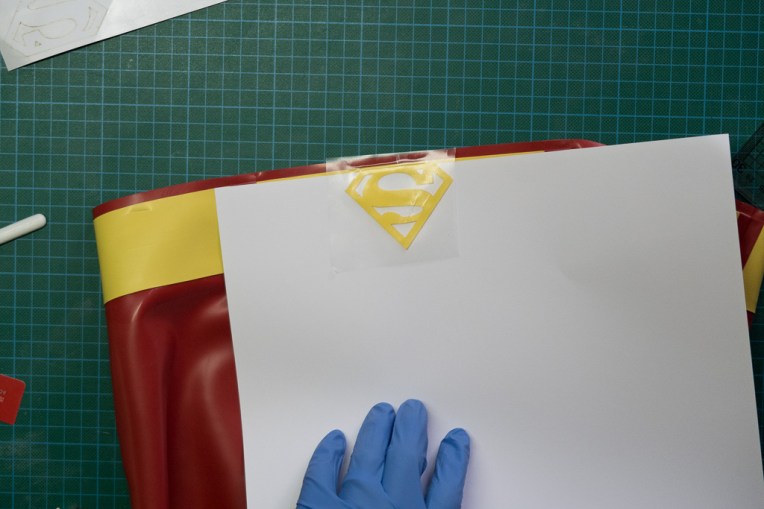 Line up the logo using paper to prevent it from sticking yet.
 Logo in place.
Superman pants complete!
