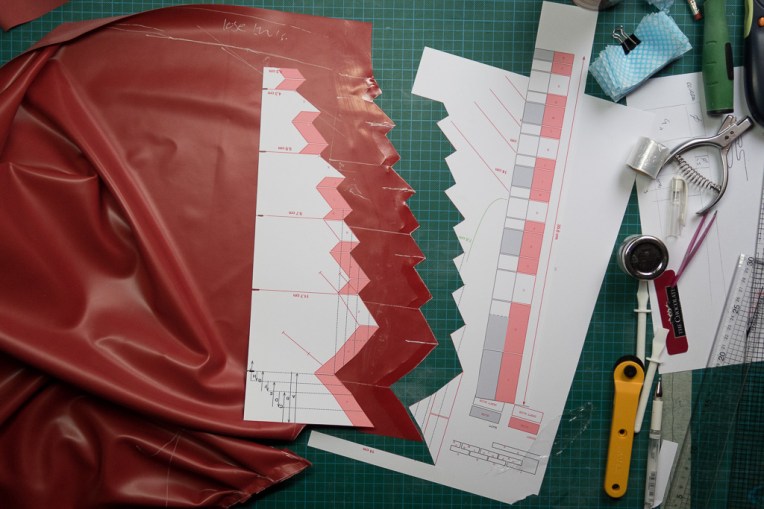
Download the patterns. It is not necessary to print out the full pattern as most of the pattern is simple; the complicated zig-zag bit should be printed.
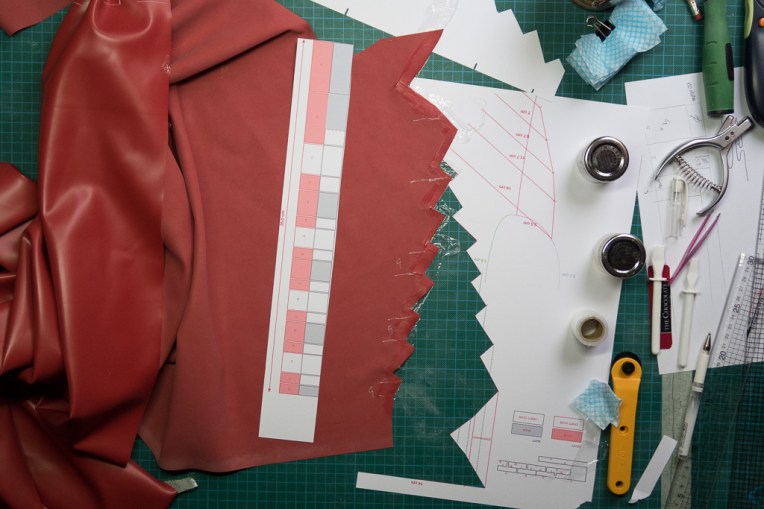
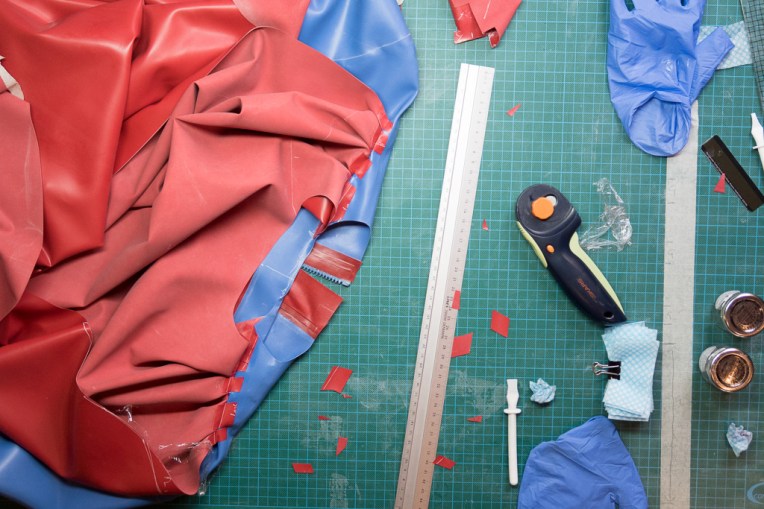
Cut out the main piece according to the pattern above. Align the folding pattern and cut the zig-zag shape for the folds. Glue ONLY the appropriate zones on each side of the latex.
Do the same on the other side of the neck.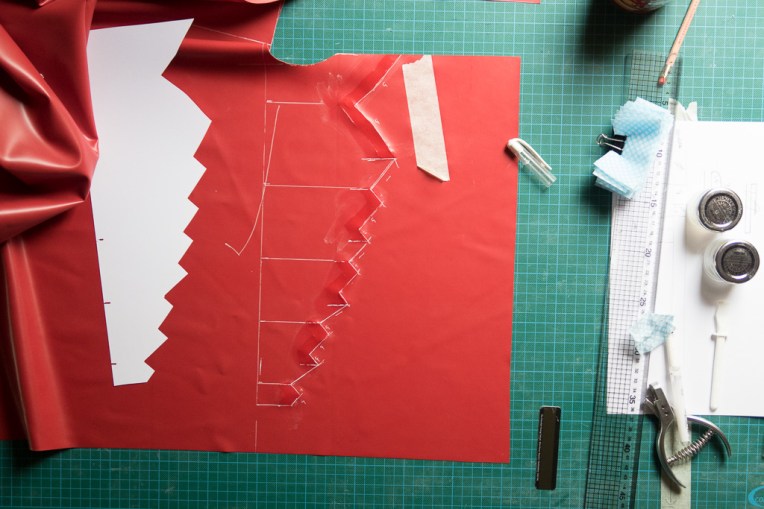


Fold according to pattern.
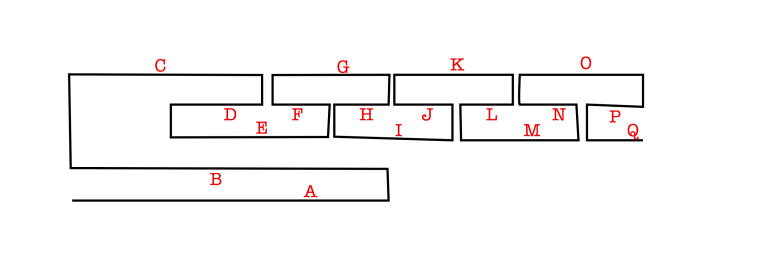
The above illustration is not to scale. When folded, sections C, G, K, and O form the visible parts of the cape, and there is no glue on the underside of these parts (except for the final 5mm).
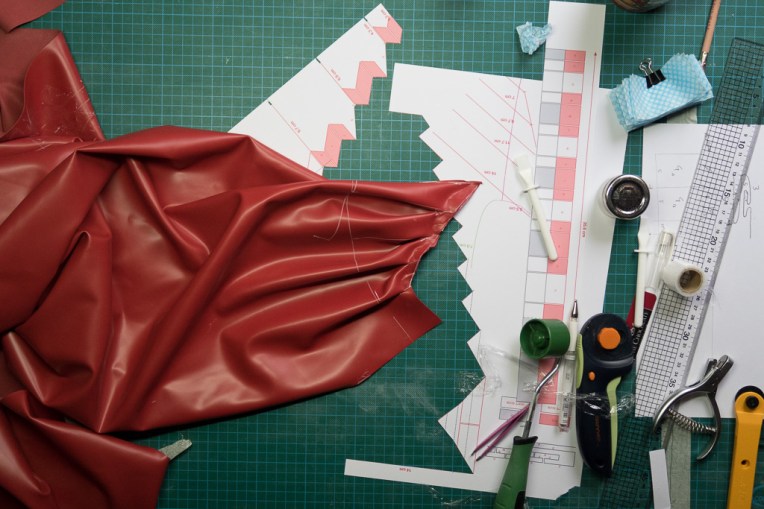
The completed cape should now look like this: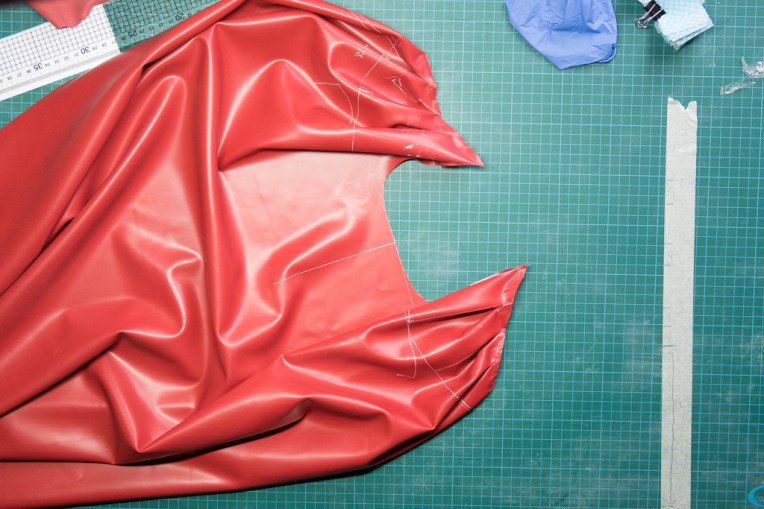
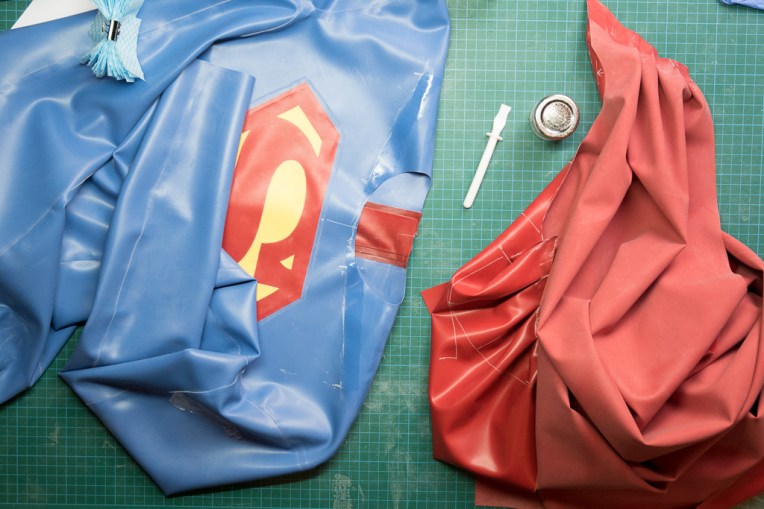
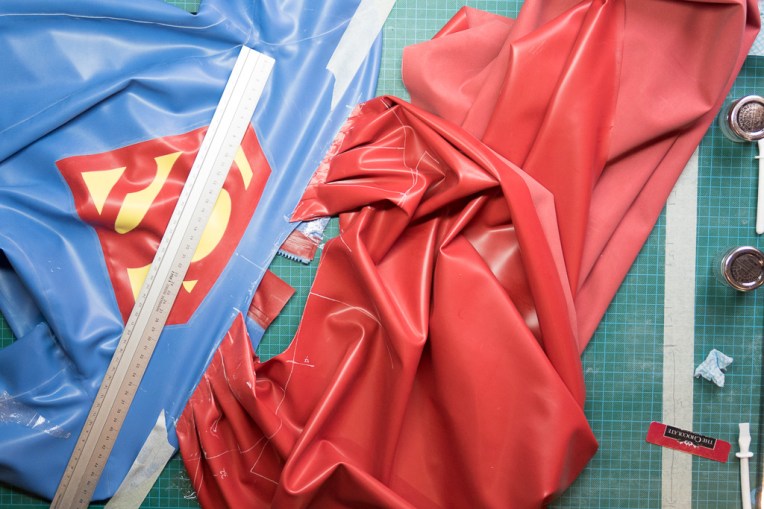
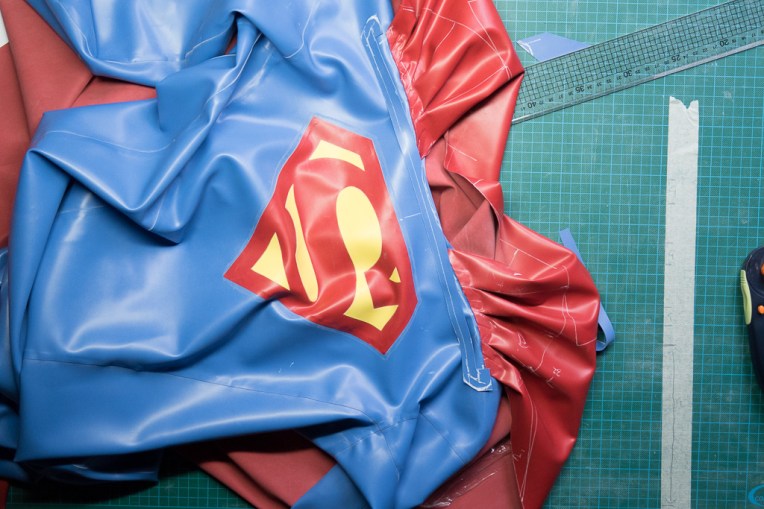
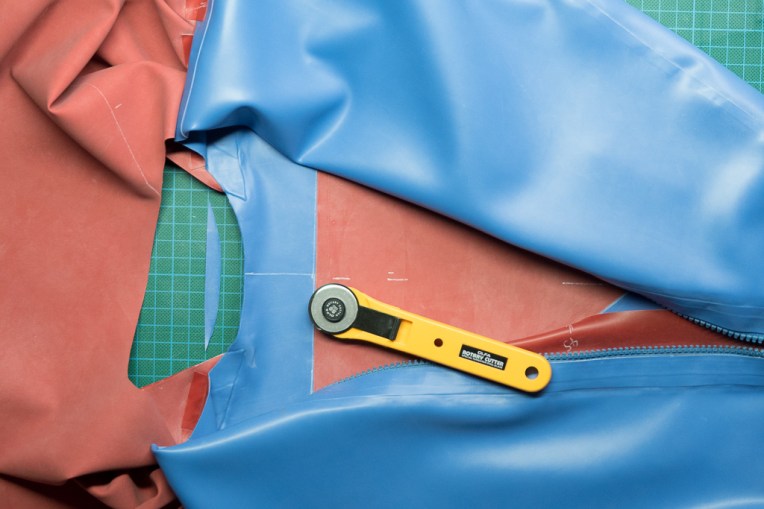
Prepare the catsuit for the attachment of the cape.

Note that as the catsuit has negative ease (is stretched when worn) then we need to pre-stretch it when attaching the cape.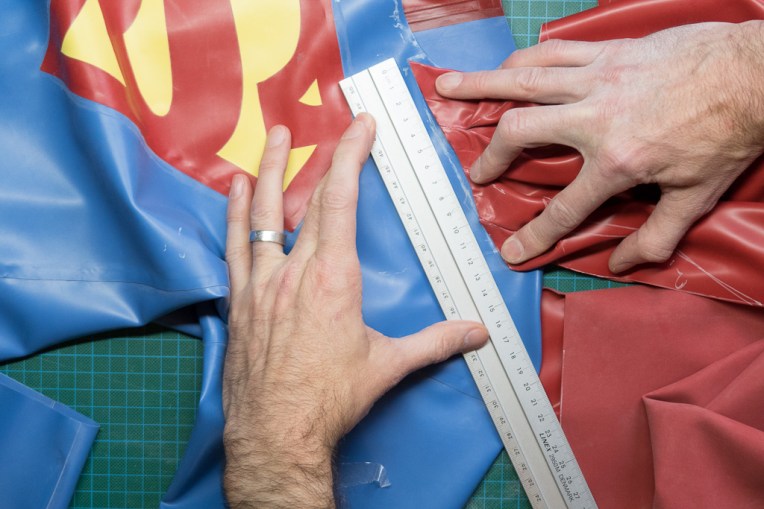
Glue as shown and cover the back half of the glue in film to protect it.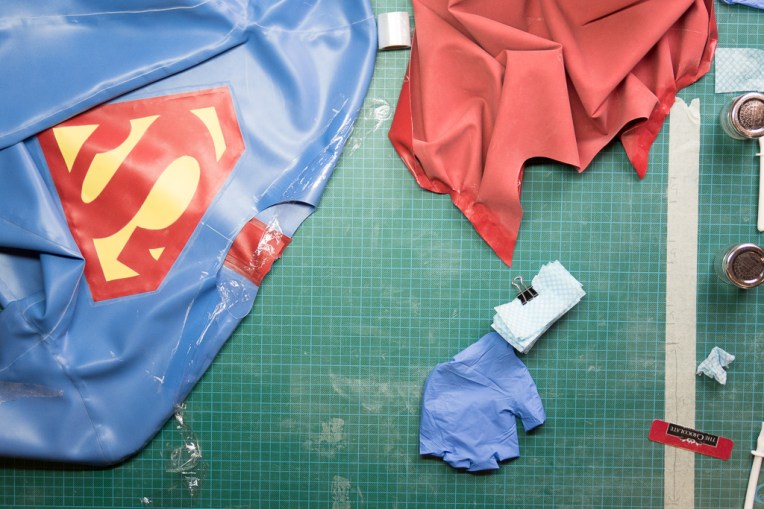
Tape the suit so that it is stretched and the prepared zones are the correct size for the cape to be joined.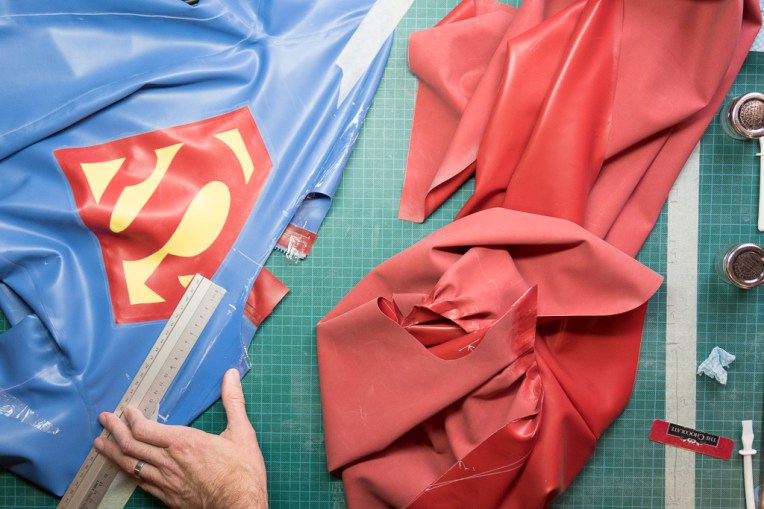
Attach the cape.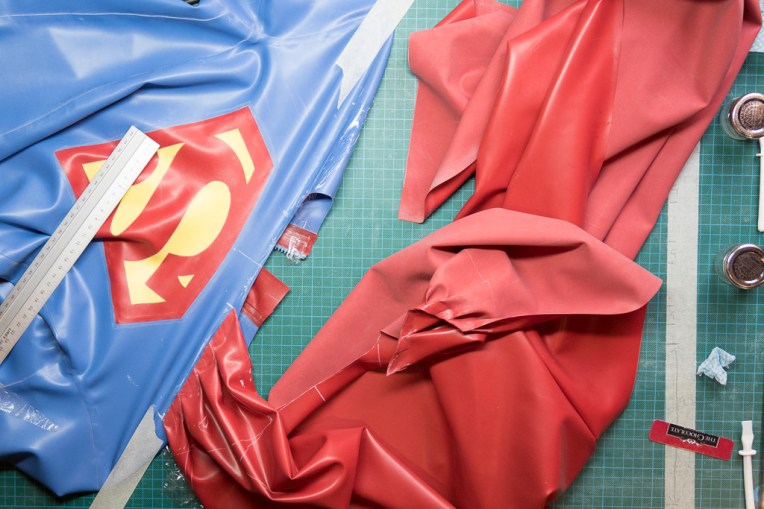
Strengthen joining of the cape by using appropriate sized pieces on the reverse.
Prepare some trim for the front. Note that this wraps slightly around the ends of the cape. 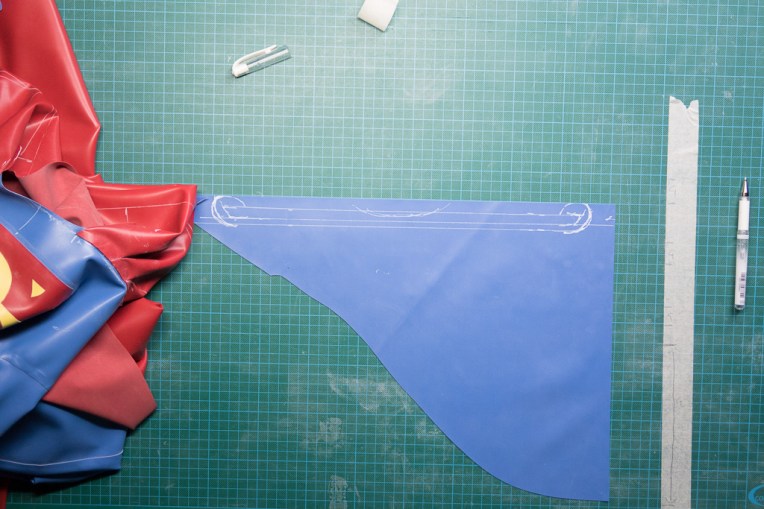
Glue the trim.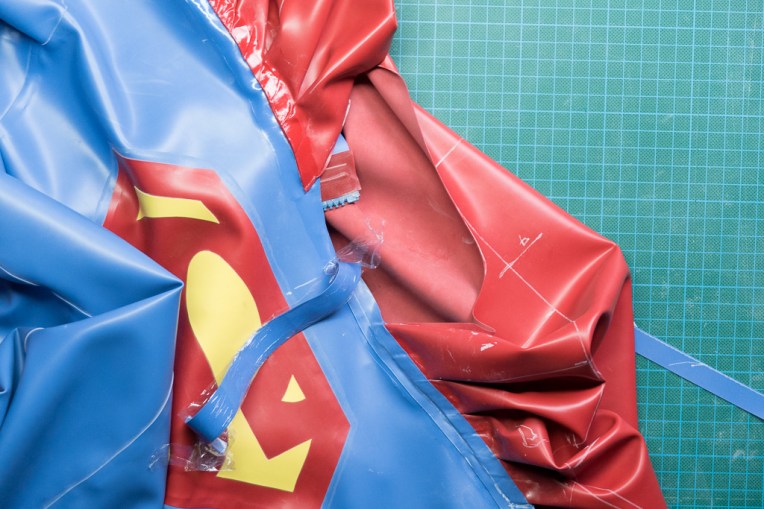
The trim needs shaping at the front of the neck.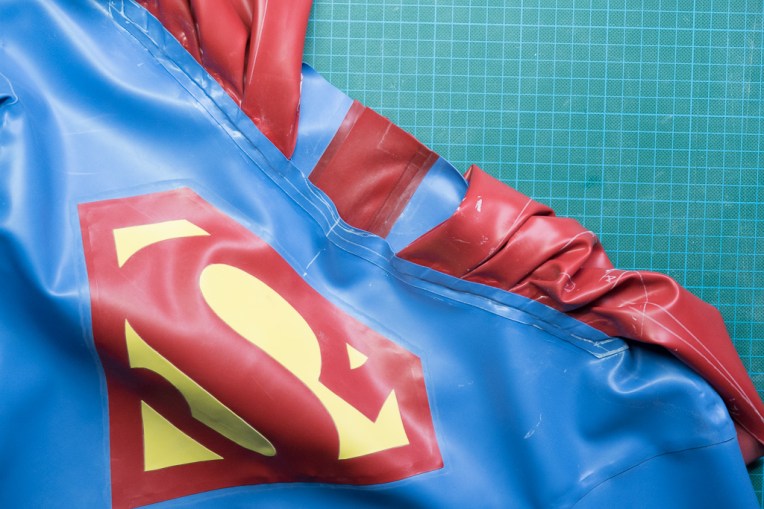
This picture shows the small piece of trim removed.
Now also strengthen the transition from the inside of the neck to the cape.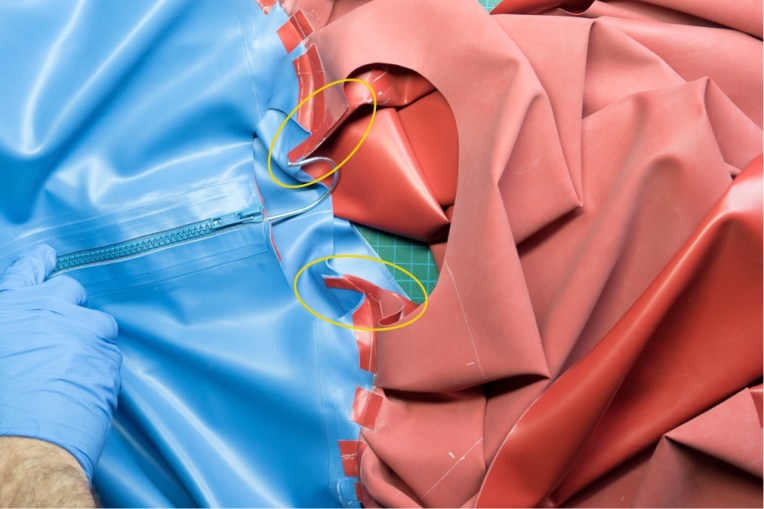
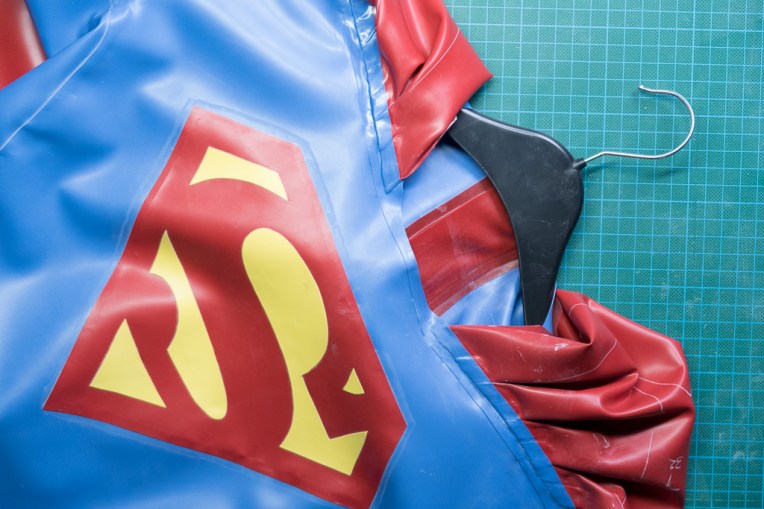
Completed cape attached to suit.