How to make the PanAm inspired Stewardess Hat

This hat was inspired by pictures from the PanAm TV series, and is part of the stewardess outfit. This is the first hat I’ve tried to create and everything has been made up.
This pattern includes piping around the top. This isn’t the normal contrast trim strip, but has a proper round cross section. The technique for this is included here.
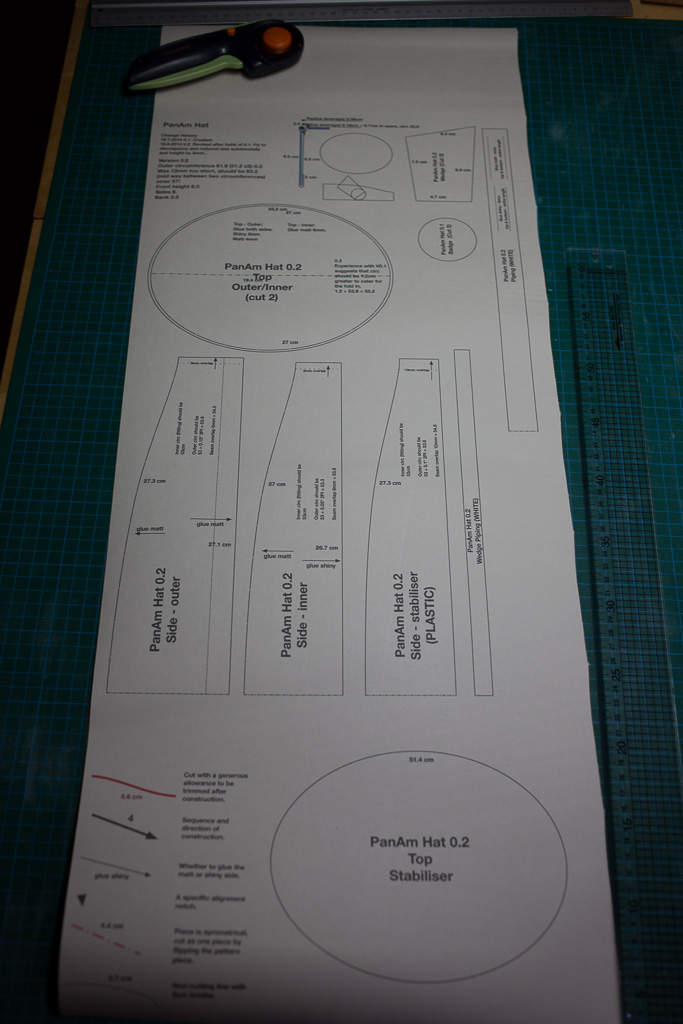
Download the pattern: PanAm Hat 0.2 (pdf).
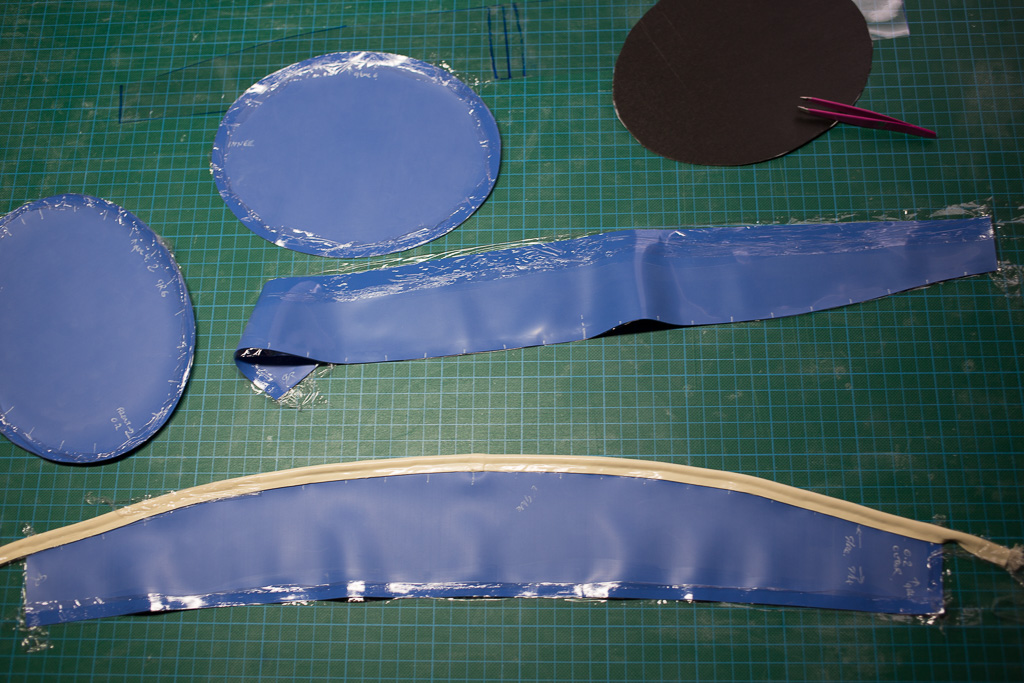
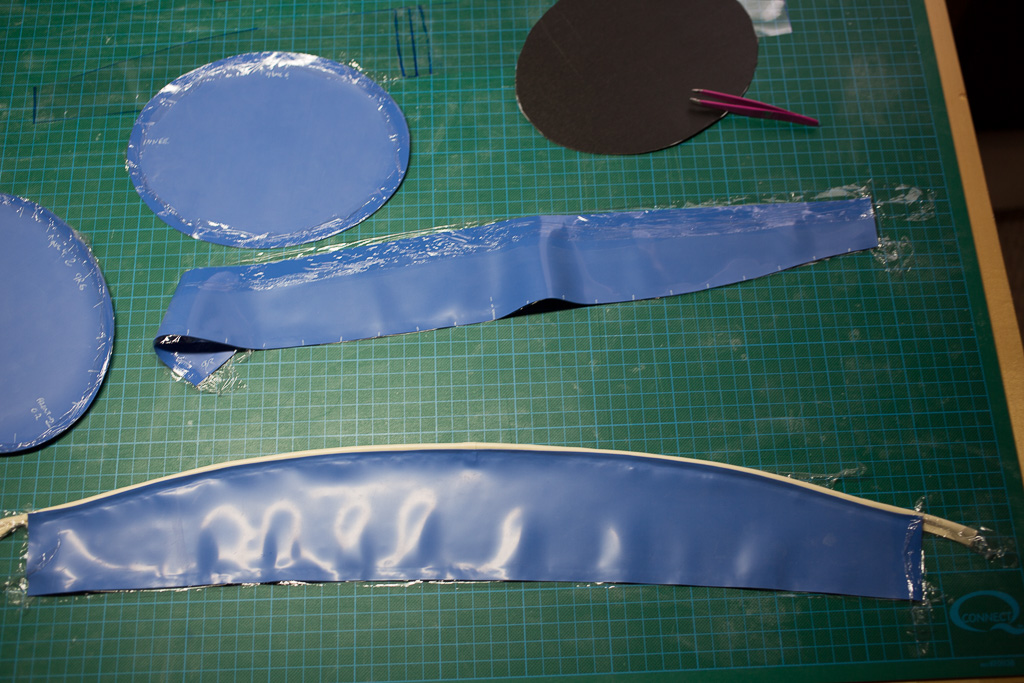
Step 1. Cut out pieces
Print out the pattern and cut out the pieces.

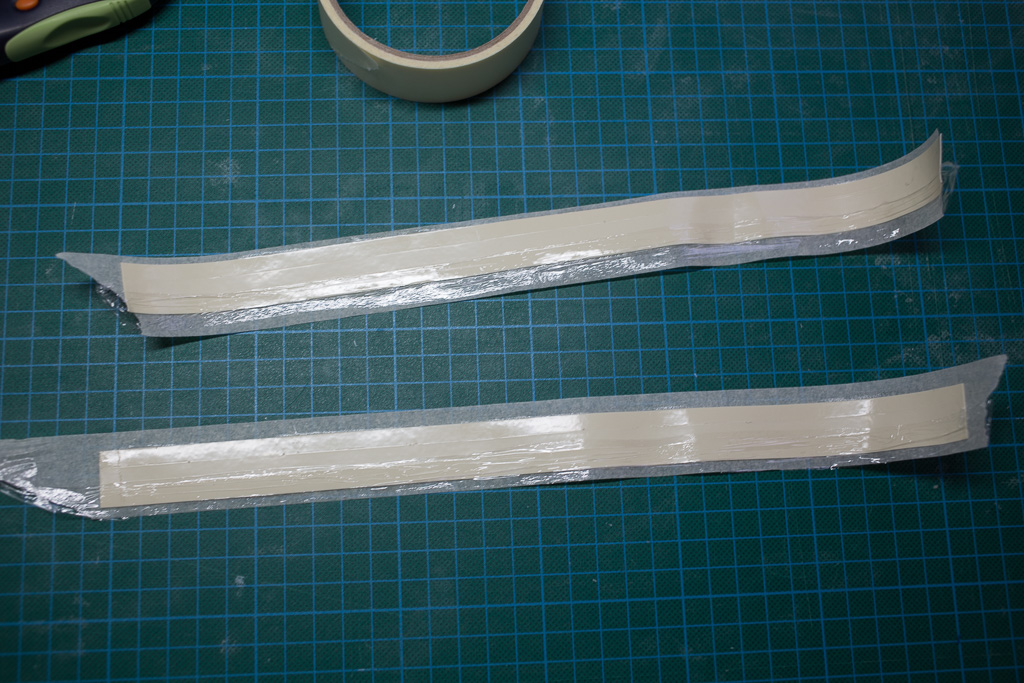
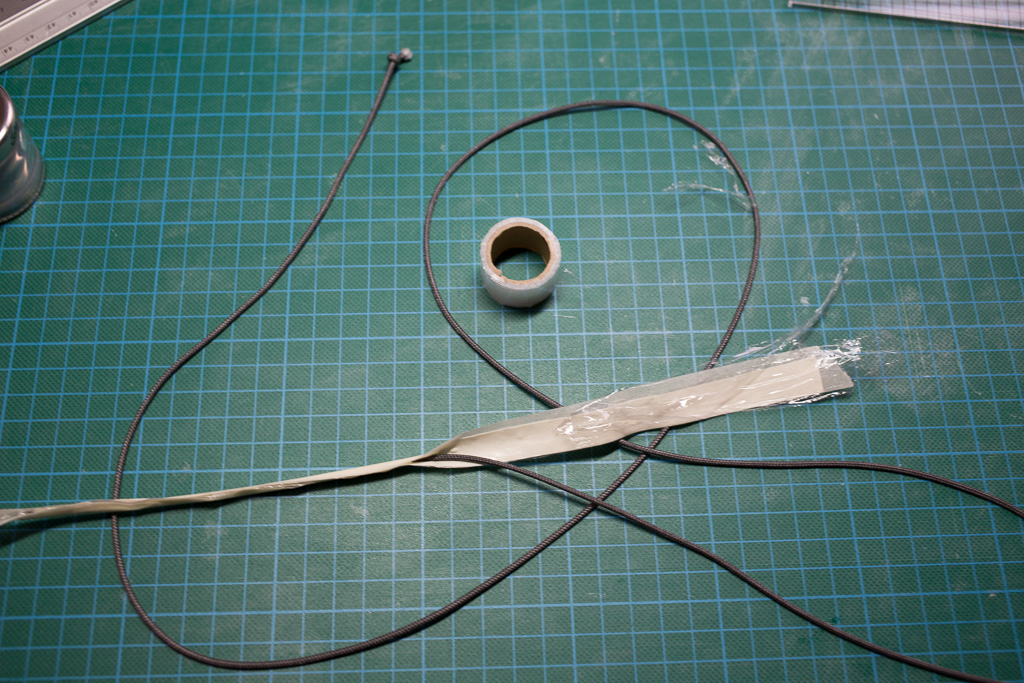
Step 2. Prepare piping
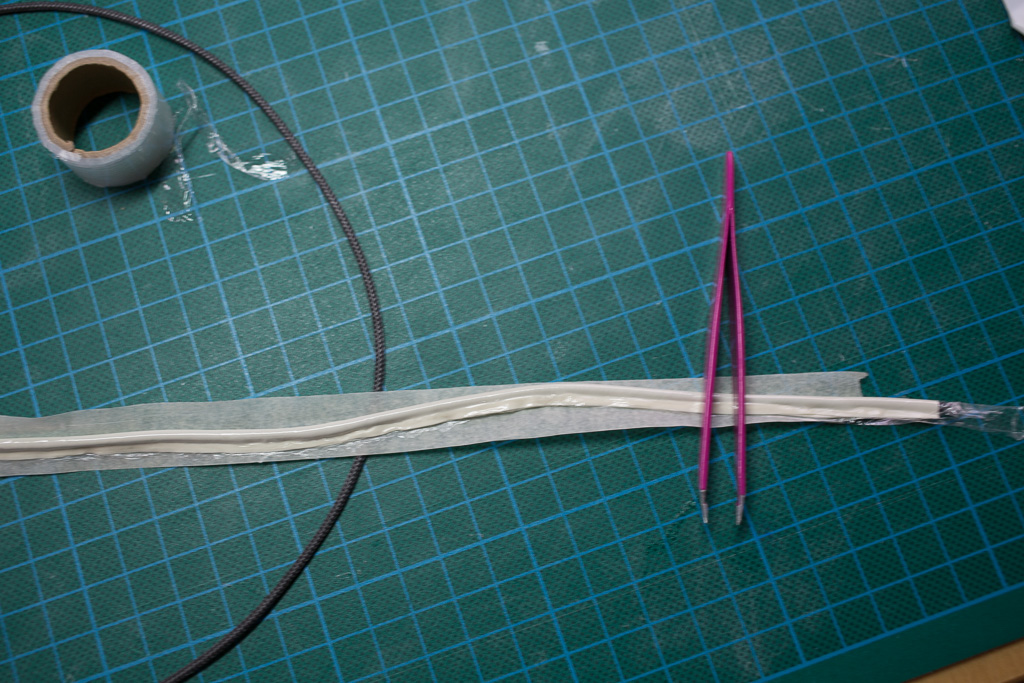
The piping is essentially a strip of latex wrapped around a length of soft string. The string gives the piping its round cross section.
As with many of the techniques described on this site, this relies on preparing all the glued surfaces in advance and protecting them with cling film.
The glued strips on what will become the inside of the piping are narrower than the outside; this is to avoid having any glue where the latex is wrapping around the string.
A quick way to get a straight edge with the gluing is to use a ruler – though ensure that all glue is removed from the ruler after every single use. Prepare the gloss side first and then protect the glued surfaces with cling film and apply masking tape. Then prepare the matt side.

This picture shows the strip fully prepared.
Having masking tape on the gloss side is essential to prevent stretch as we fold the latex around the string.
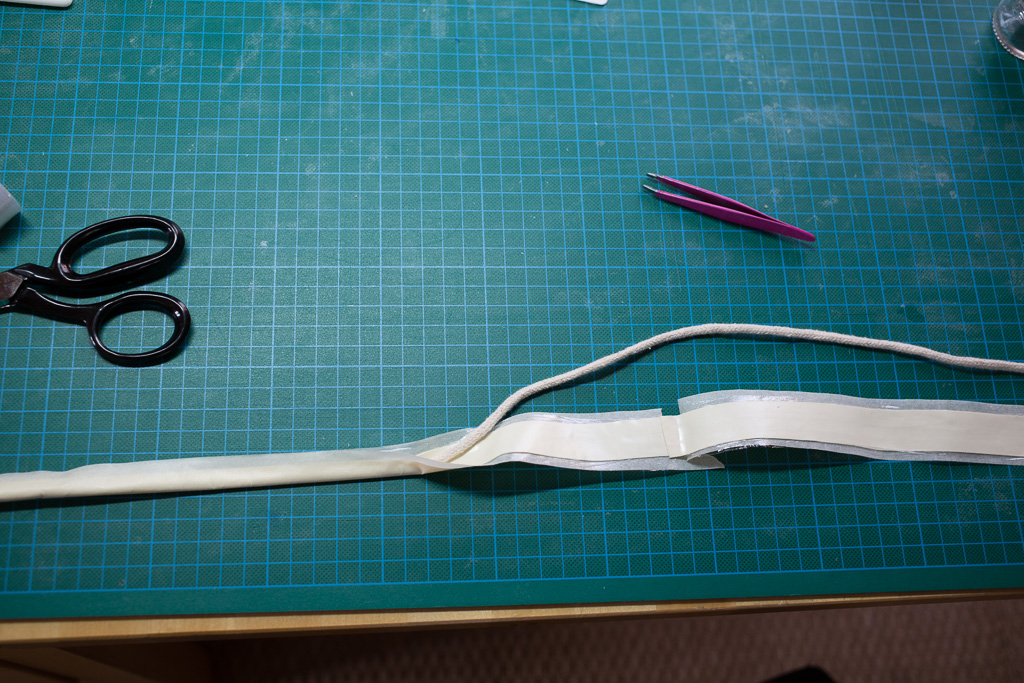
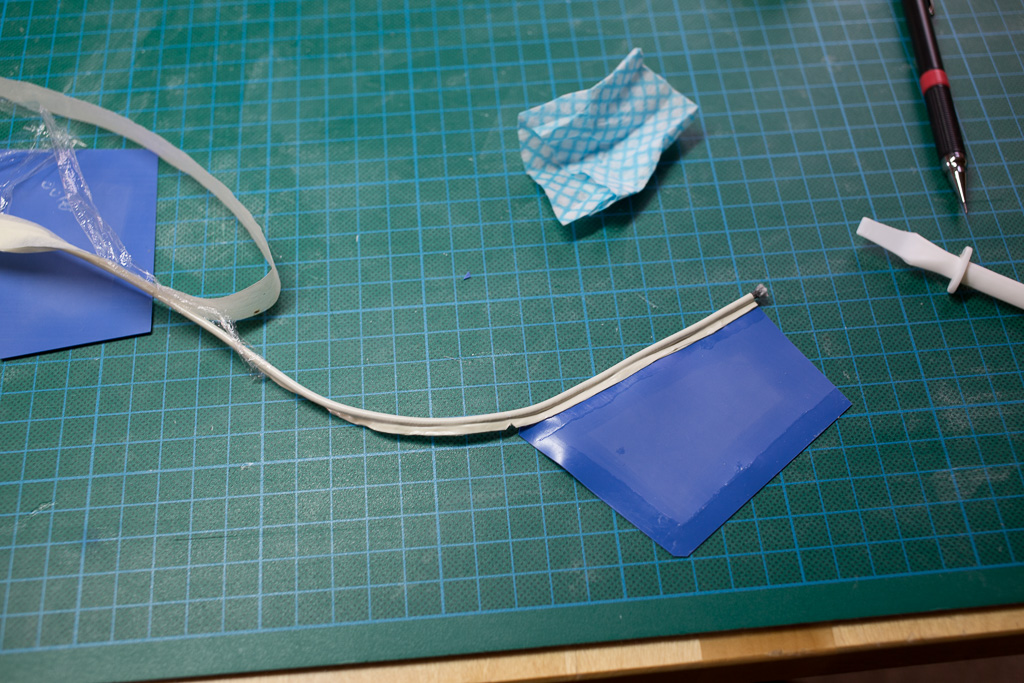
Leaving a little of the string exposed, wrap the latex strip round the string. At this point it is only necessary to ensure that the two edges meet exactly. Work along the entire length, removing the inner cling film in segments and pinching the two edges together.

The piping is now ready. The glued gloss surfaces should still be protected by cling film, but the masking tape is no longer required.
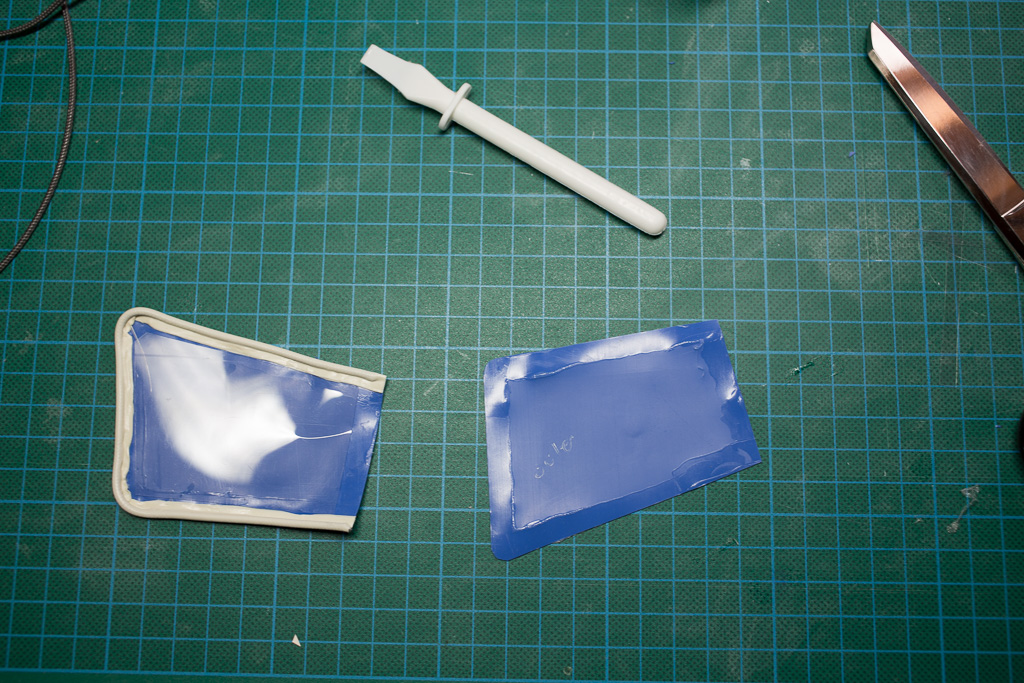
Step 3. Prepare all pieces
Clean, glue and protect all seams.
Step 4. Attach piping
Attach the piping to the main piece (XXX piece name). Start at the front centre and do one side and then the other. The main piece should slightly overlap the filled part of the piping.
Step 5. Top of hat
Starting from the centre front attach the top panel of the hat to the piping The markings on the top panel should align with those on the inside of the side panel to ensure that everything lines up at the end.
Step 6. Finish off piping
Prepare a little tab of latex in the same colour as the piping. Cut the ends of the piping so that they butt up exactly and wrap in the tab.
Connect the side panel at the back.
The outside of the hat is now basically complete – but it is too floppy to be useful.
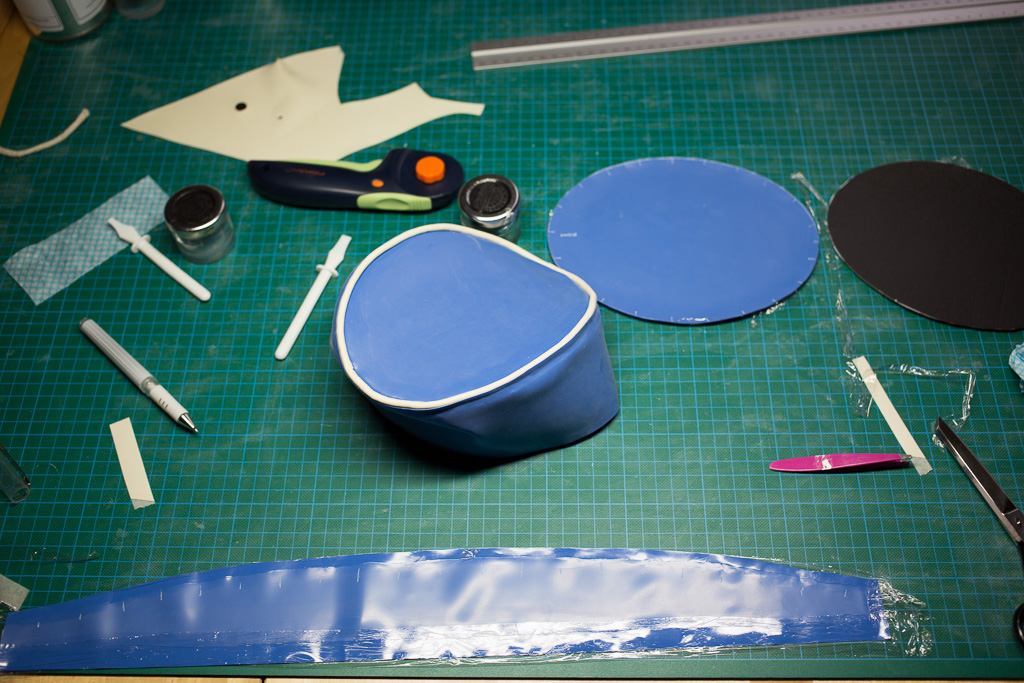
Step 7. Stabilise the top
Place the stabilising layer (in my case card) on the inside of the hat and then seal this in using the second panel.
The top of the hat should now be perfectly flat and have enough rigidity to maintain its shape.
Step 8. Stabilise the sides
Glue the inner side panel into place.
Glue the side stabilising panel into the correct circumference to fit the hat. Then seal this into the hat, folding the outer panel around the stabiliser and attaching to the inner panel.
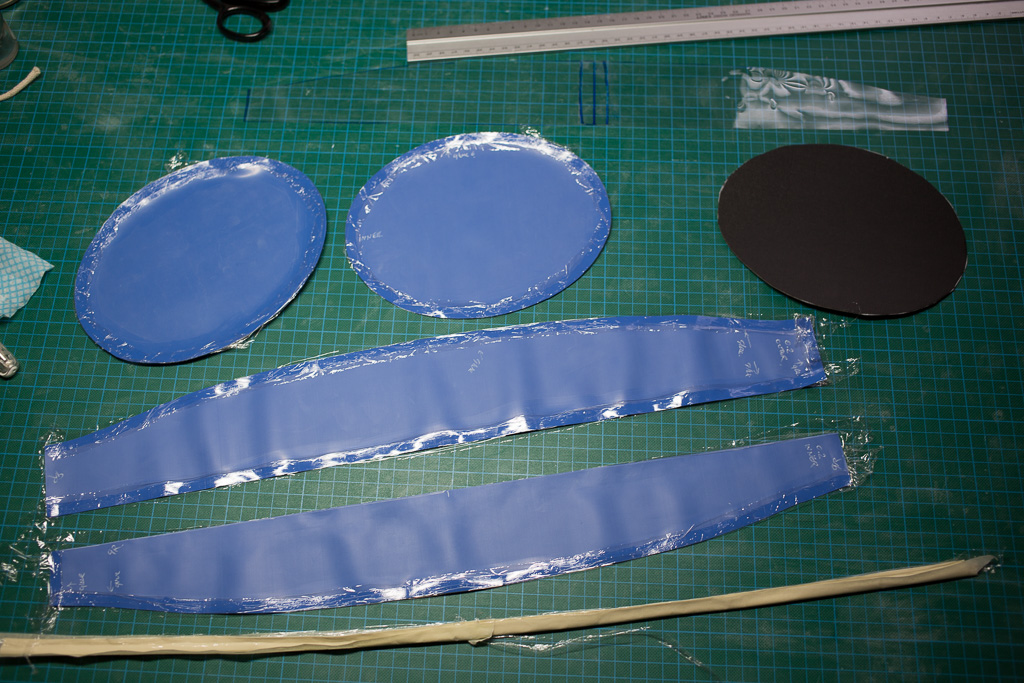
Step 9. Making the piping for the wedge
The wedge has piping similar to the hat, but using string with a 2mm cross section rather than 5mm.

Prepare the strip as above.
Wrap the strip around the string.
The completed piping for the wedge.
Step 10. Making the wedge
Attach the piping to the front piece of the wedge. Cut a small nick in the piping to aid with following the corner.
Trim the piping flush with the button edge.
It is a little hard to see from this image, but a piece of plastic is laying loosely on top of the latex so that the wedge has some stability.
The completed hat.

2 thoughts on “Making: Pan Am inspired latex stewardess hat”